Arts & Humanities
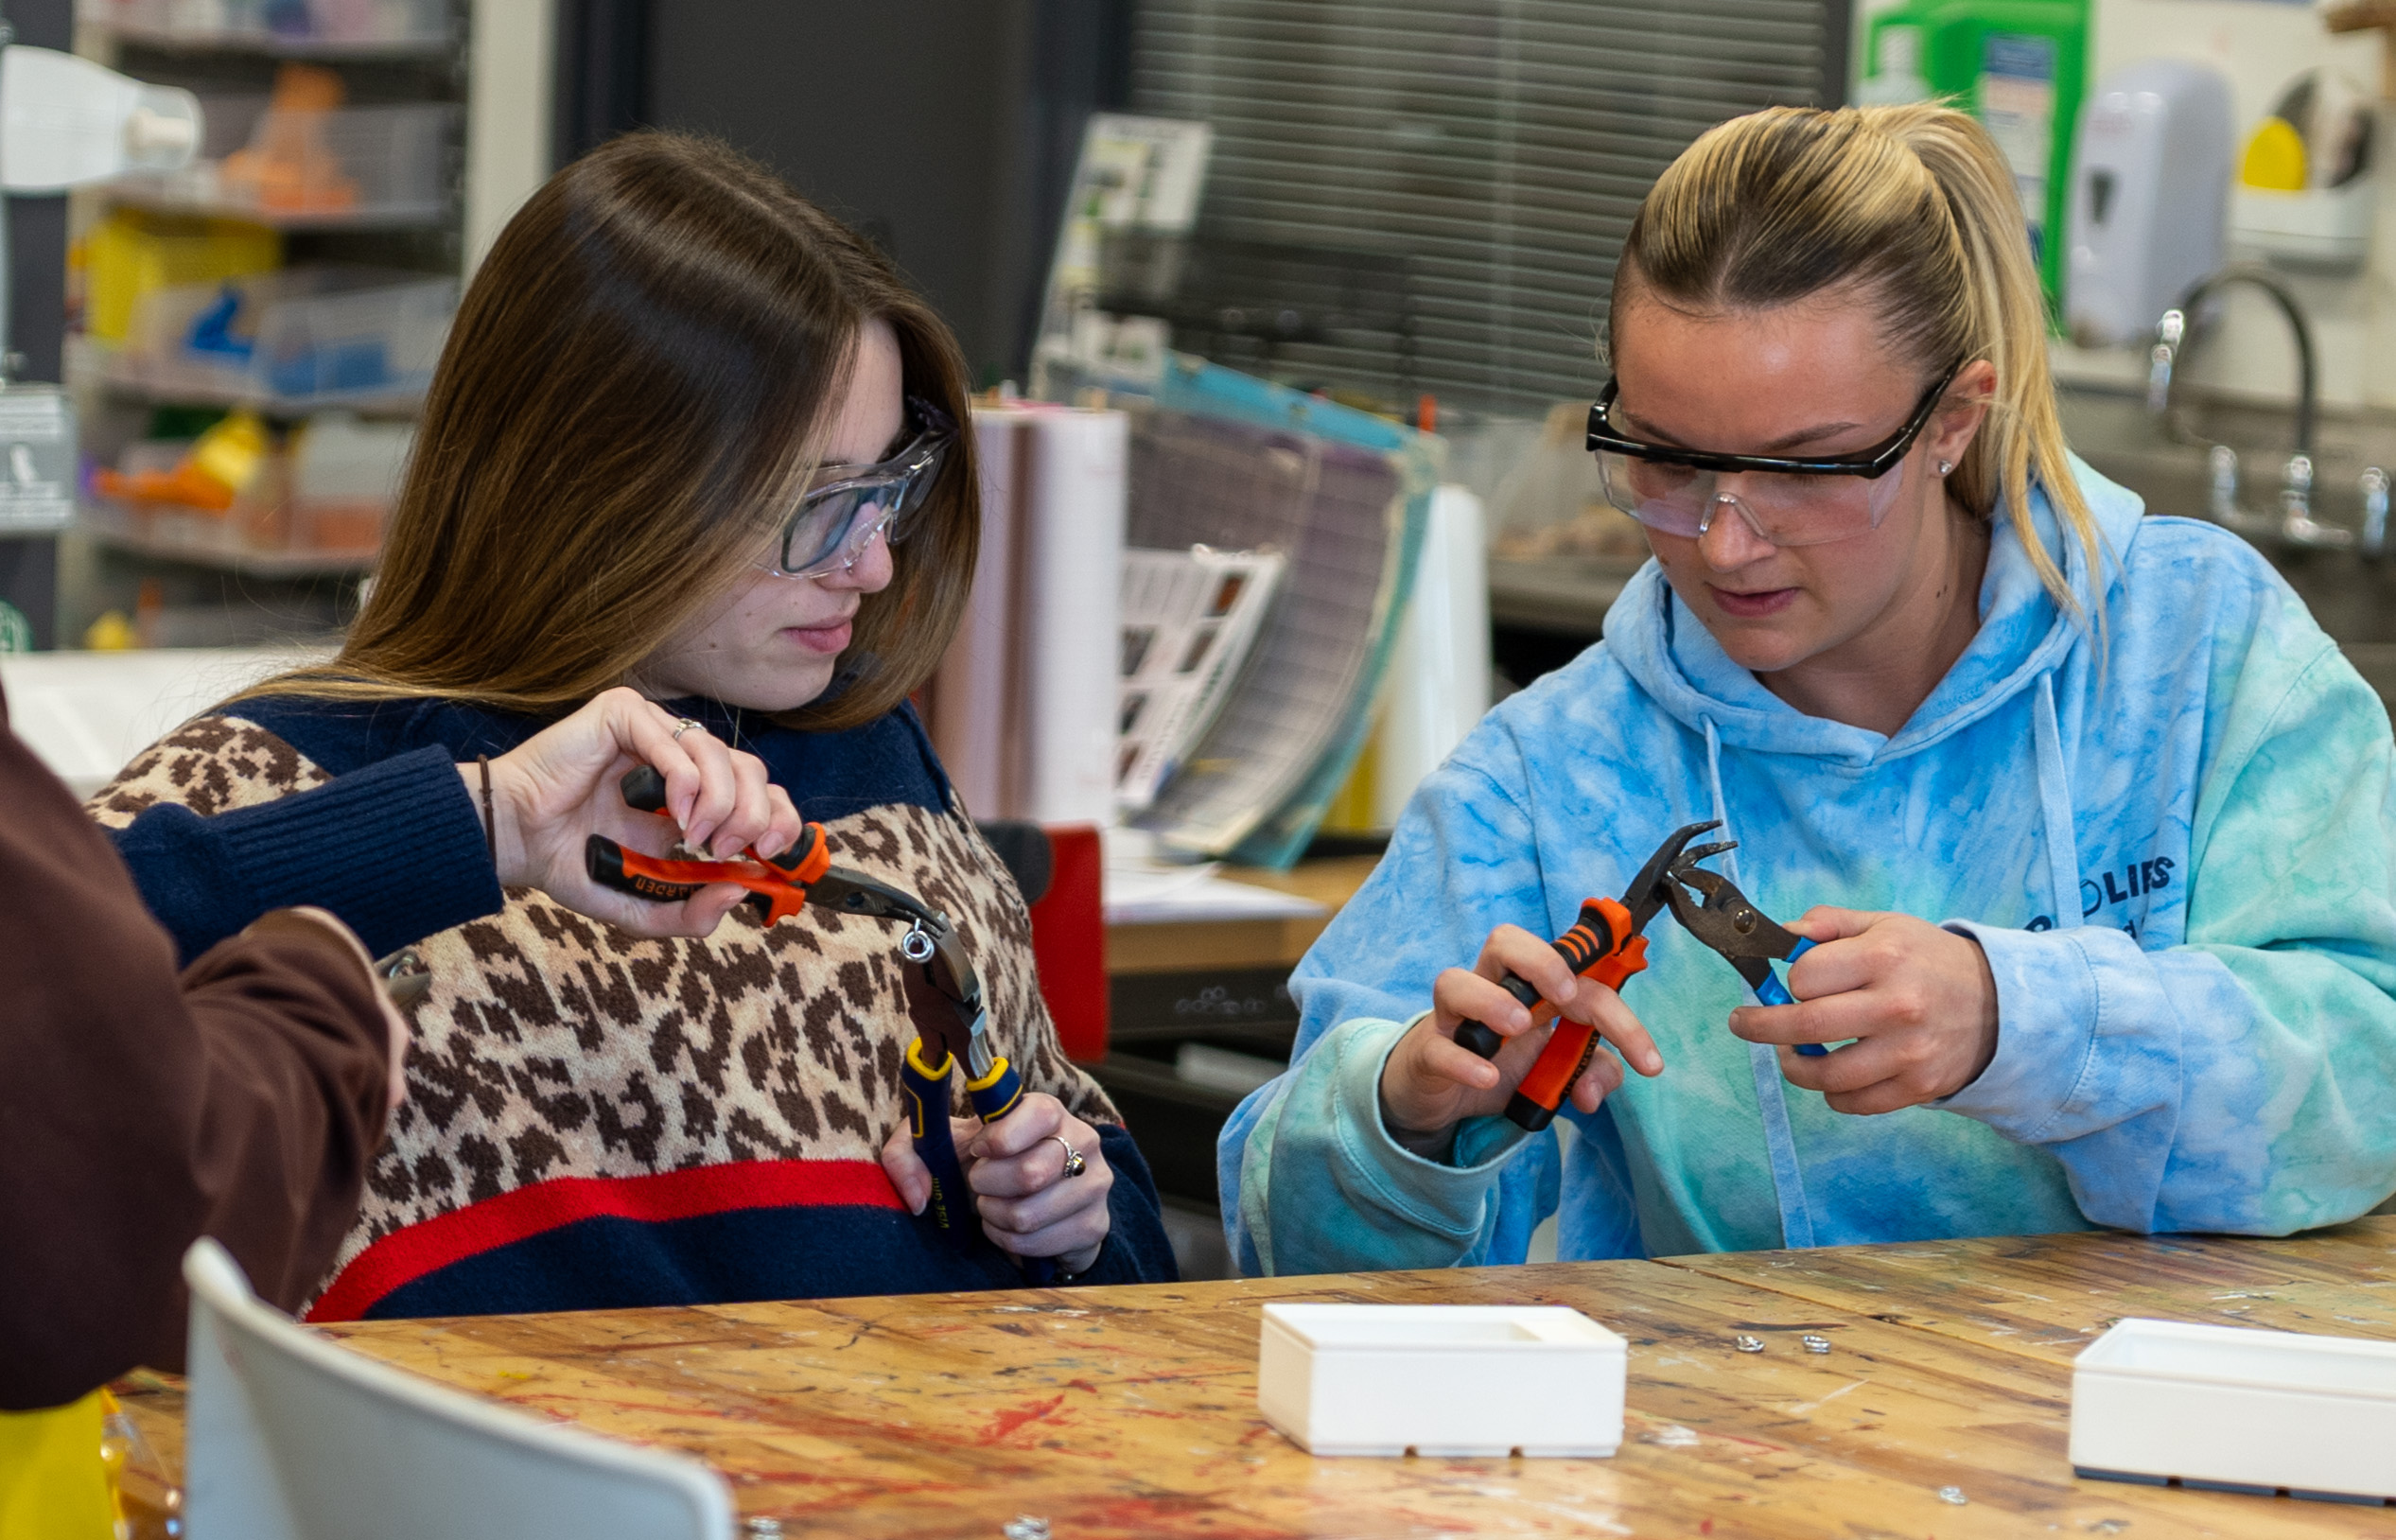
In The Vikings, students learned the process of creating chainmail.
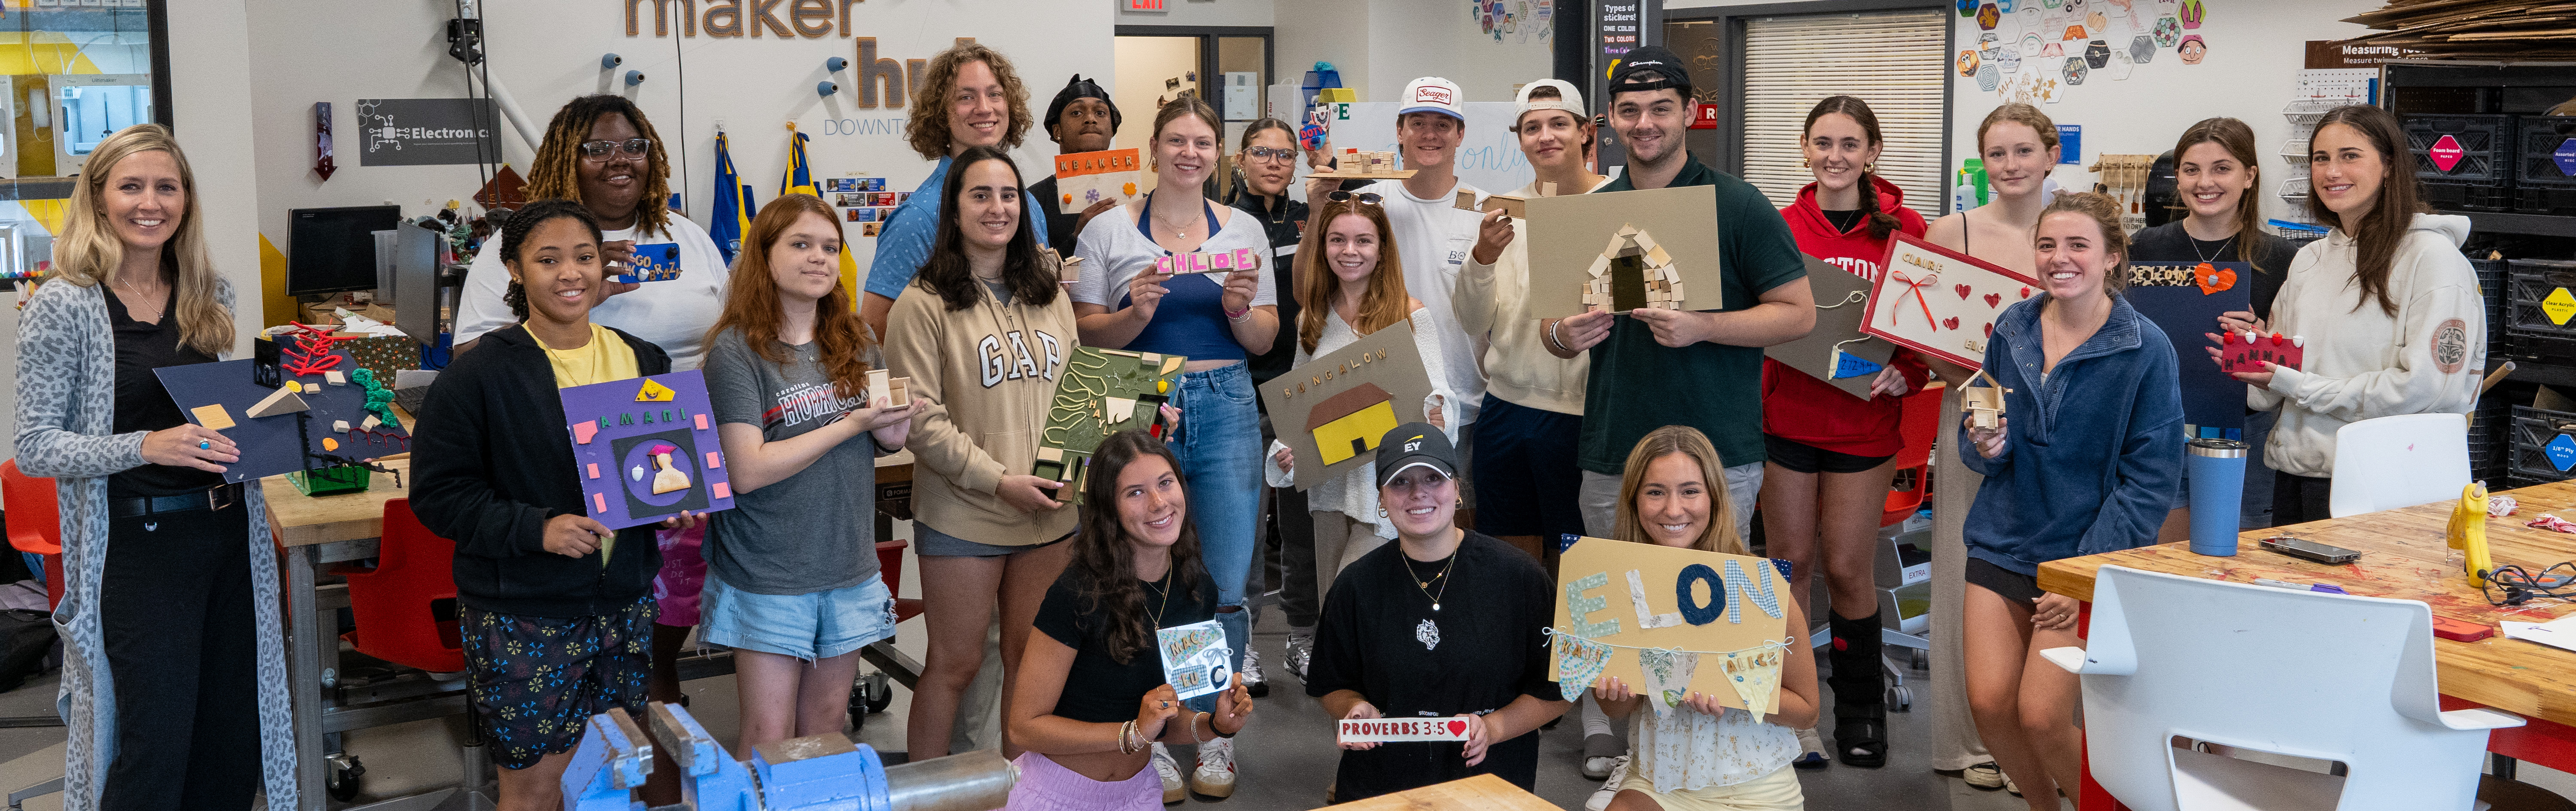
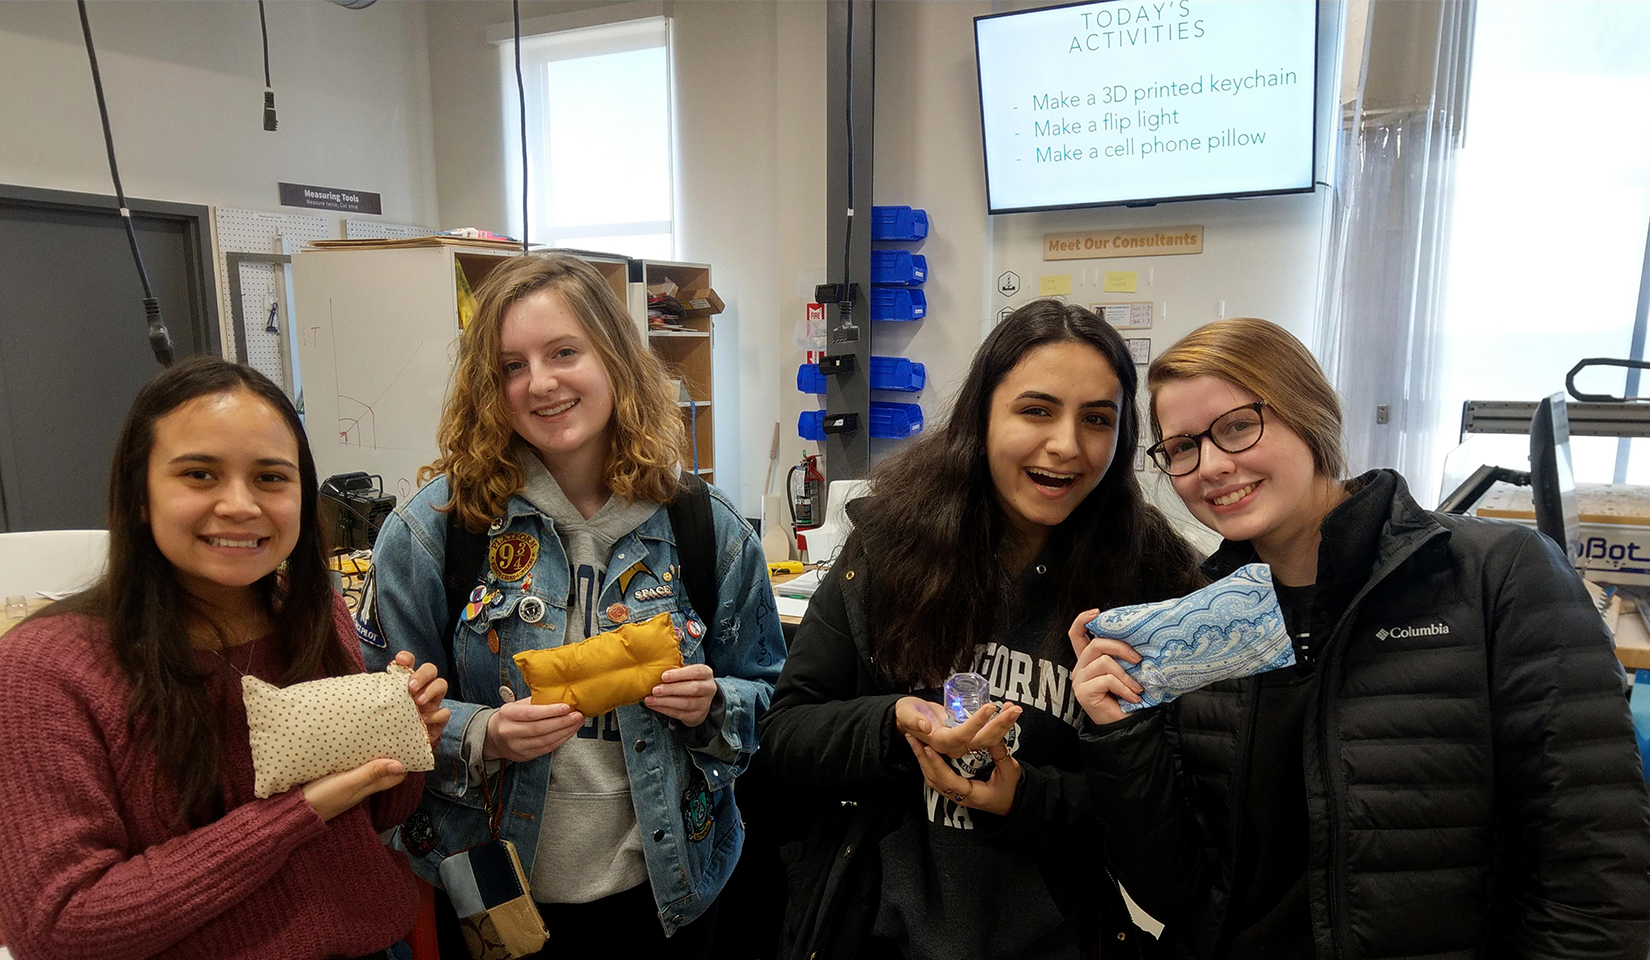
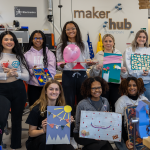
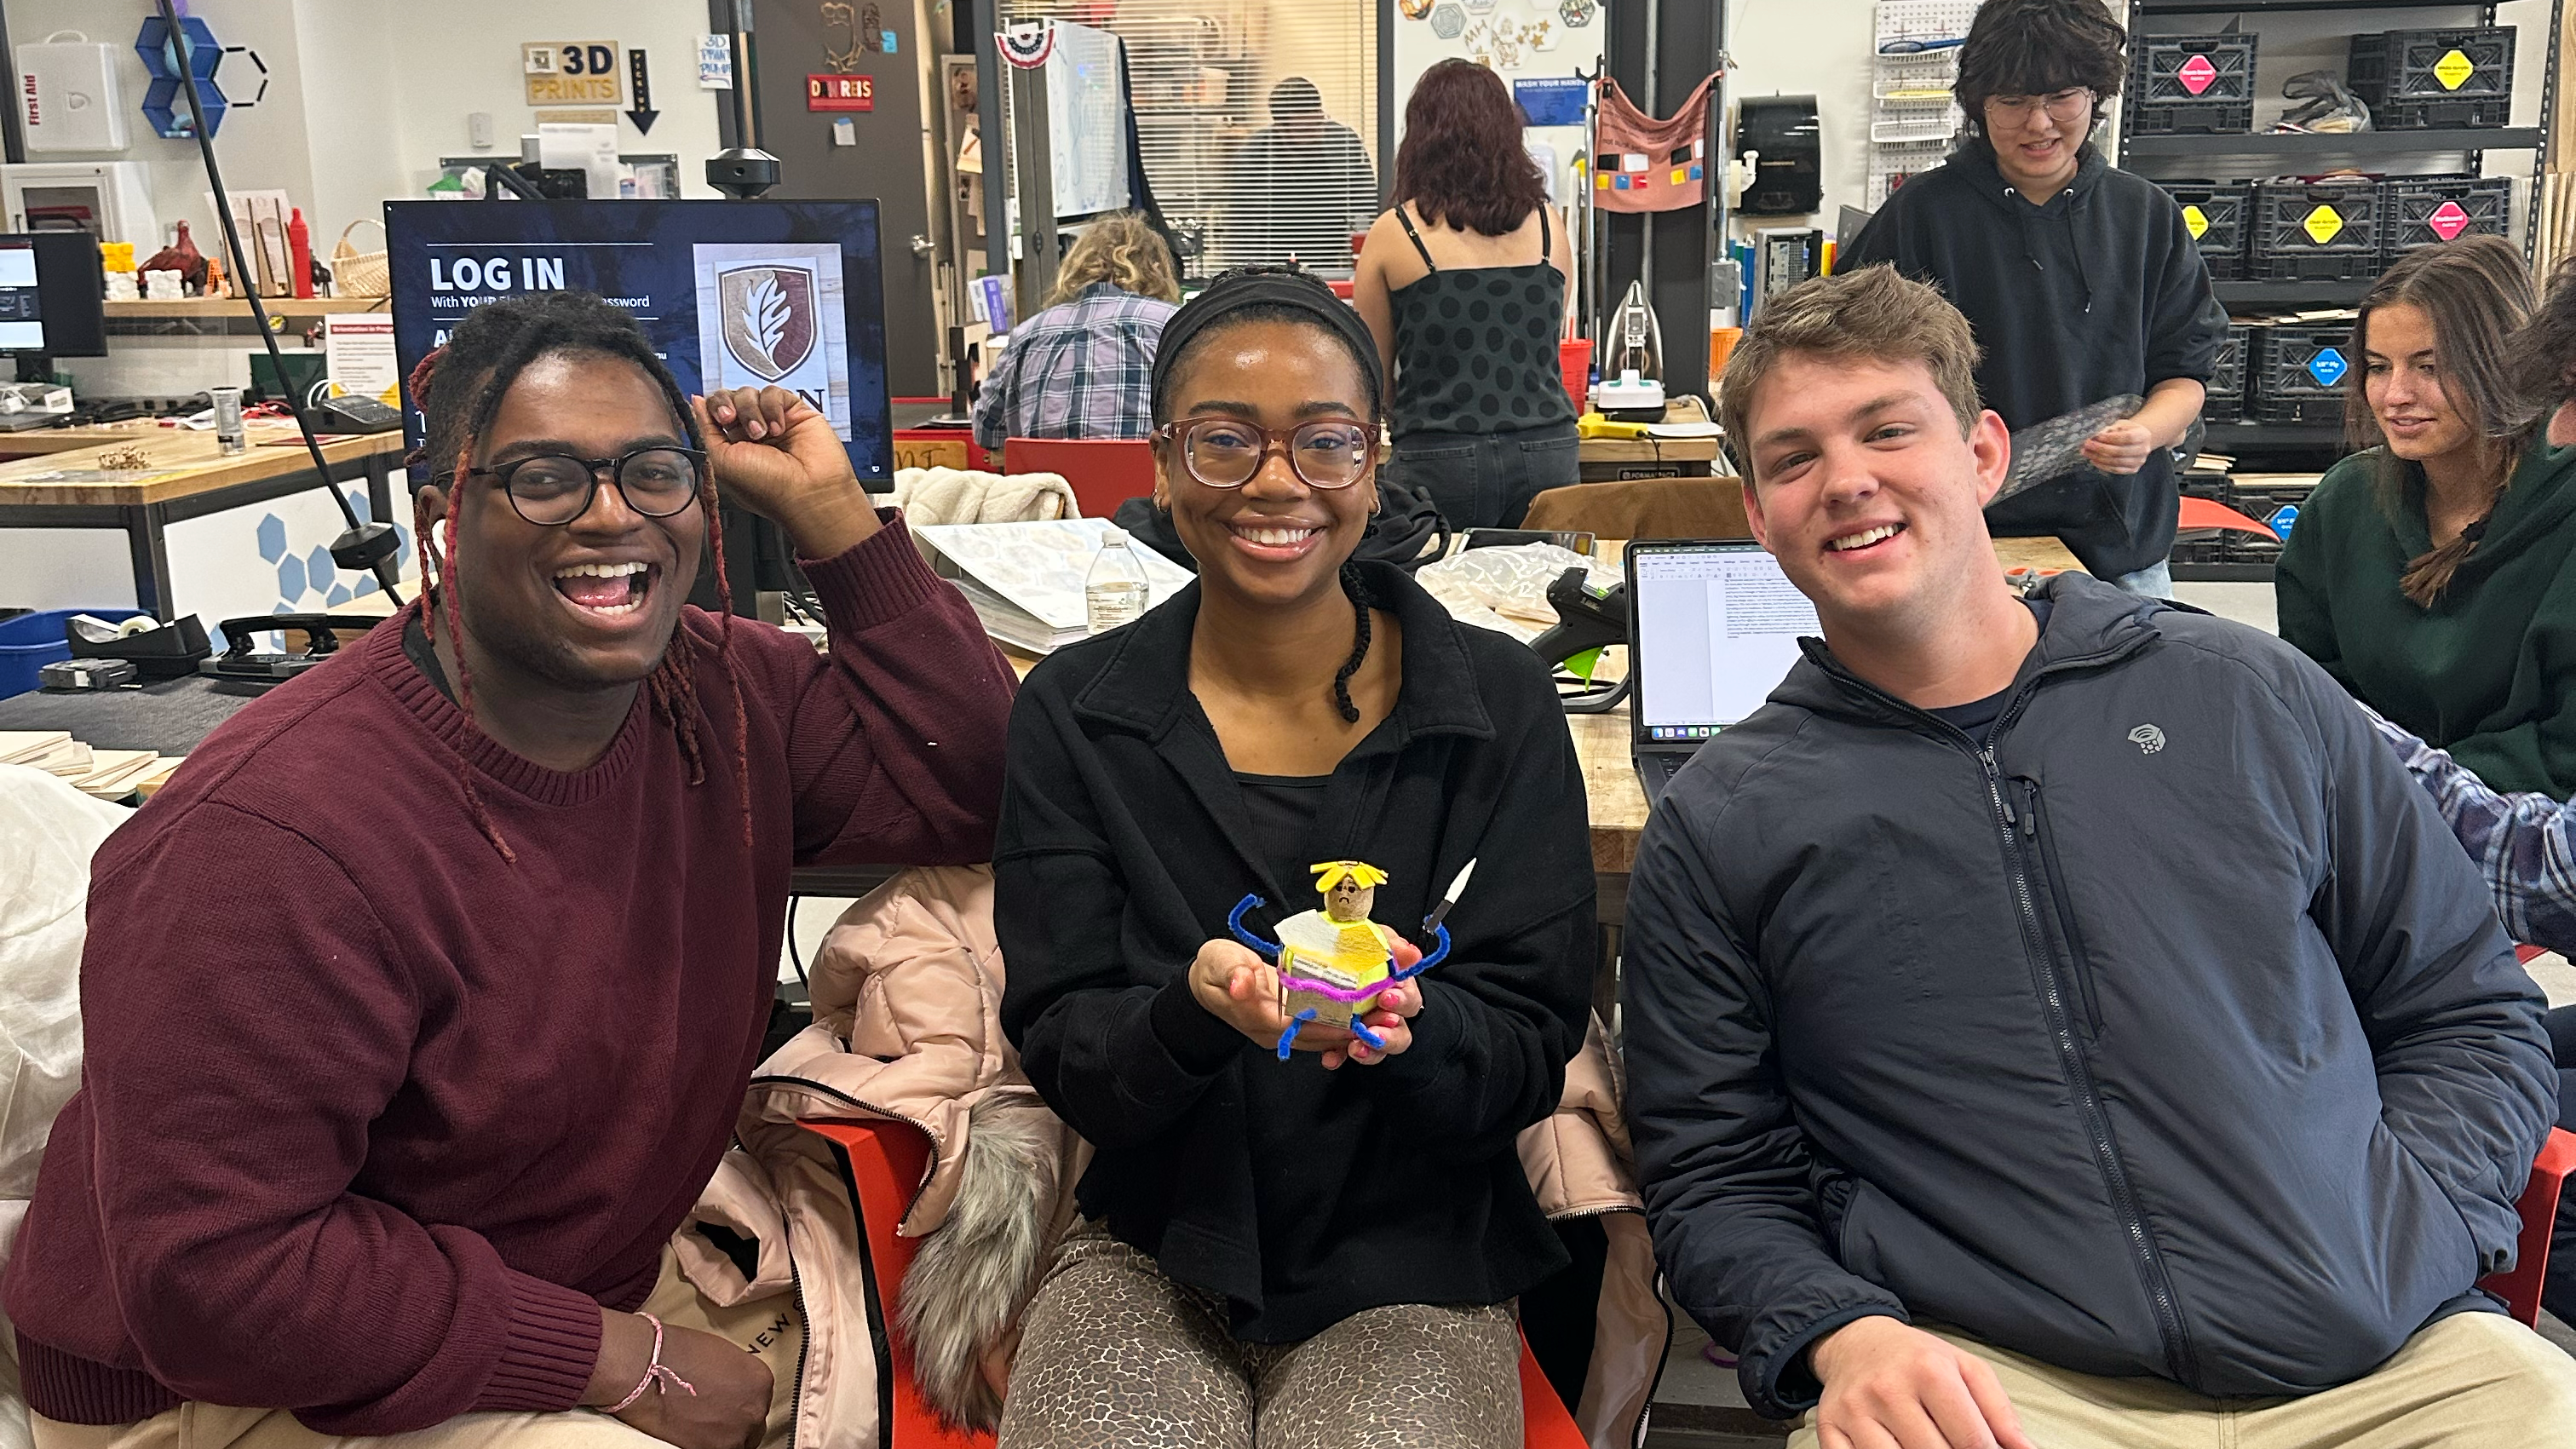
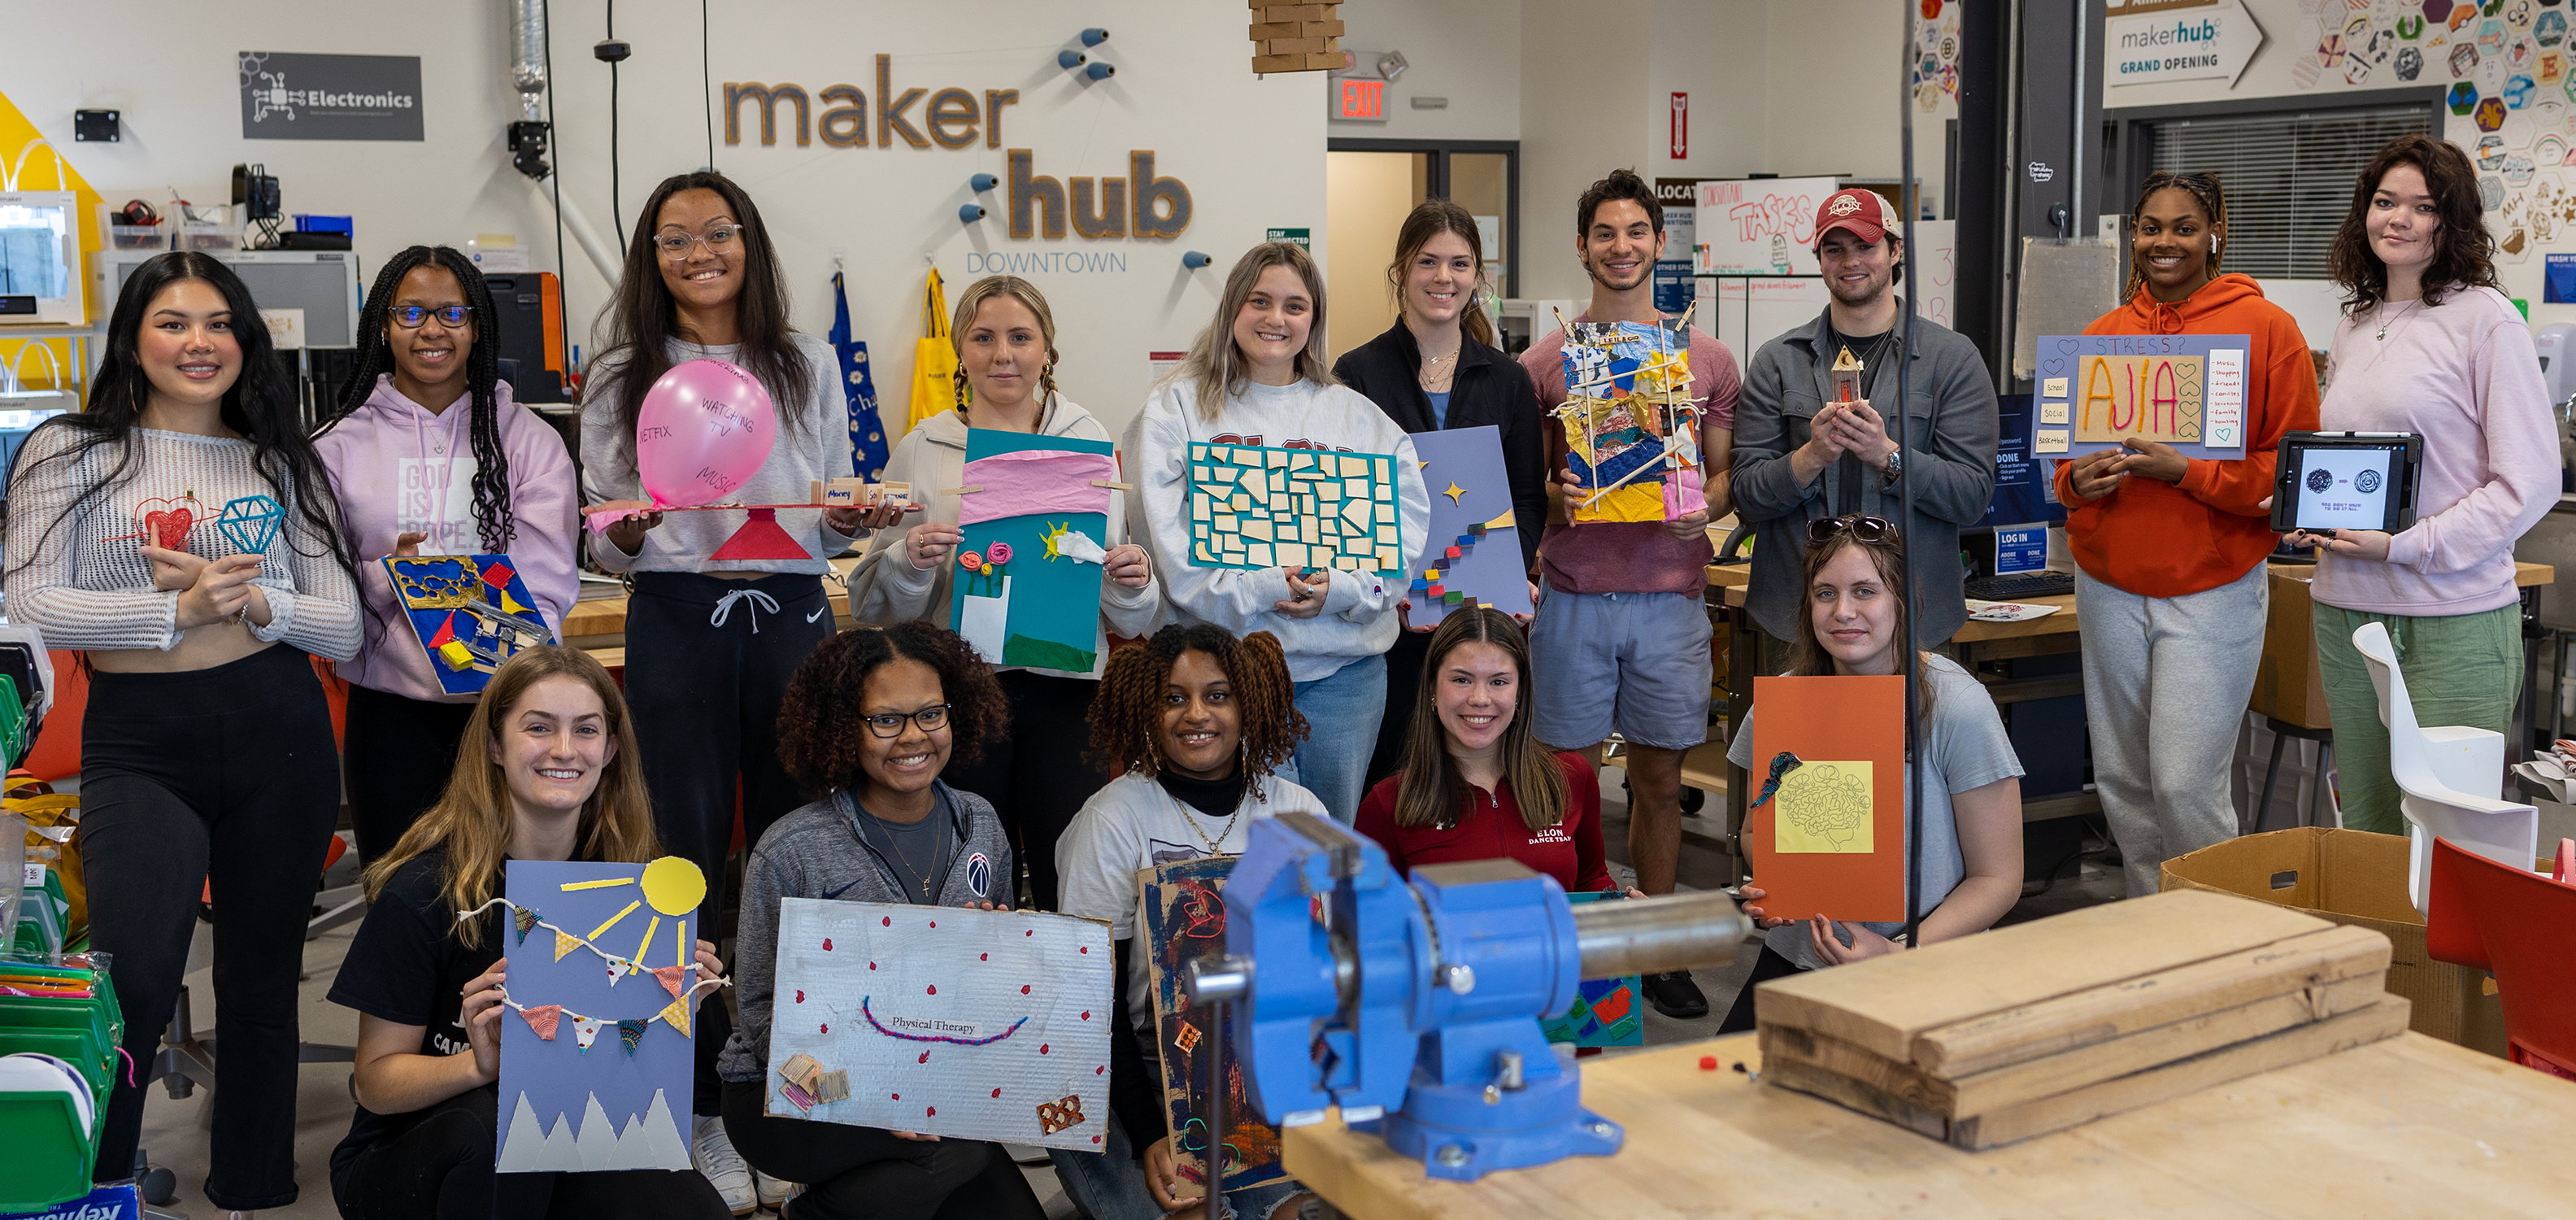
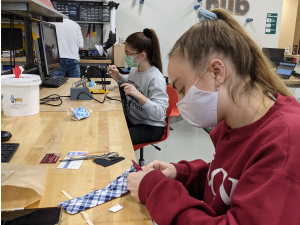
Students holding the projects they made in 1 session during a Stress and Wellbeing class.
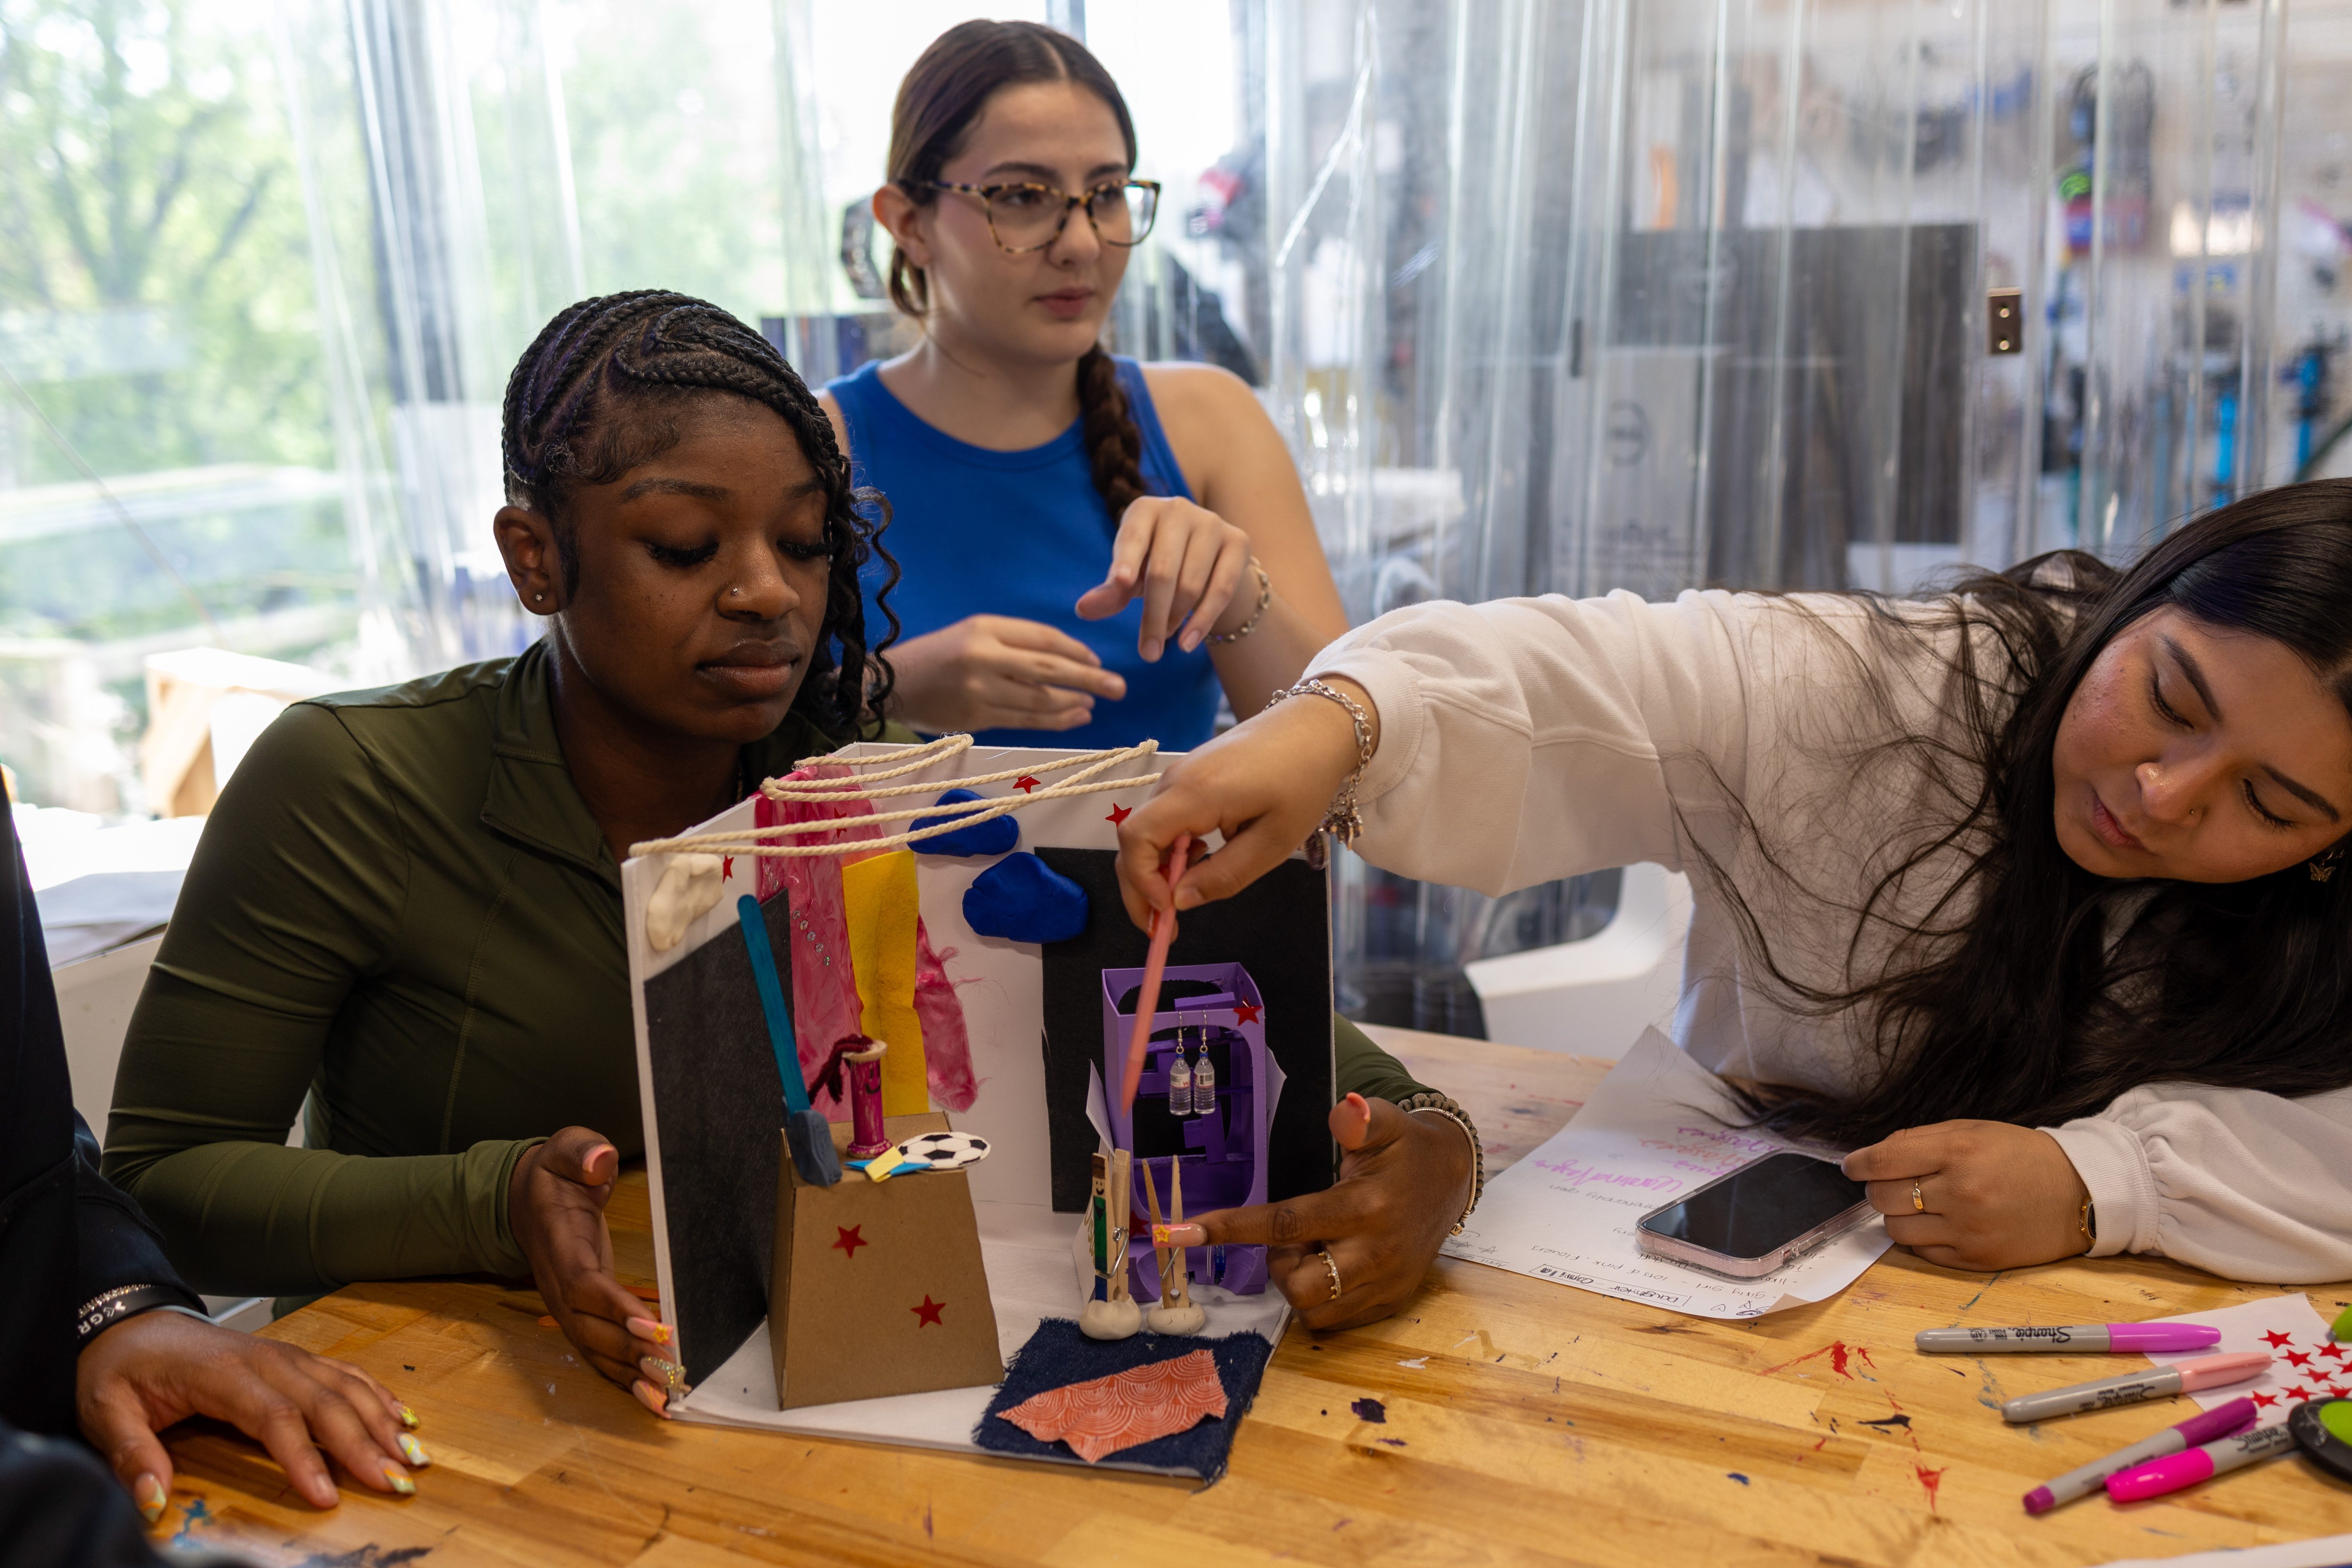
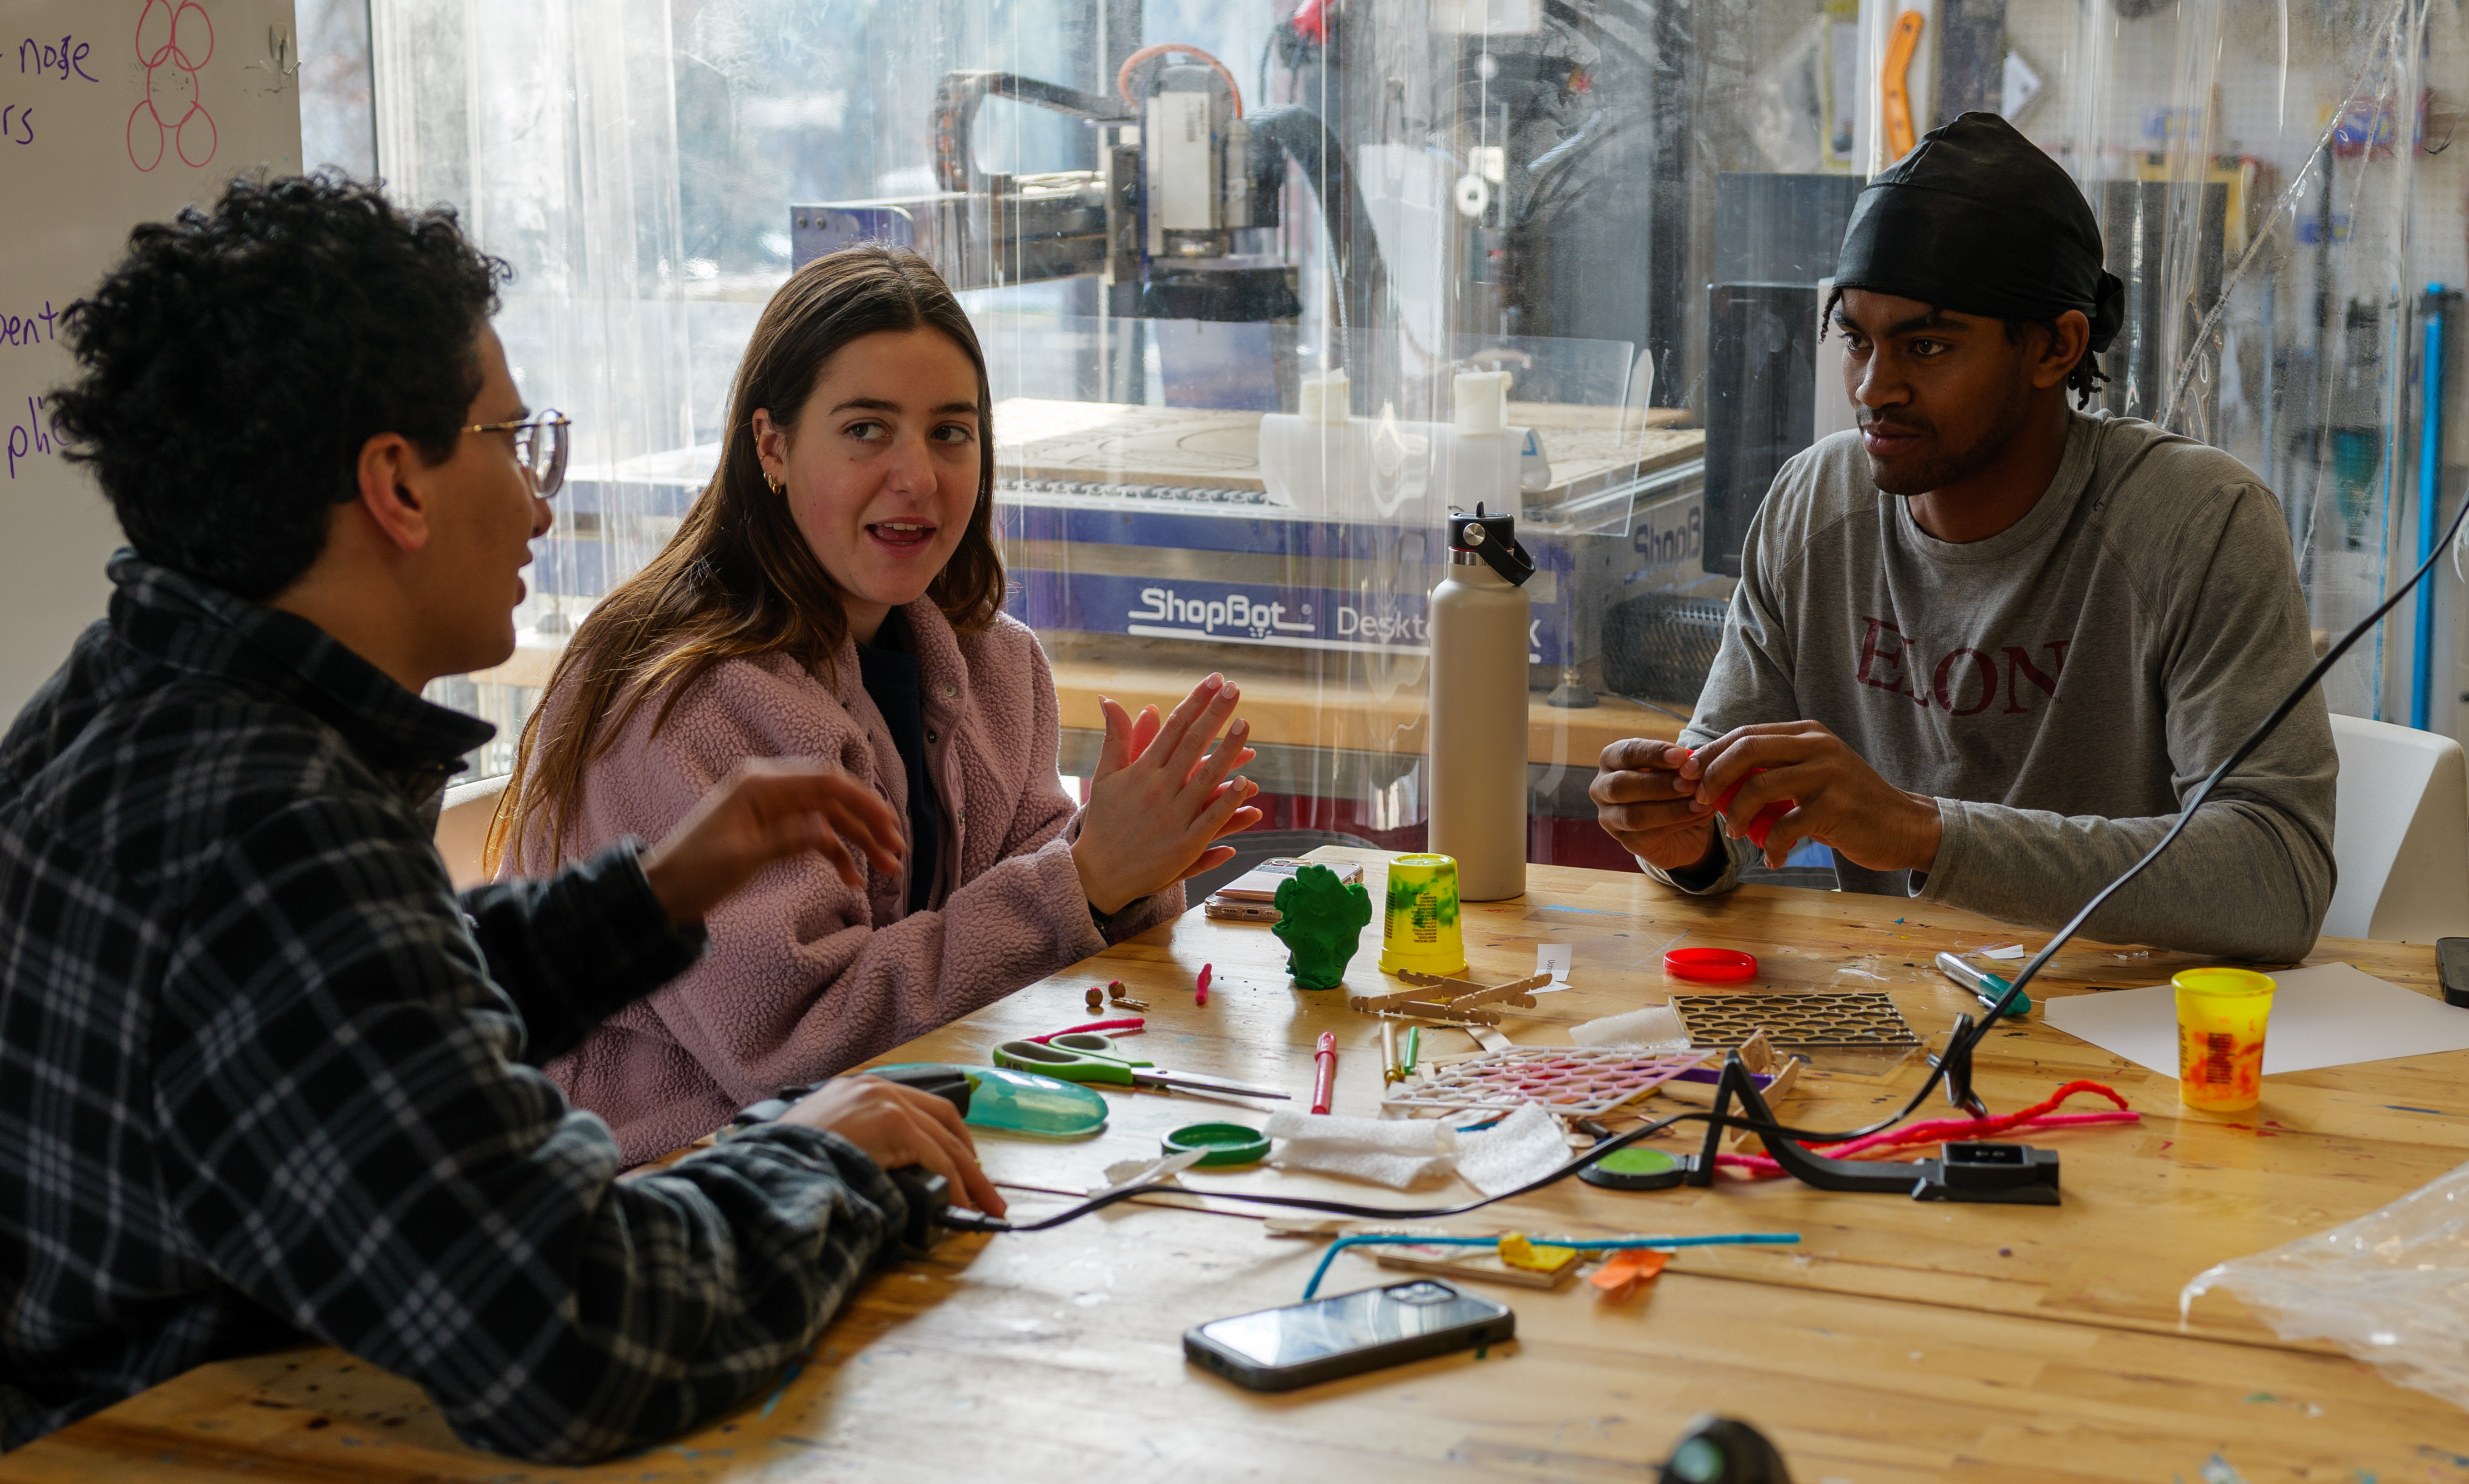
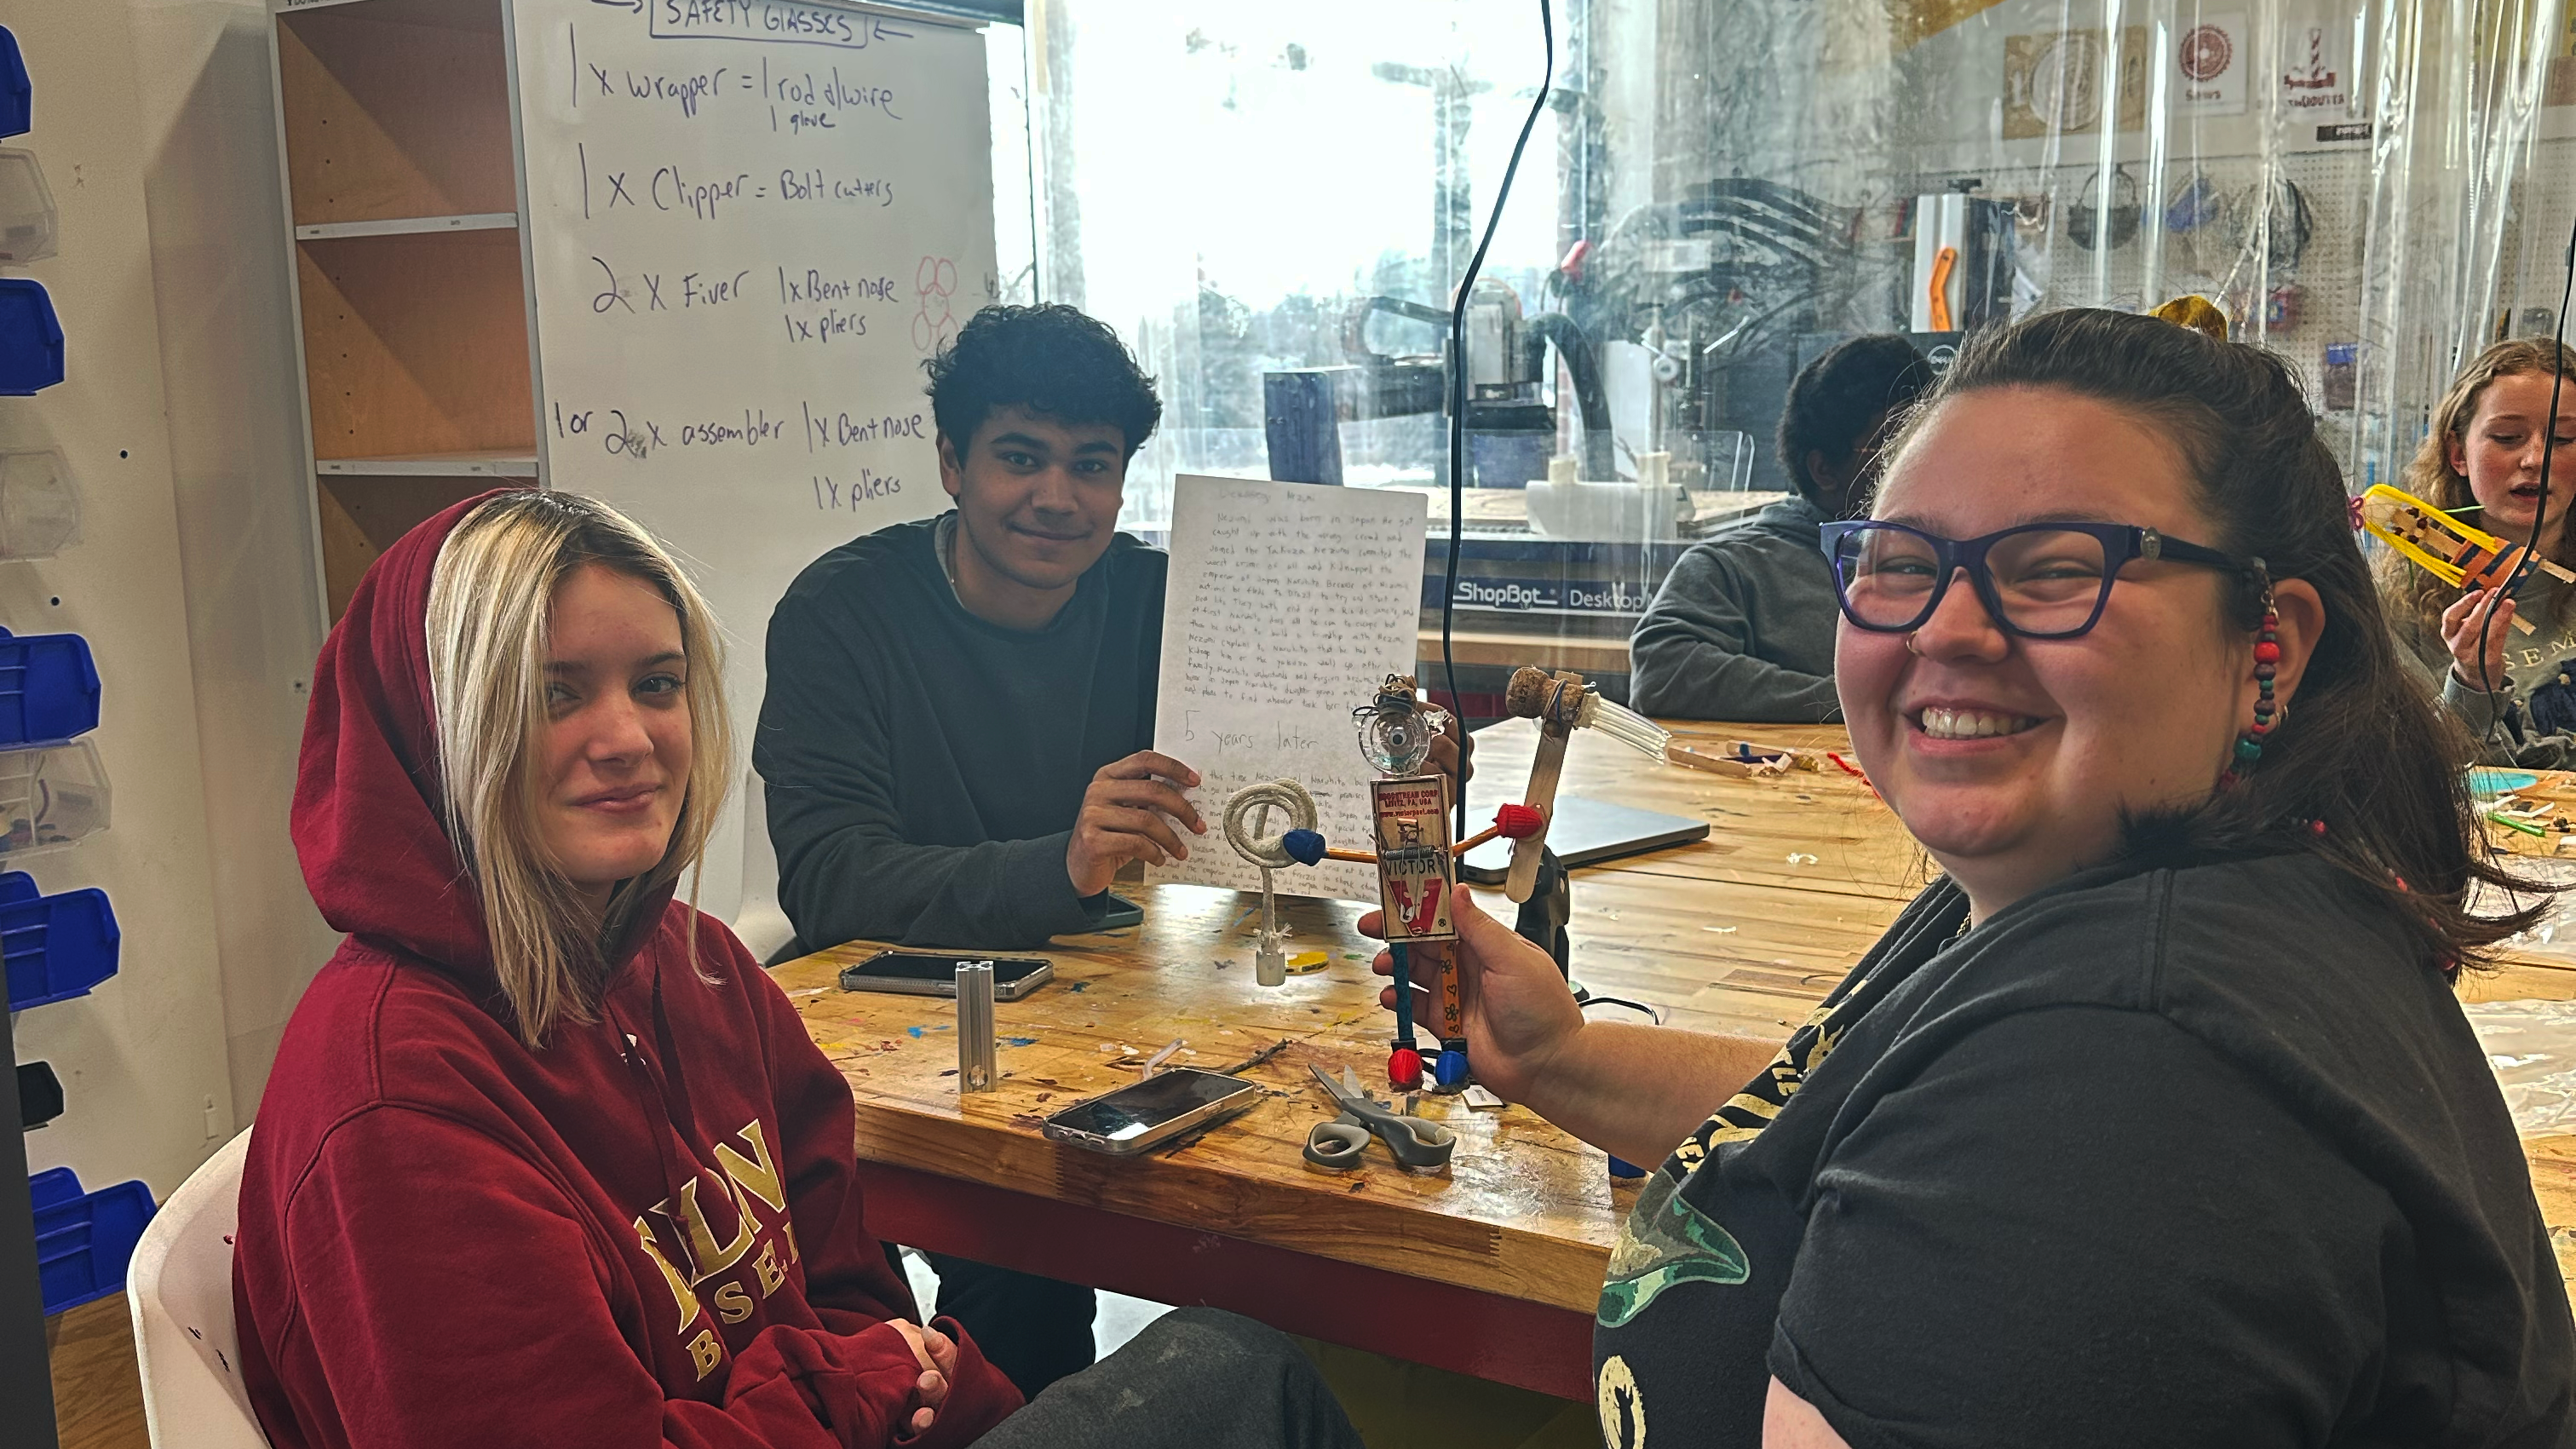
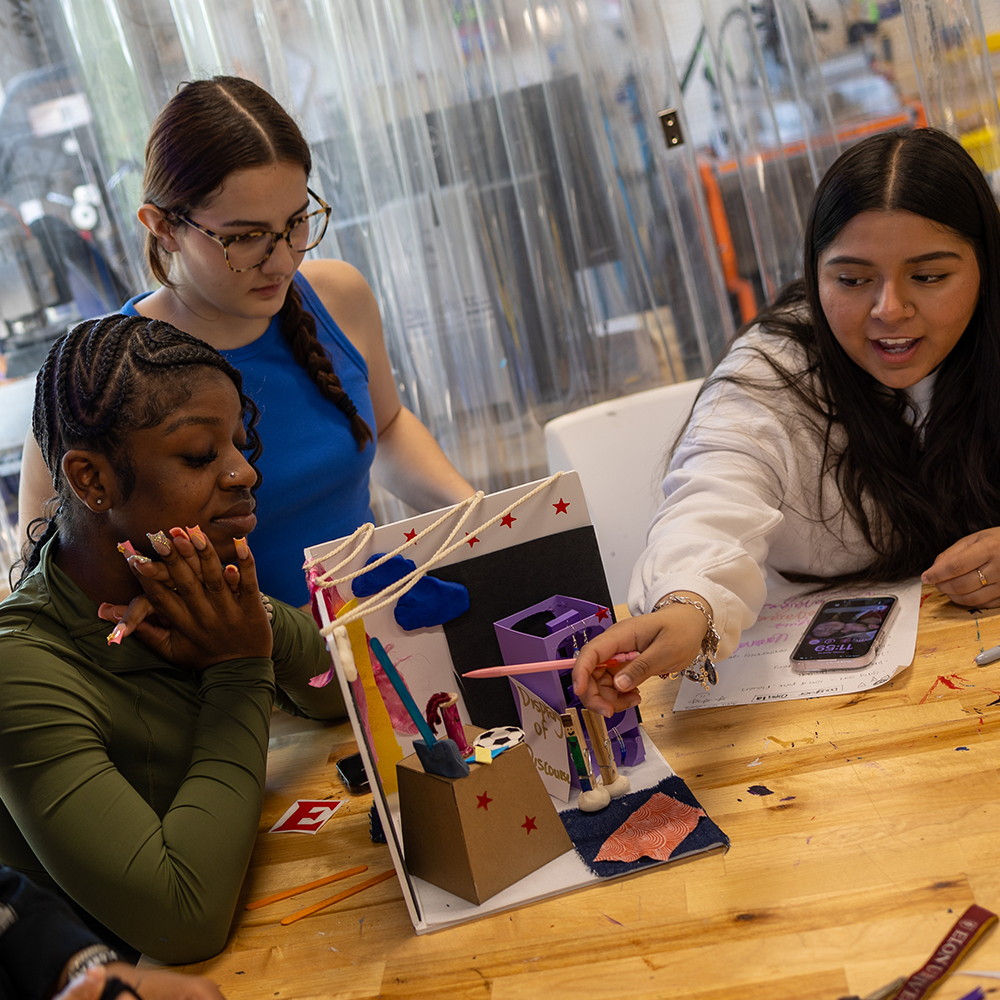
Counseling Individuals and Families - Judy Folmar: Students describing their design to the class.
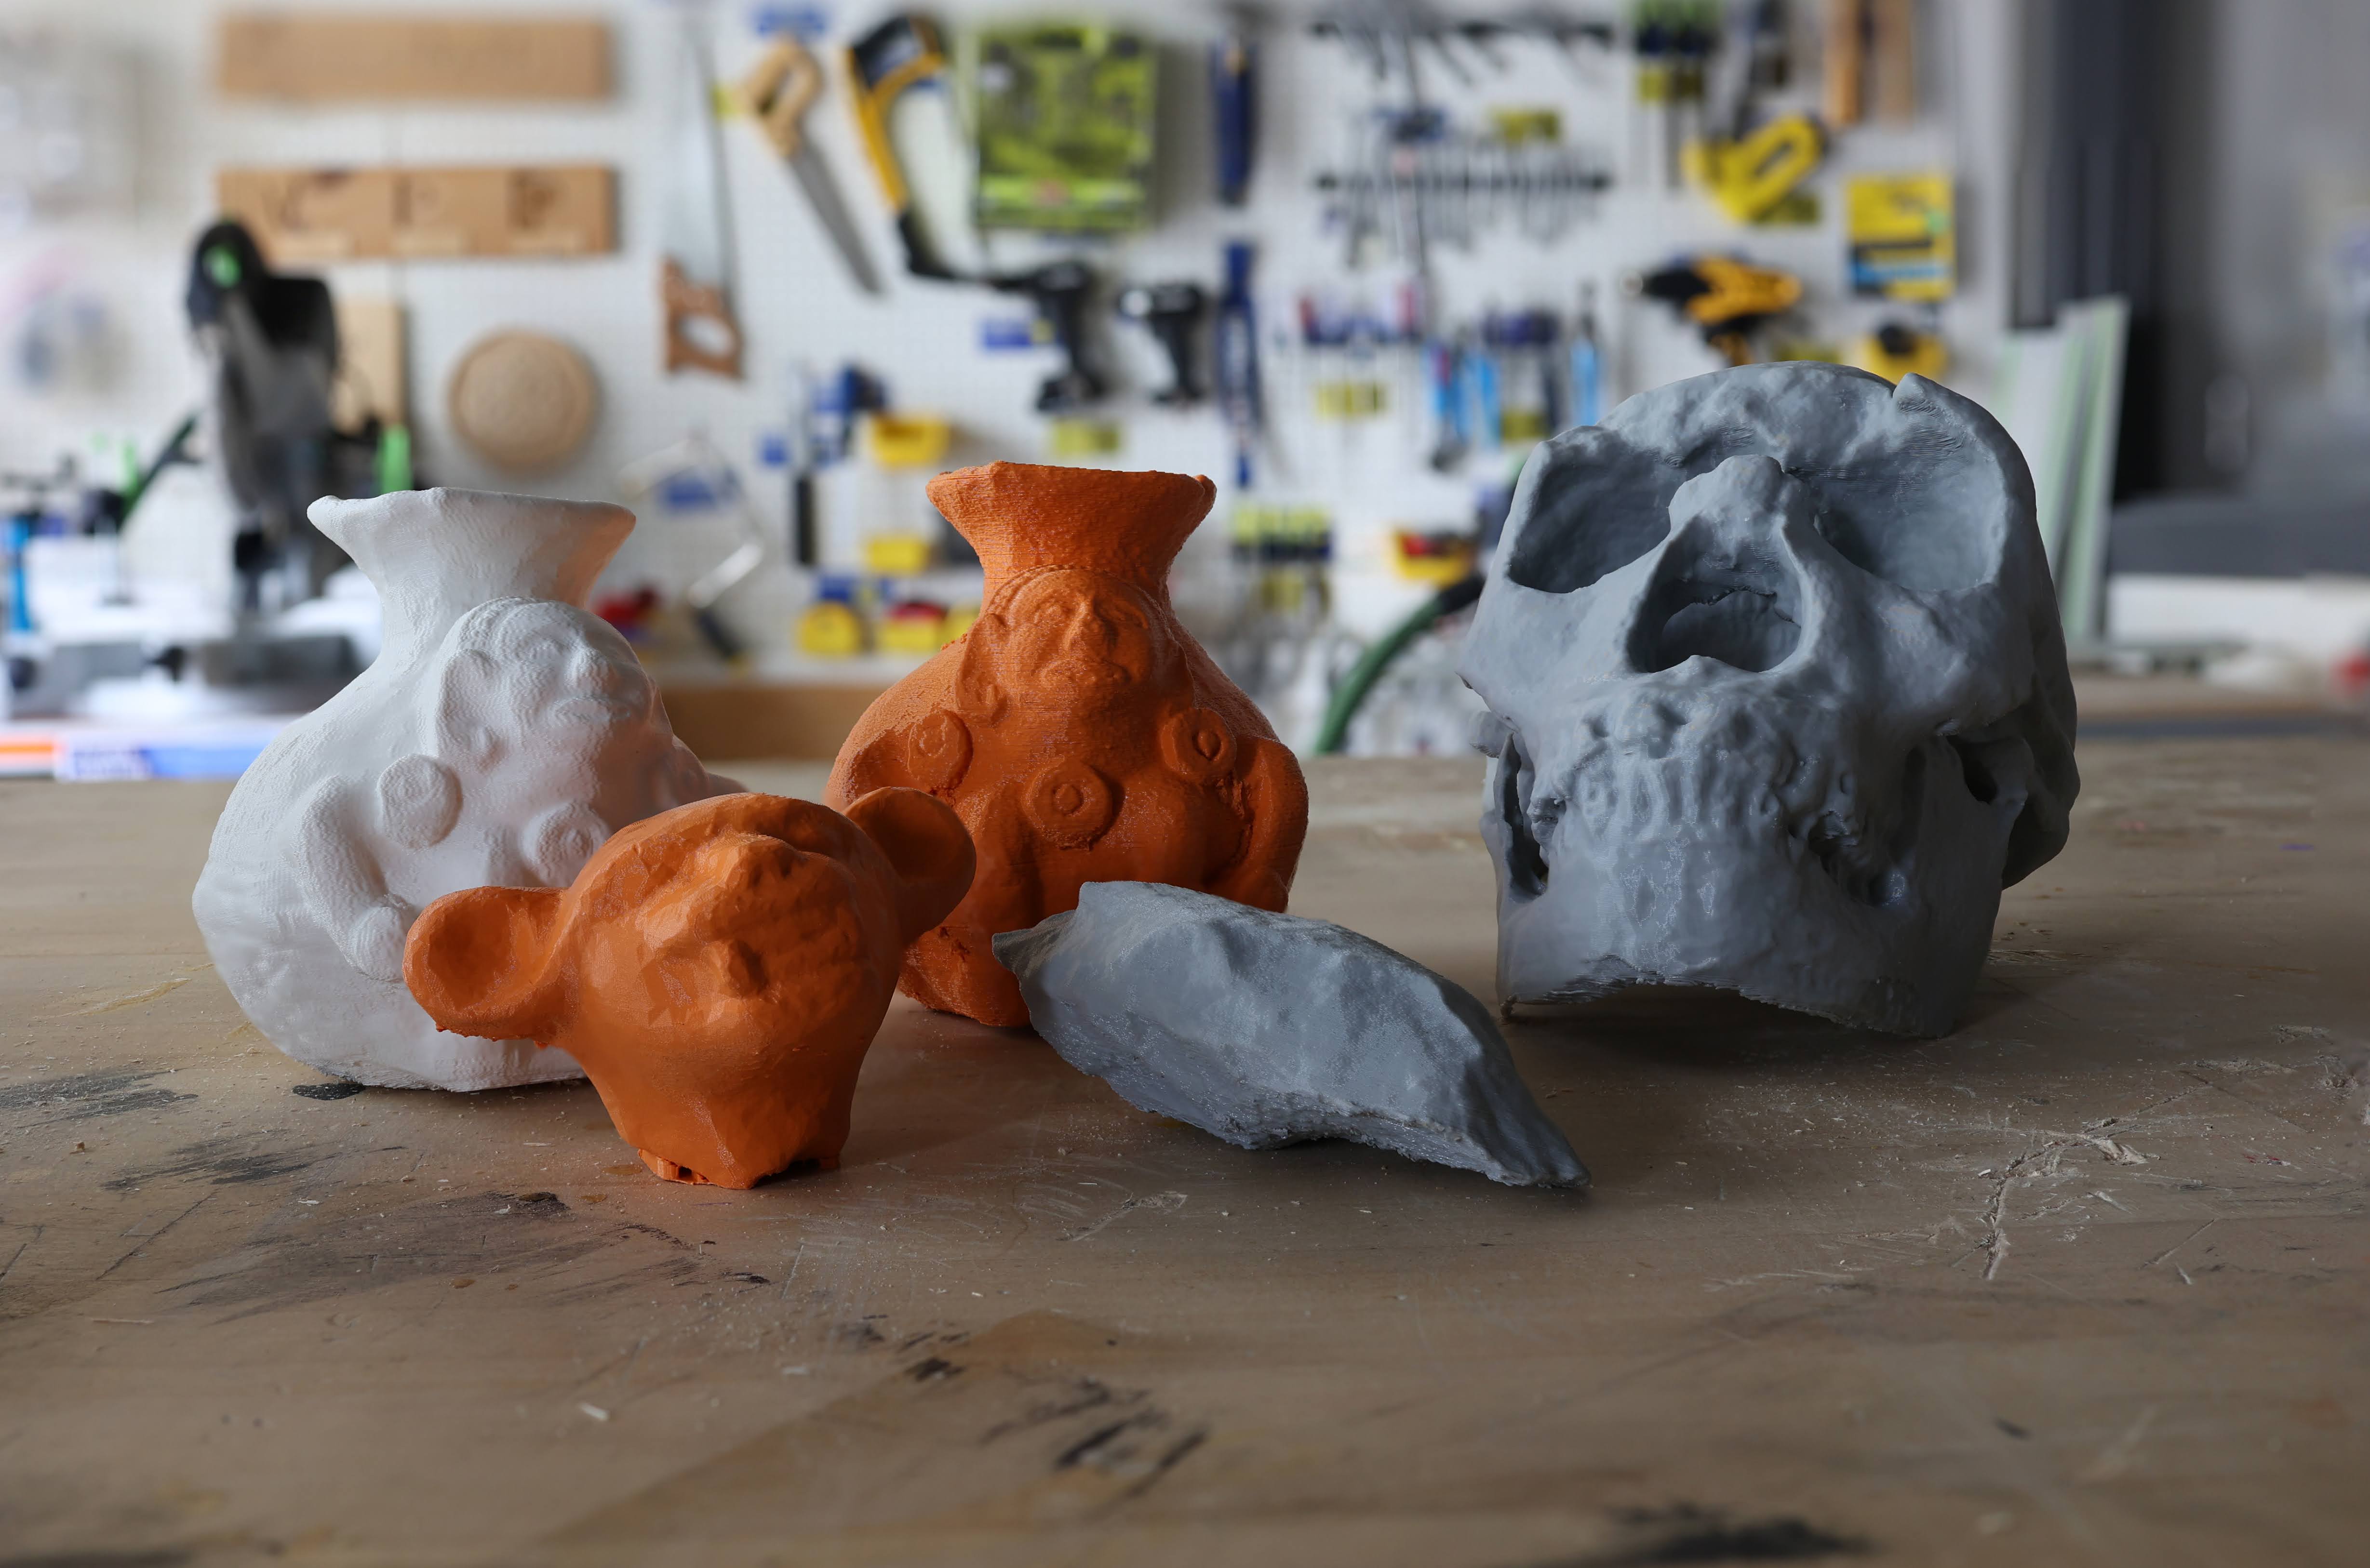
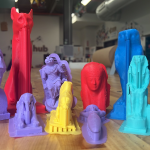
Intro to Archaeology - Rissa Trachman: Students create a 3D model of an artifact in Elon's collection.
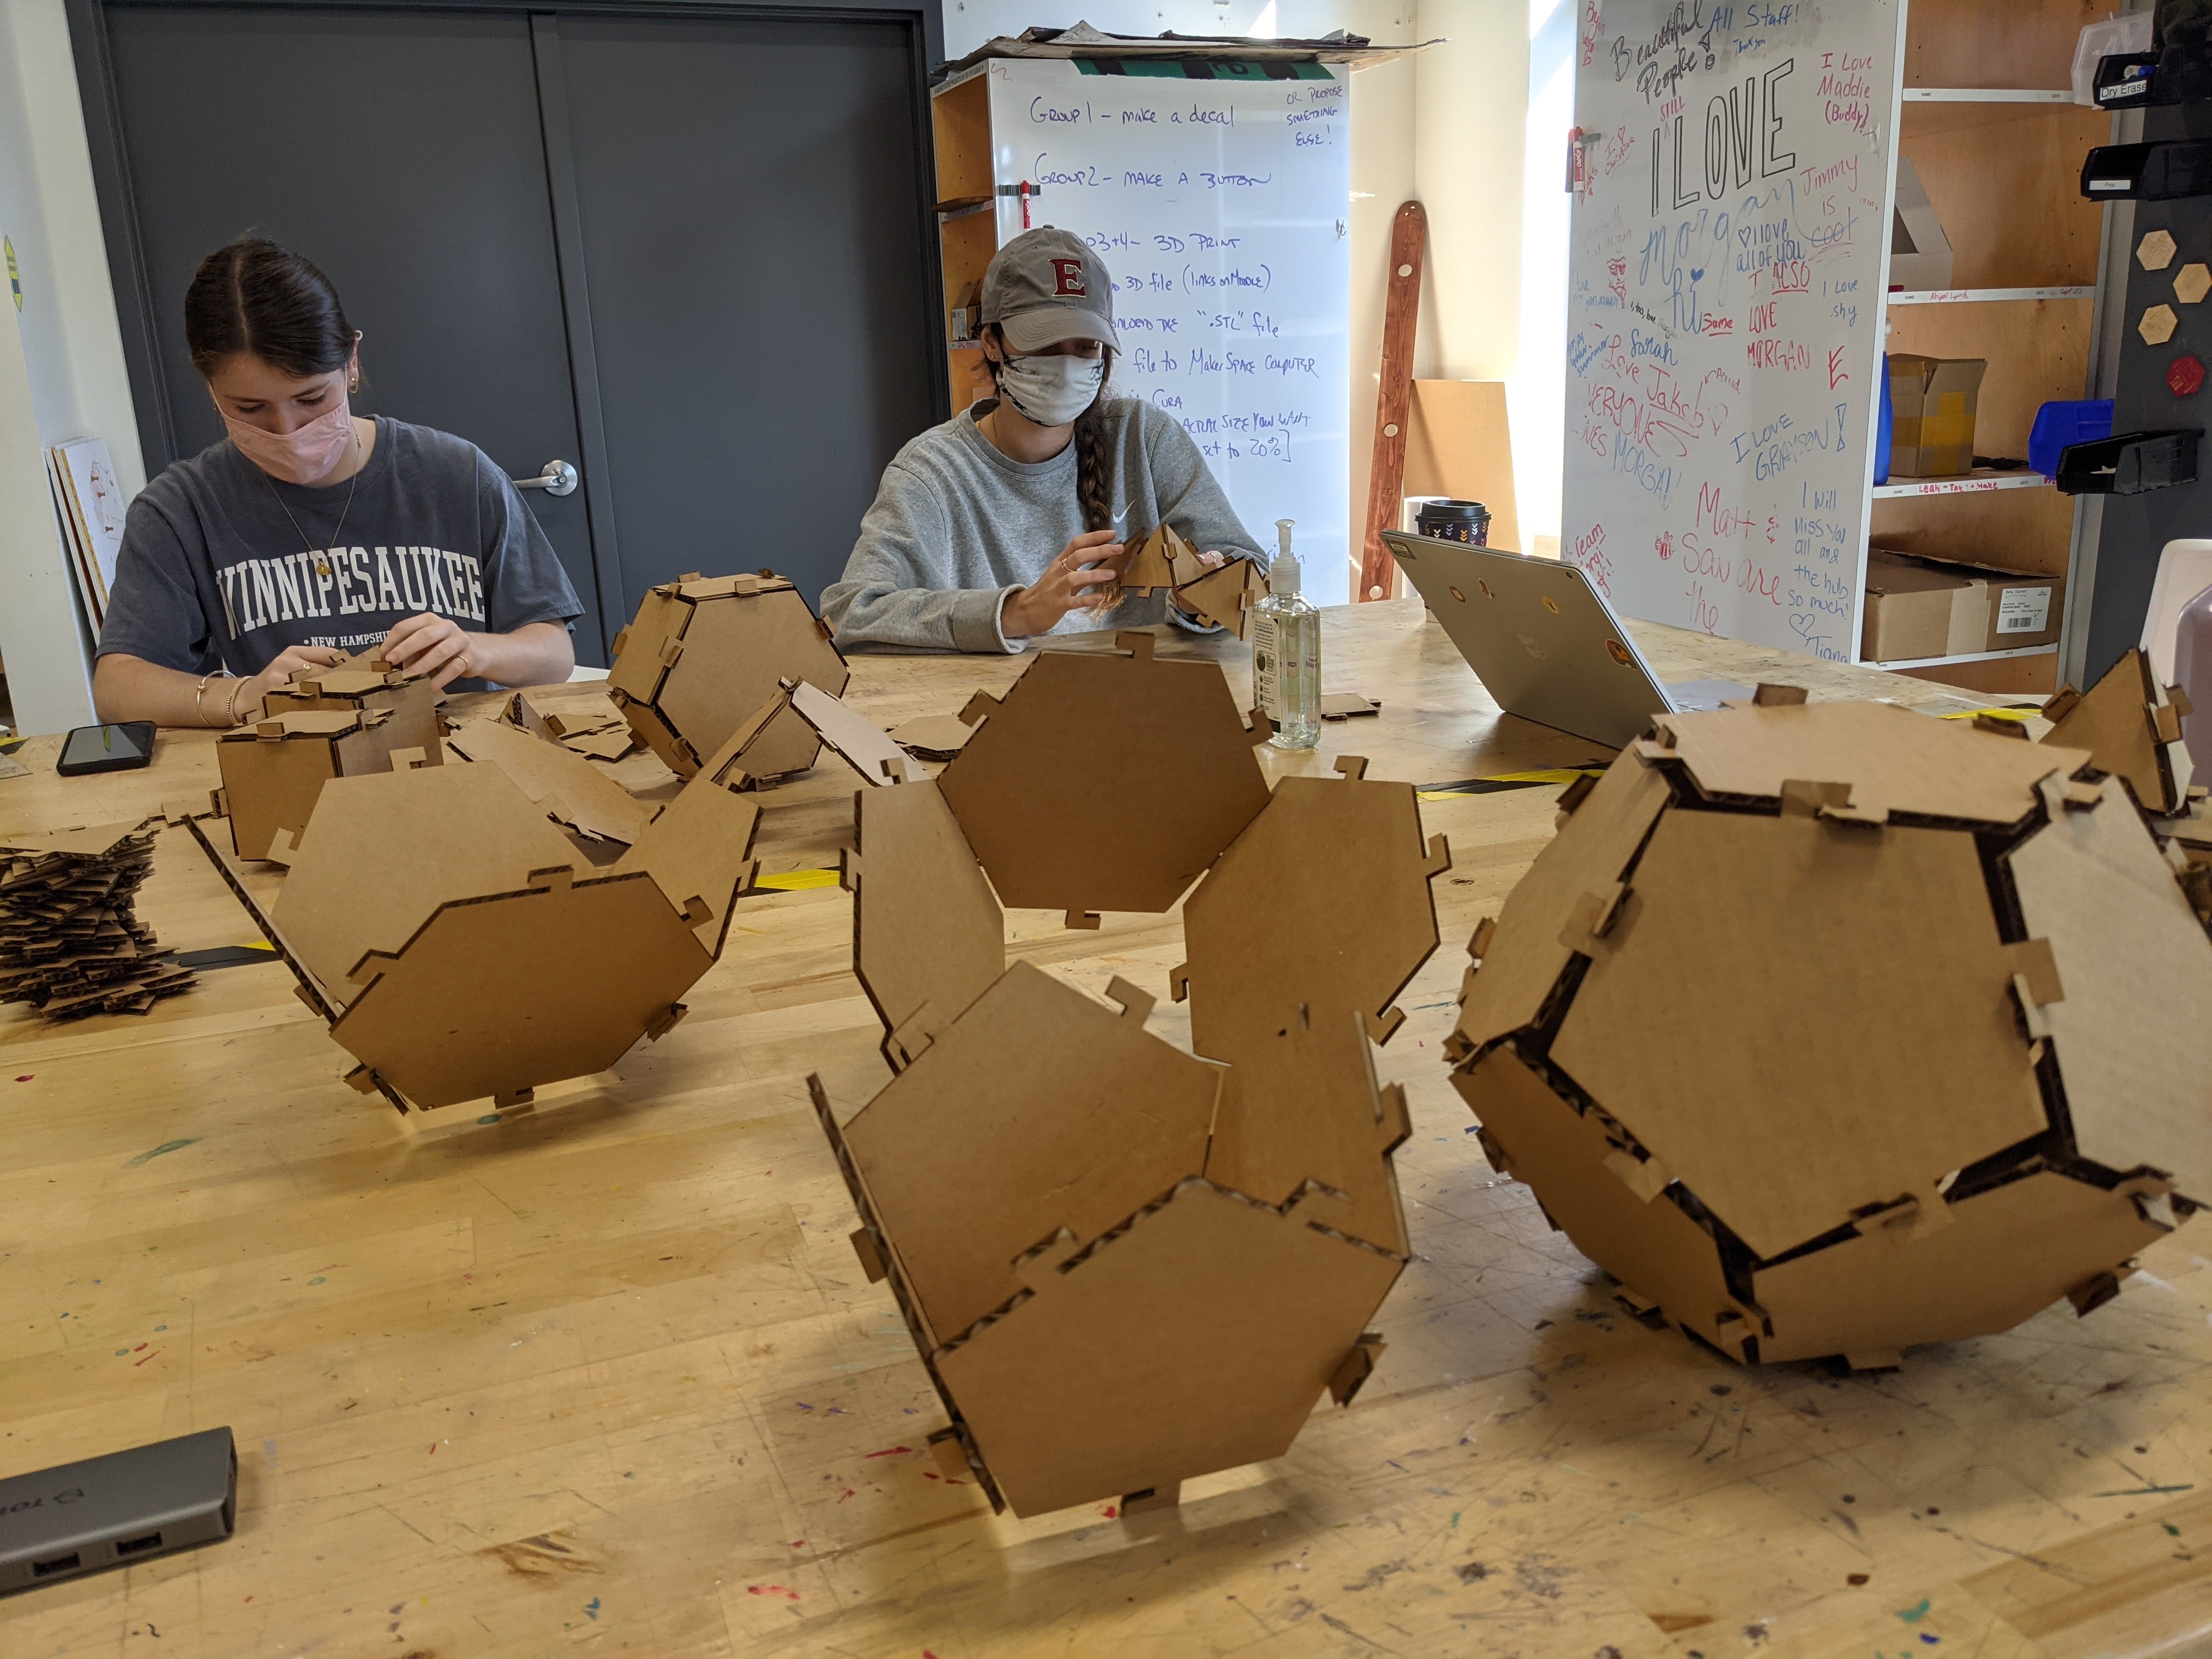
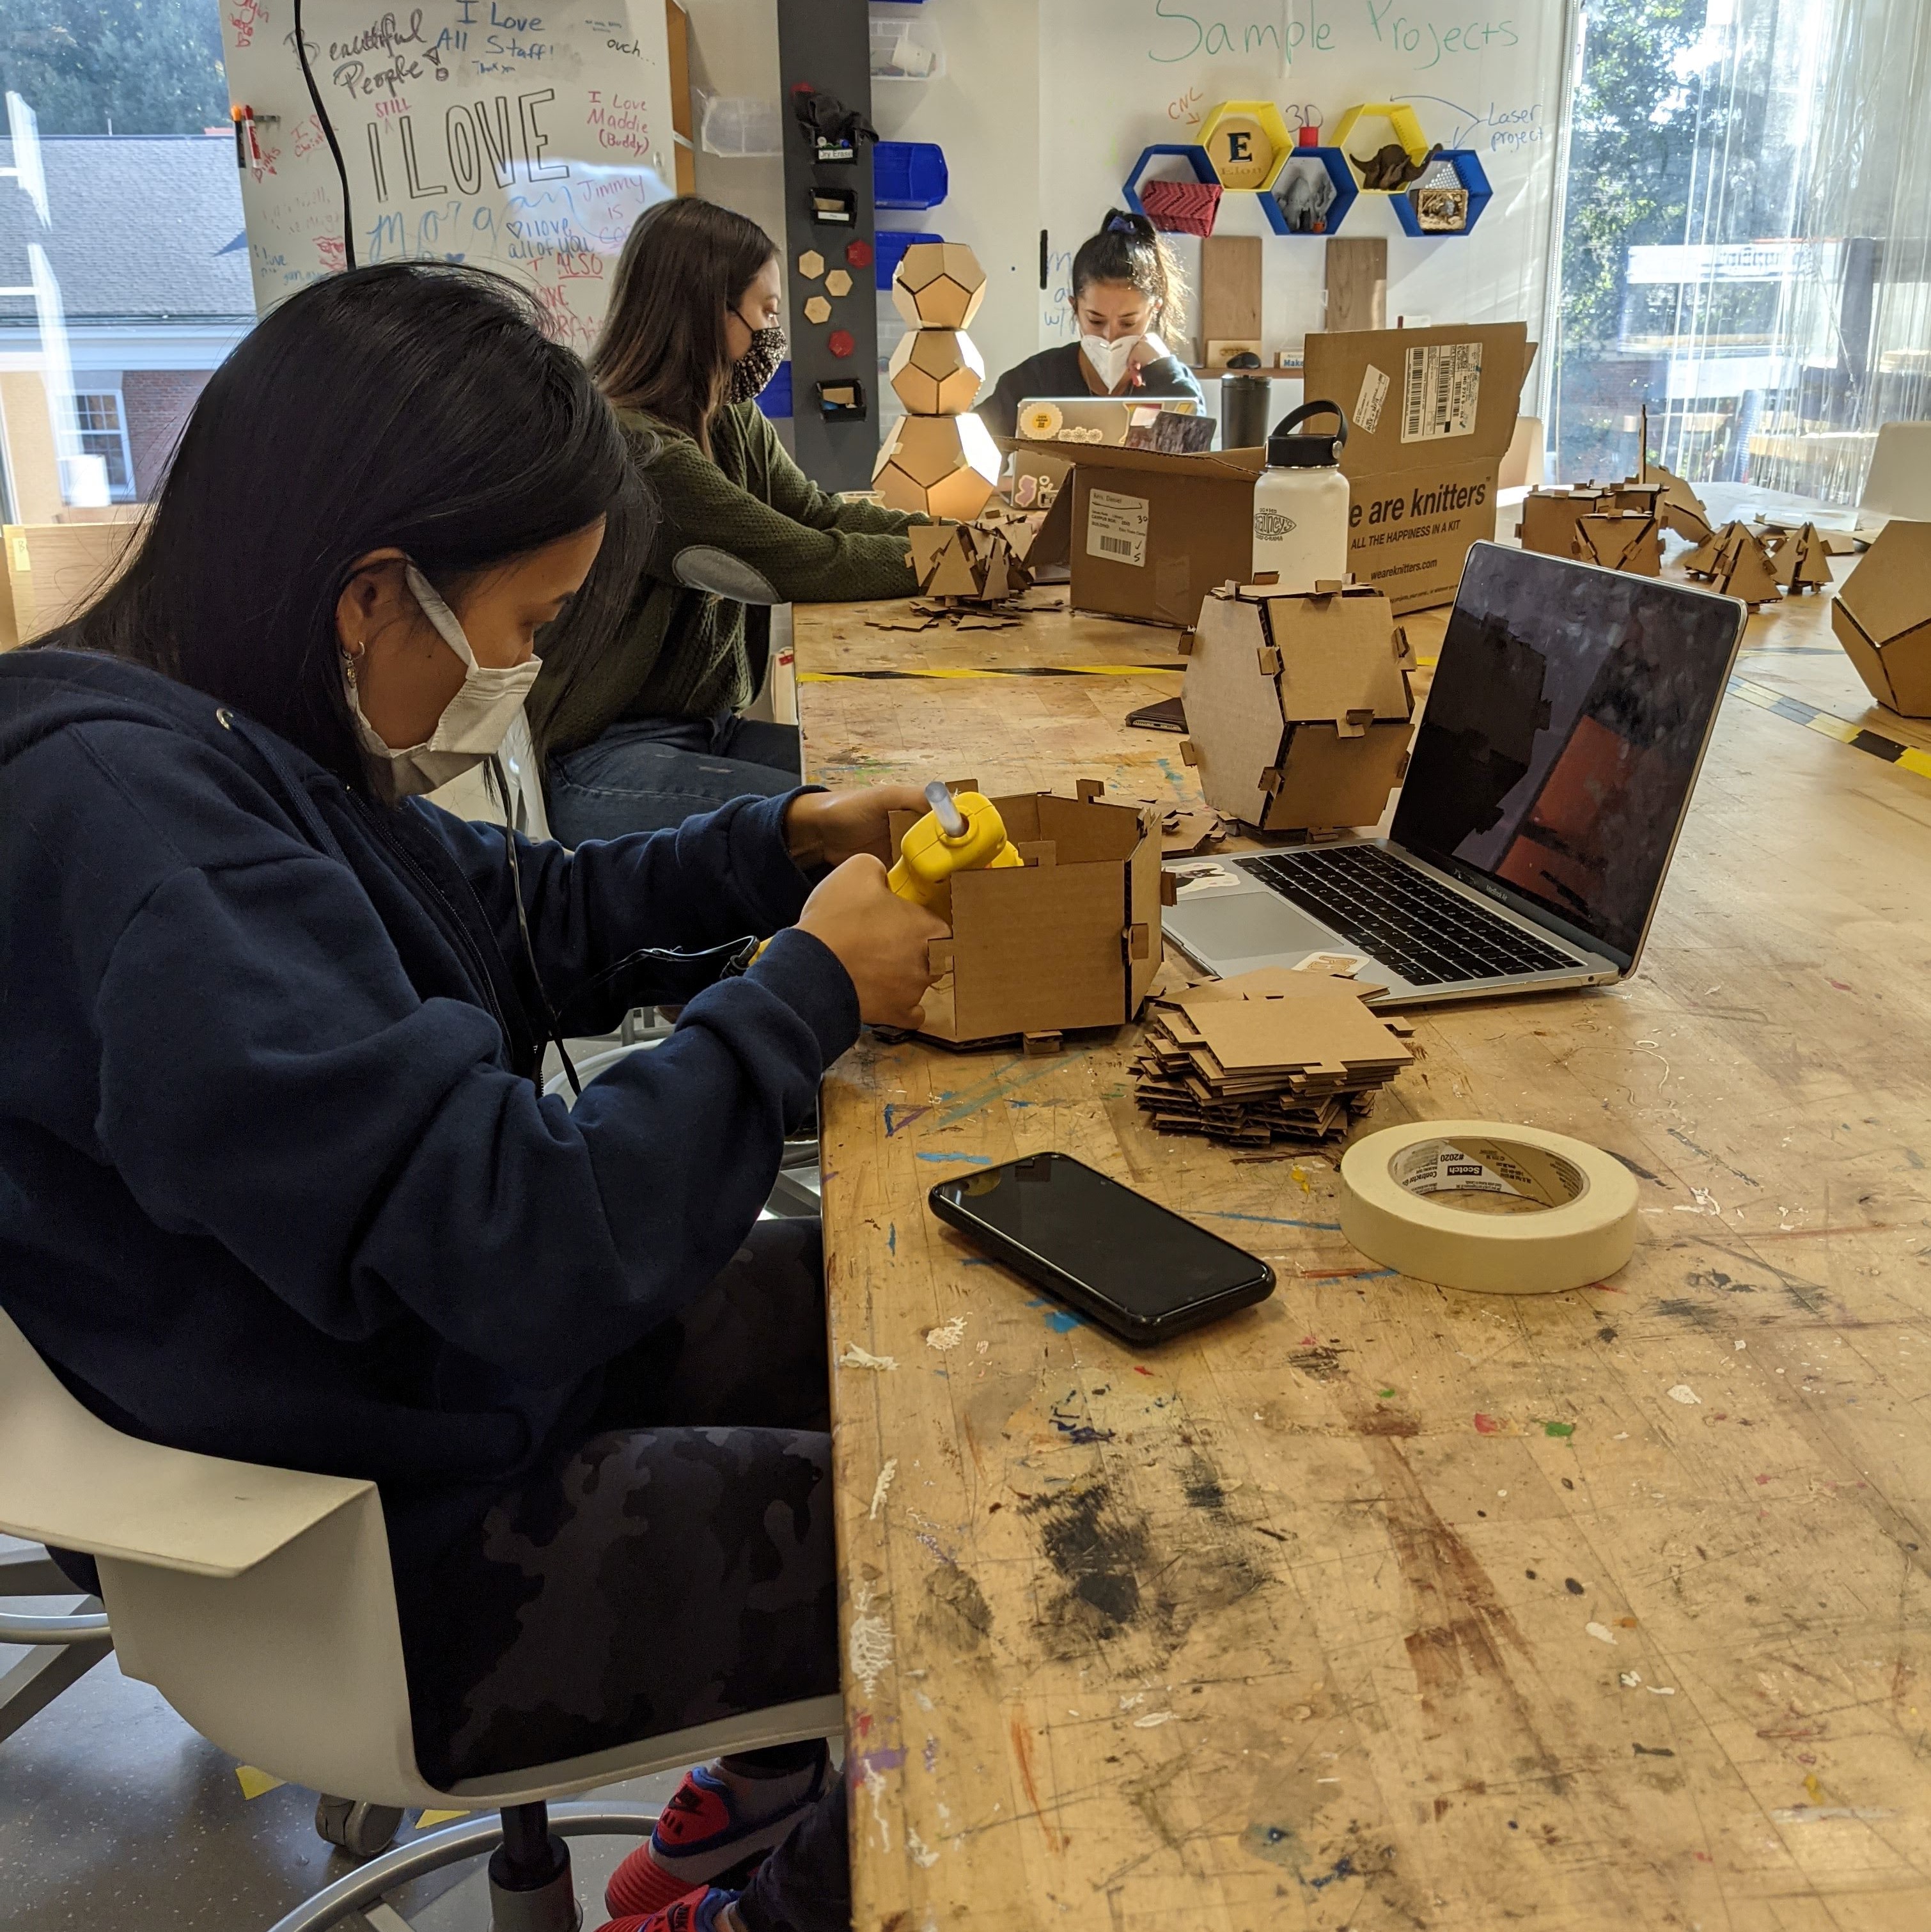
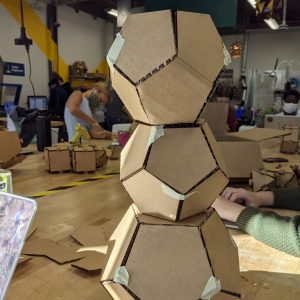
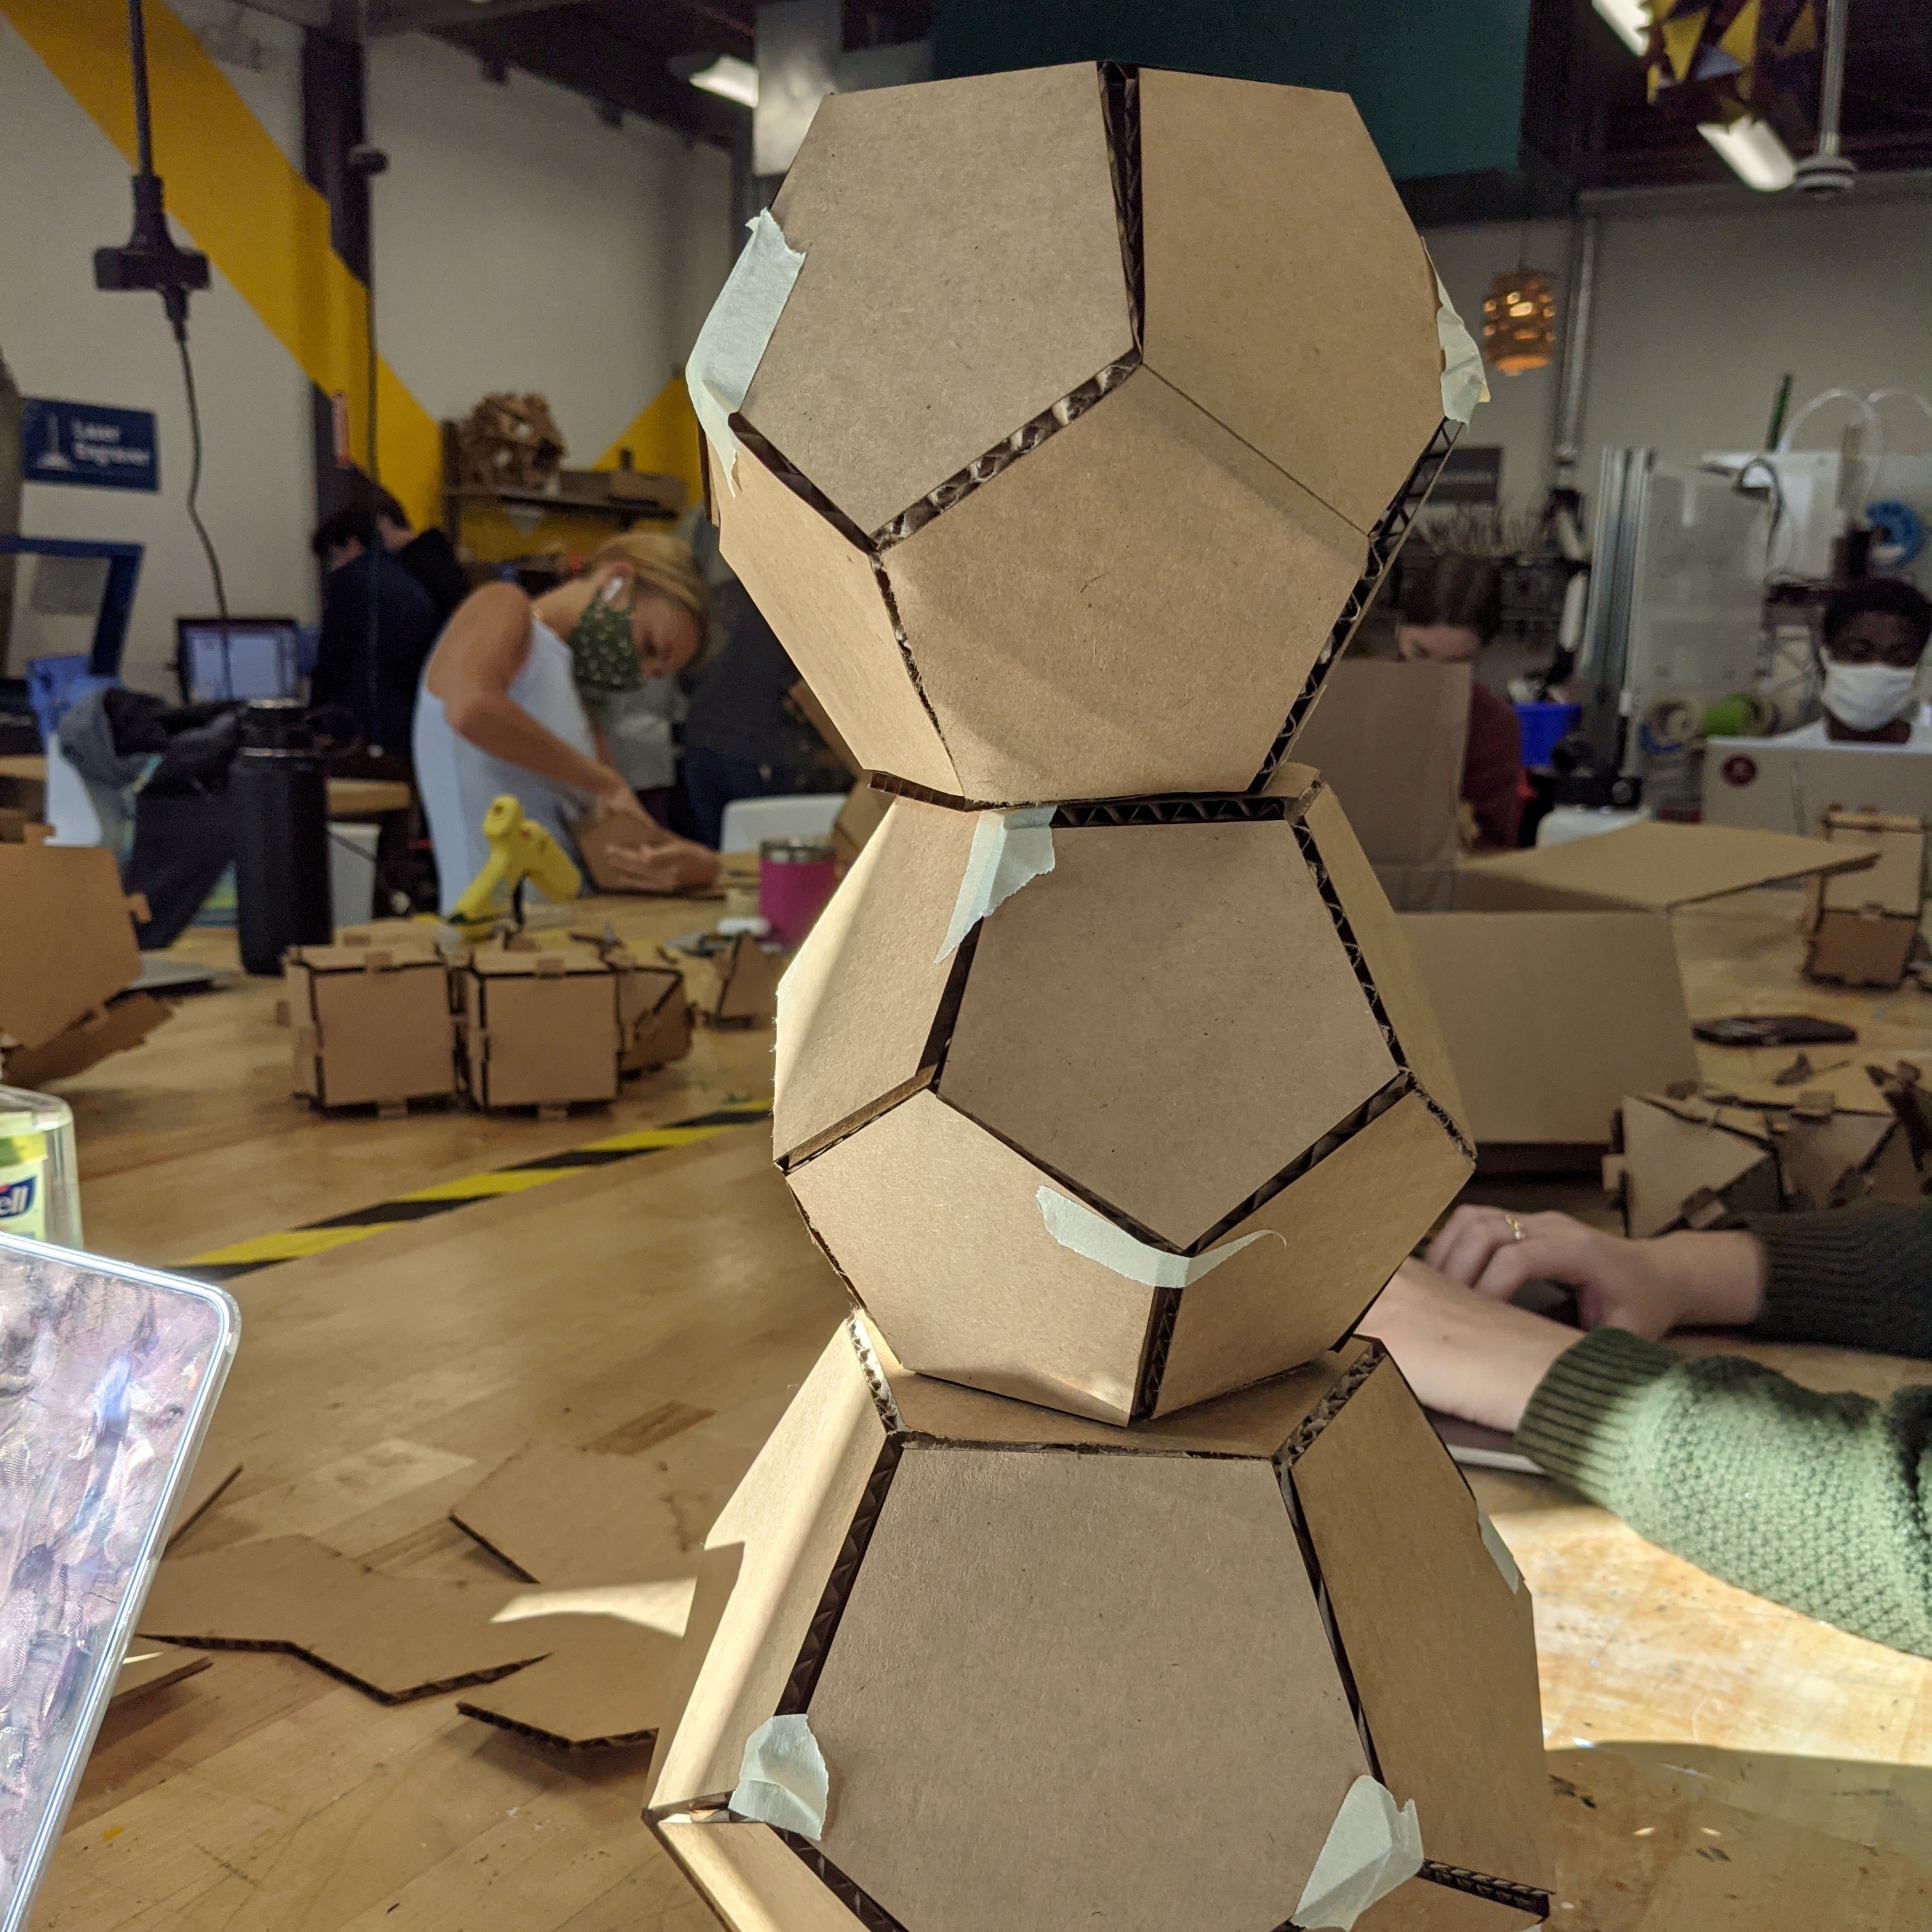
3 Dimensional Design - Ryan Rasmussen: Students laser cut shapes from cardboard and assembled them into 3D shapes.
Psychology of Gender and Sex - Rachel Force: Students participated in activities with a history of gendered stereotypes and discussed those stereotypes.
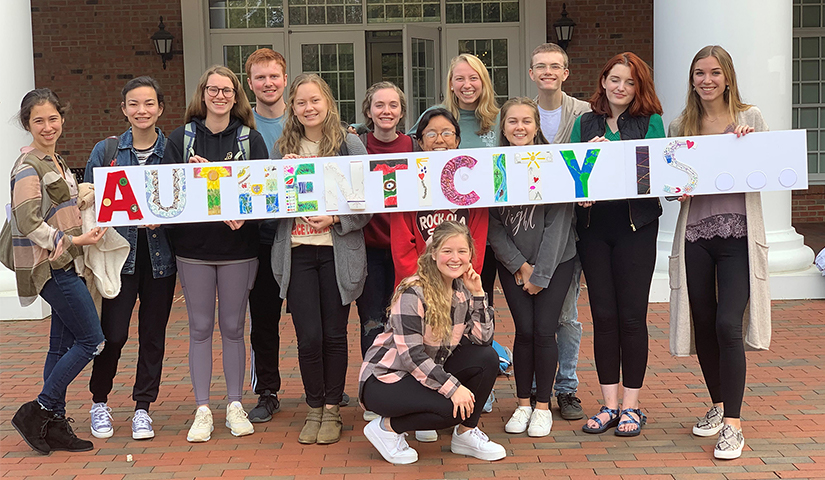
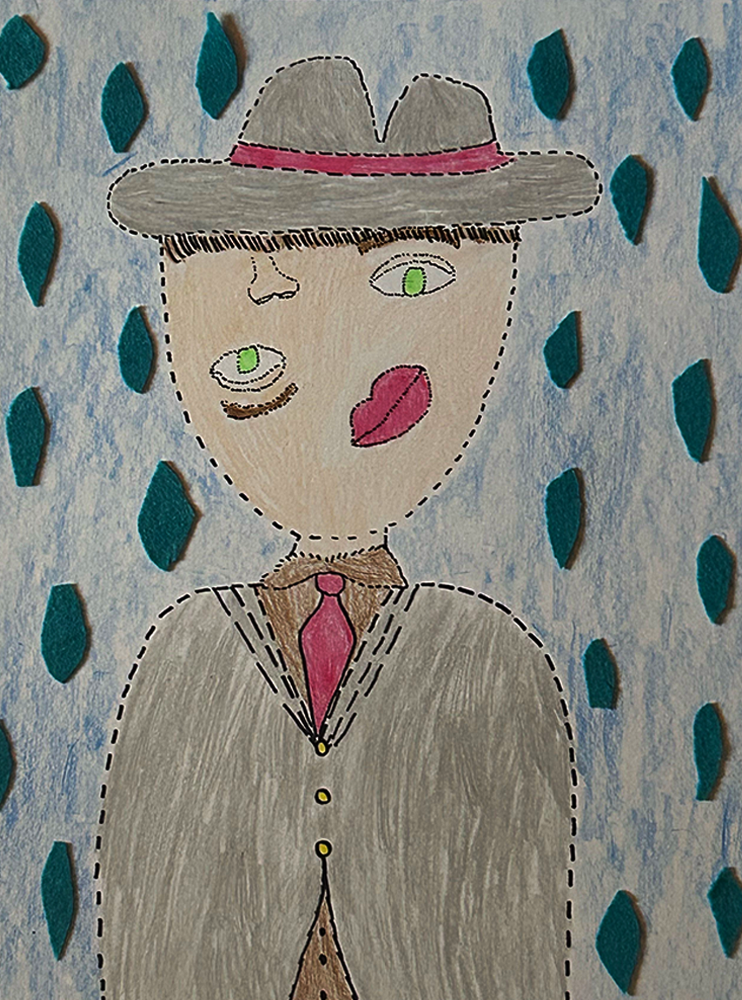
Authenticity: True Self - Alexis Franzese: Students went through a sketching exercise and designed a letter from the word Authenticity that represented their true self.
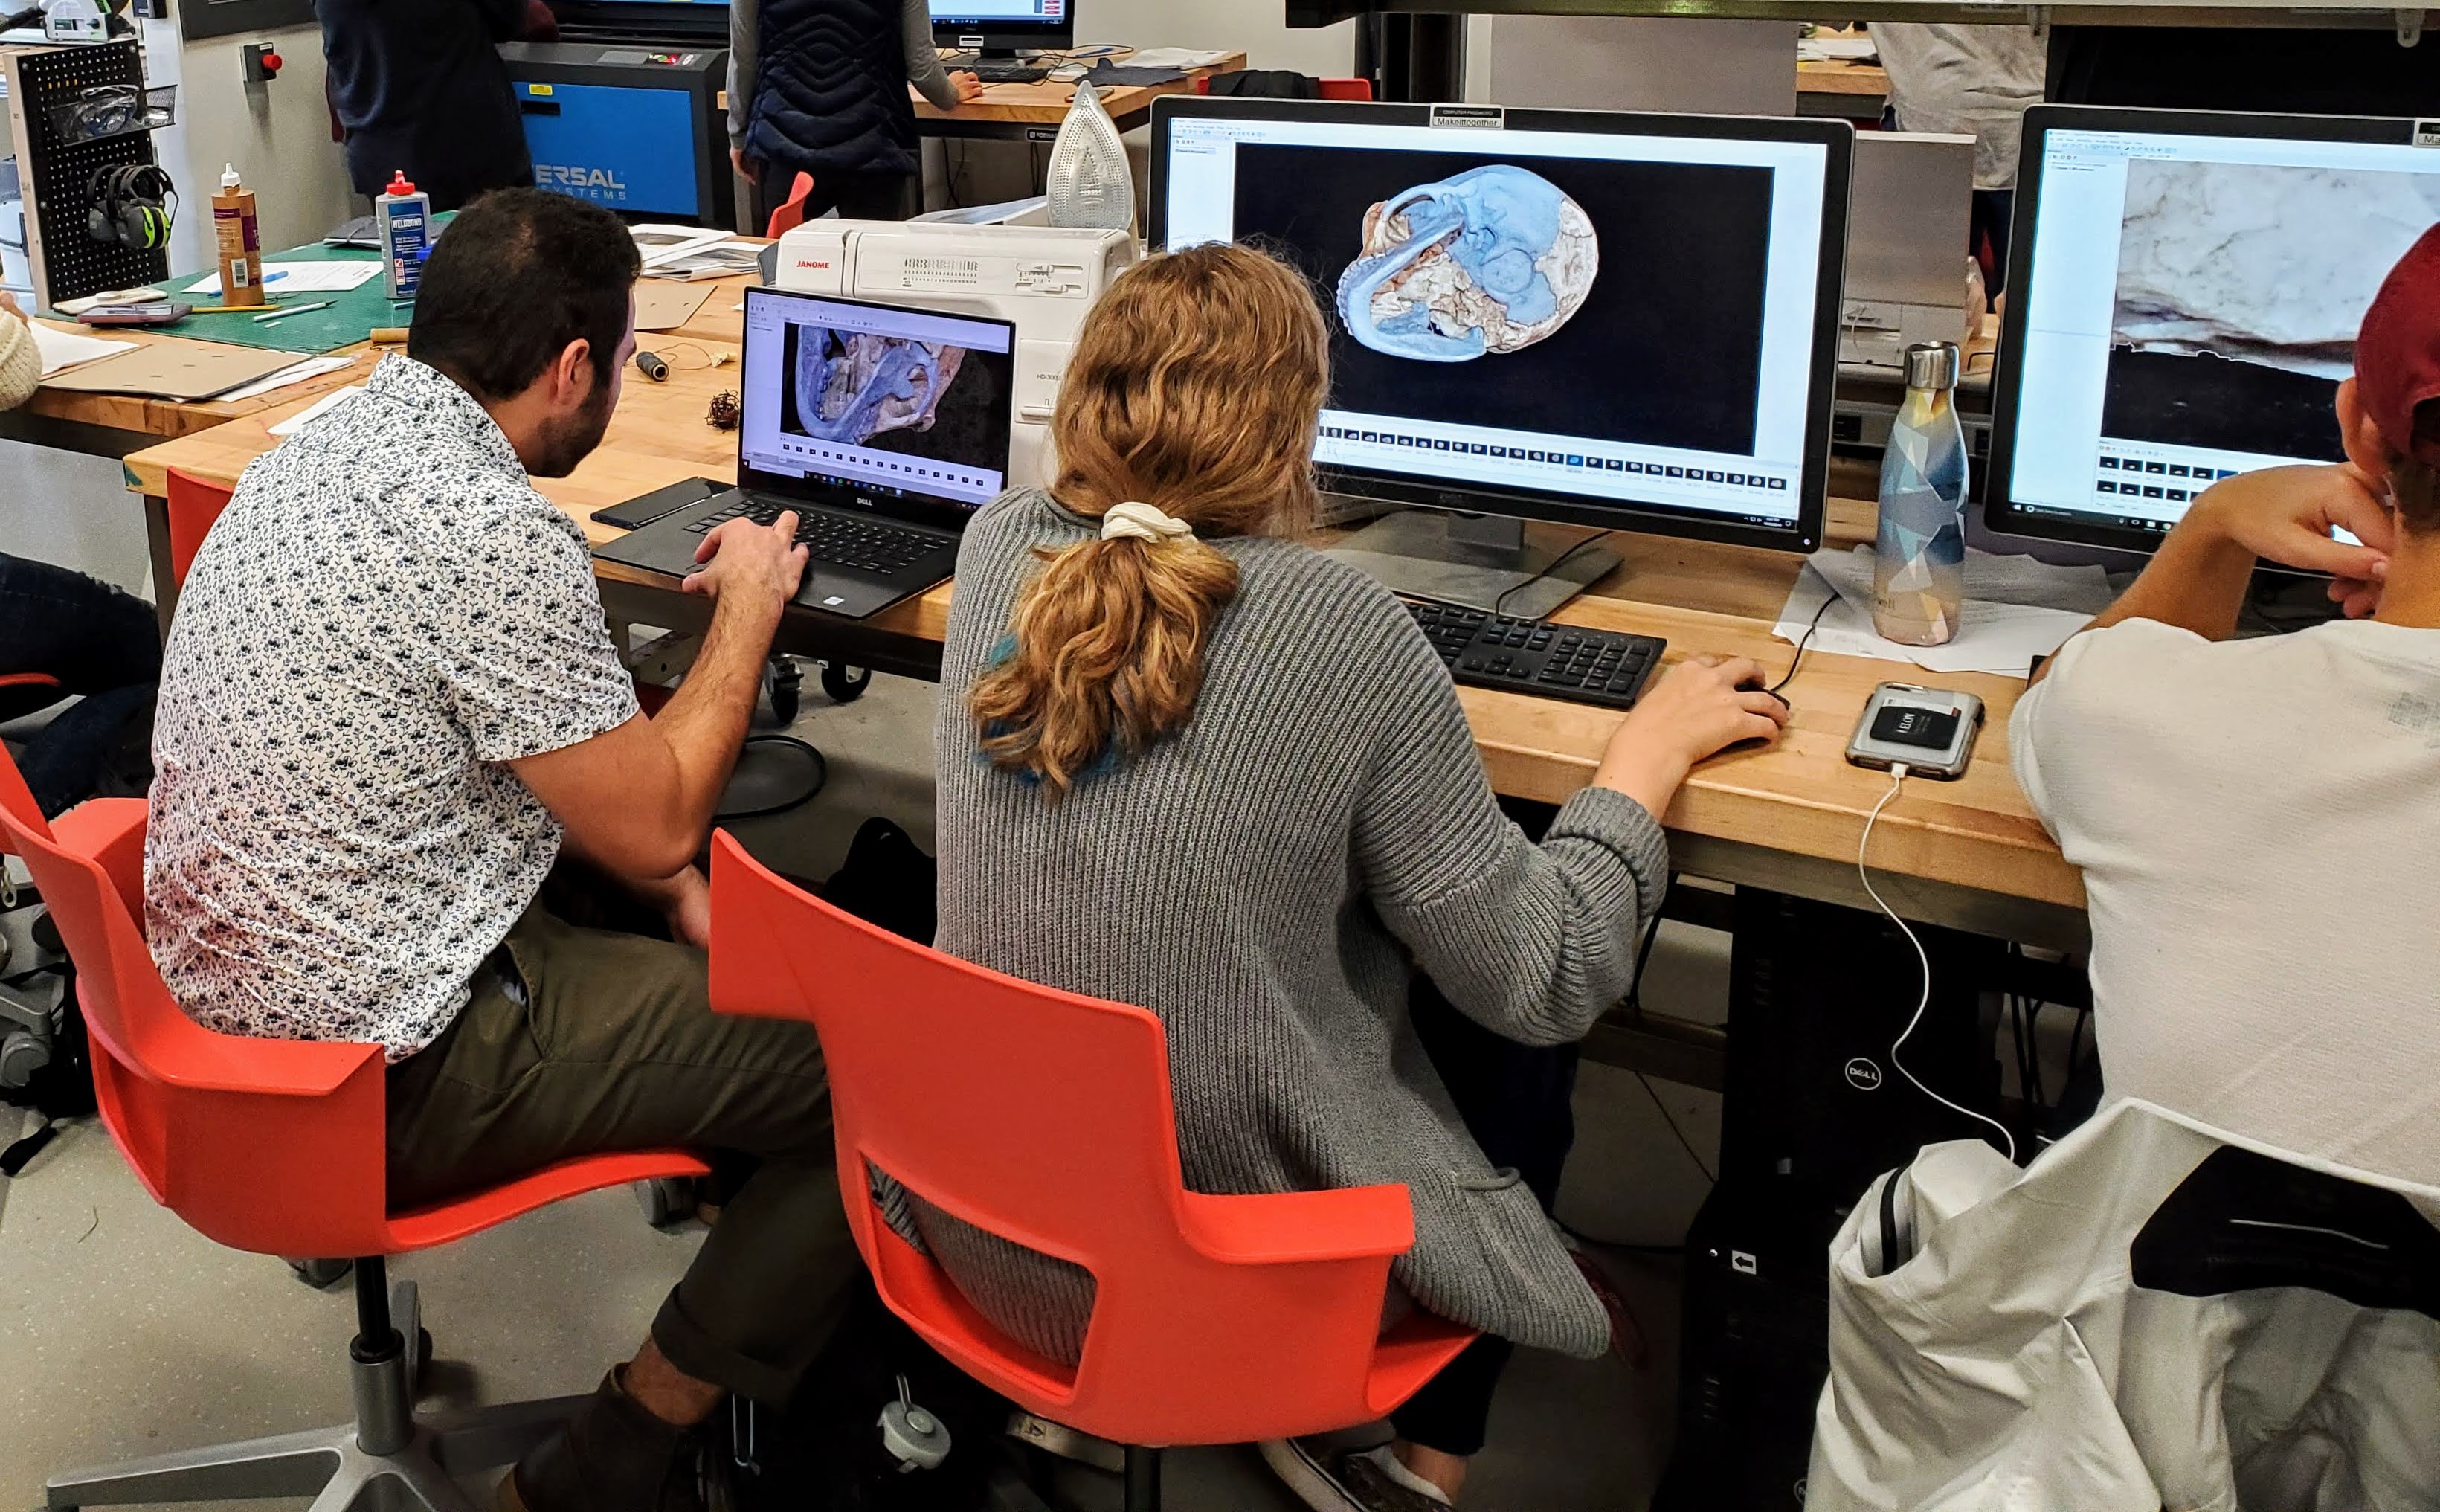
Intro to Archaeology - Rissa Trachman: Students used the technique of Photogrammetry to create 3D models of artifacts in the Elon University collection.
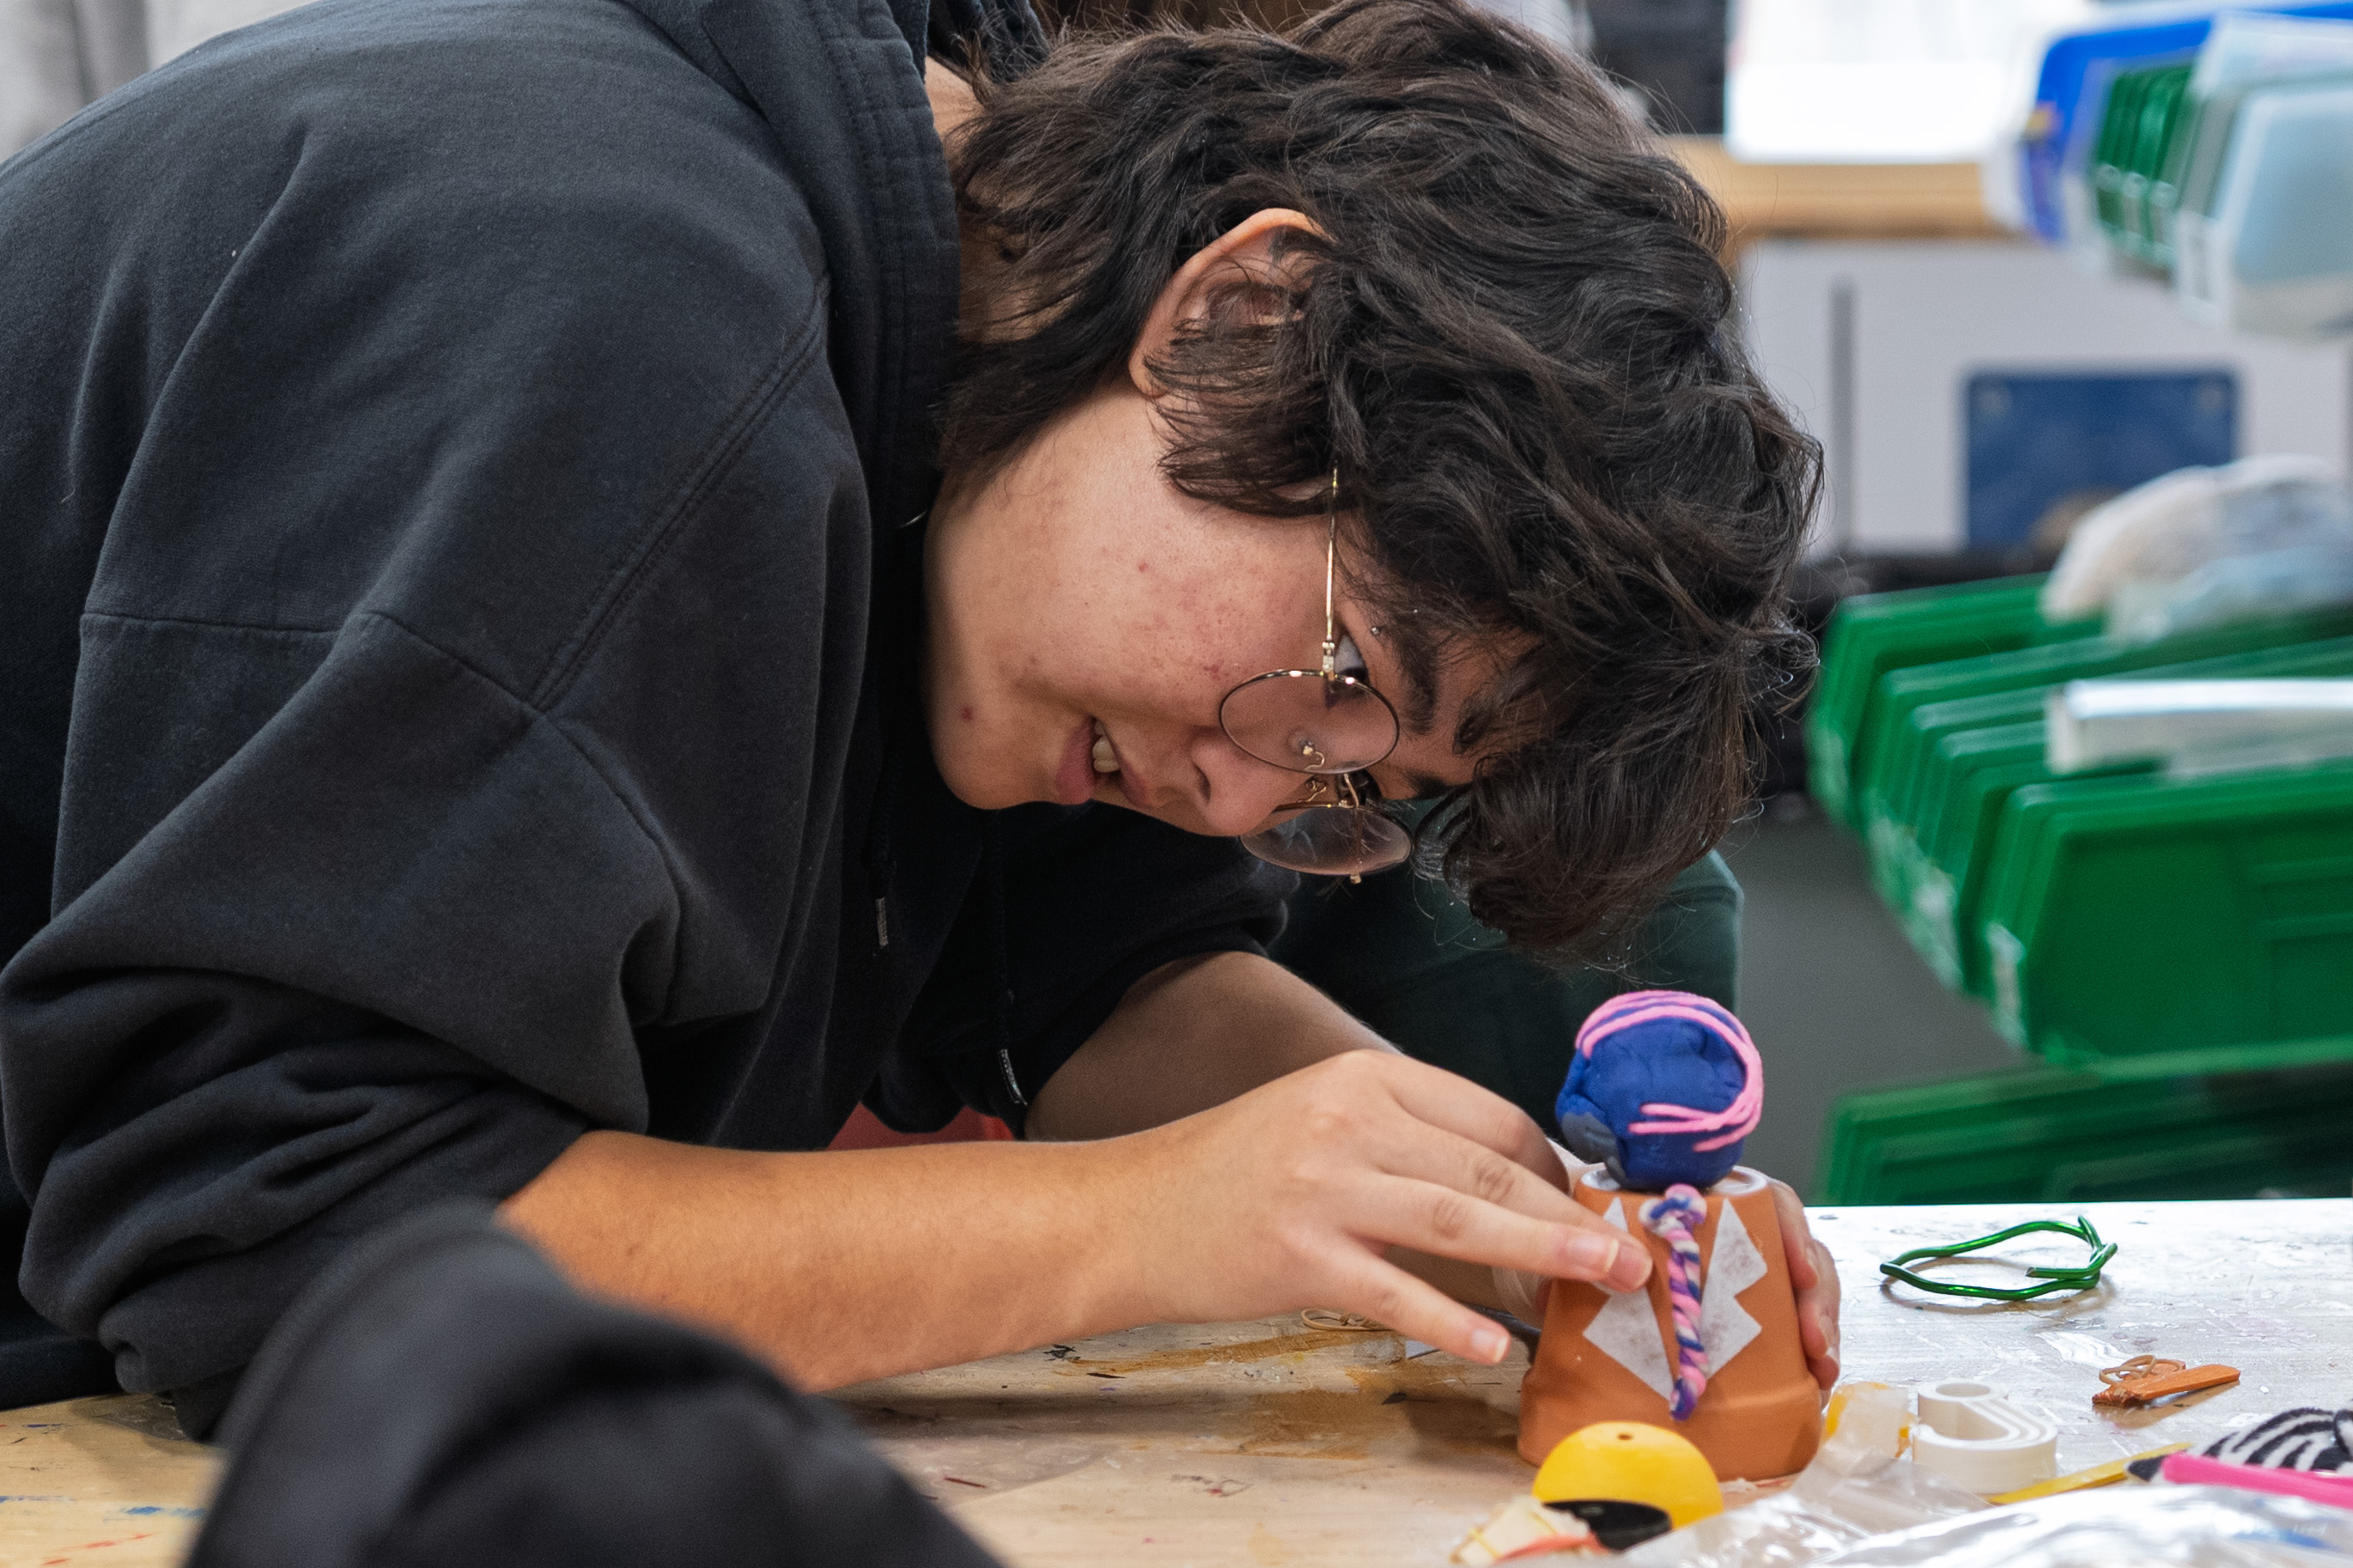
Japanese Culture Through Film
Creating anime characters from nothing
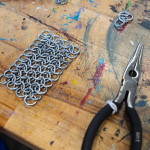
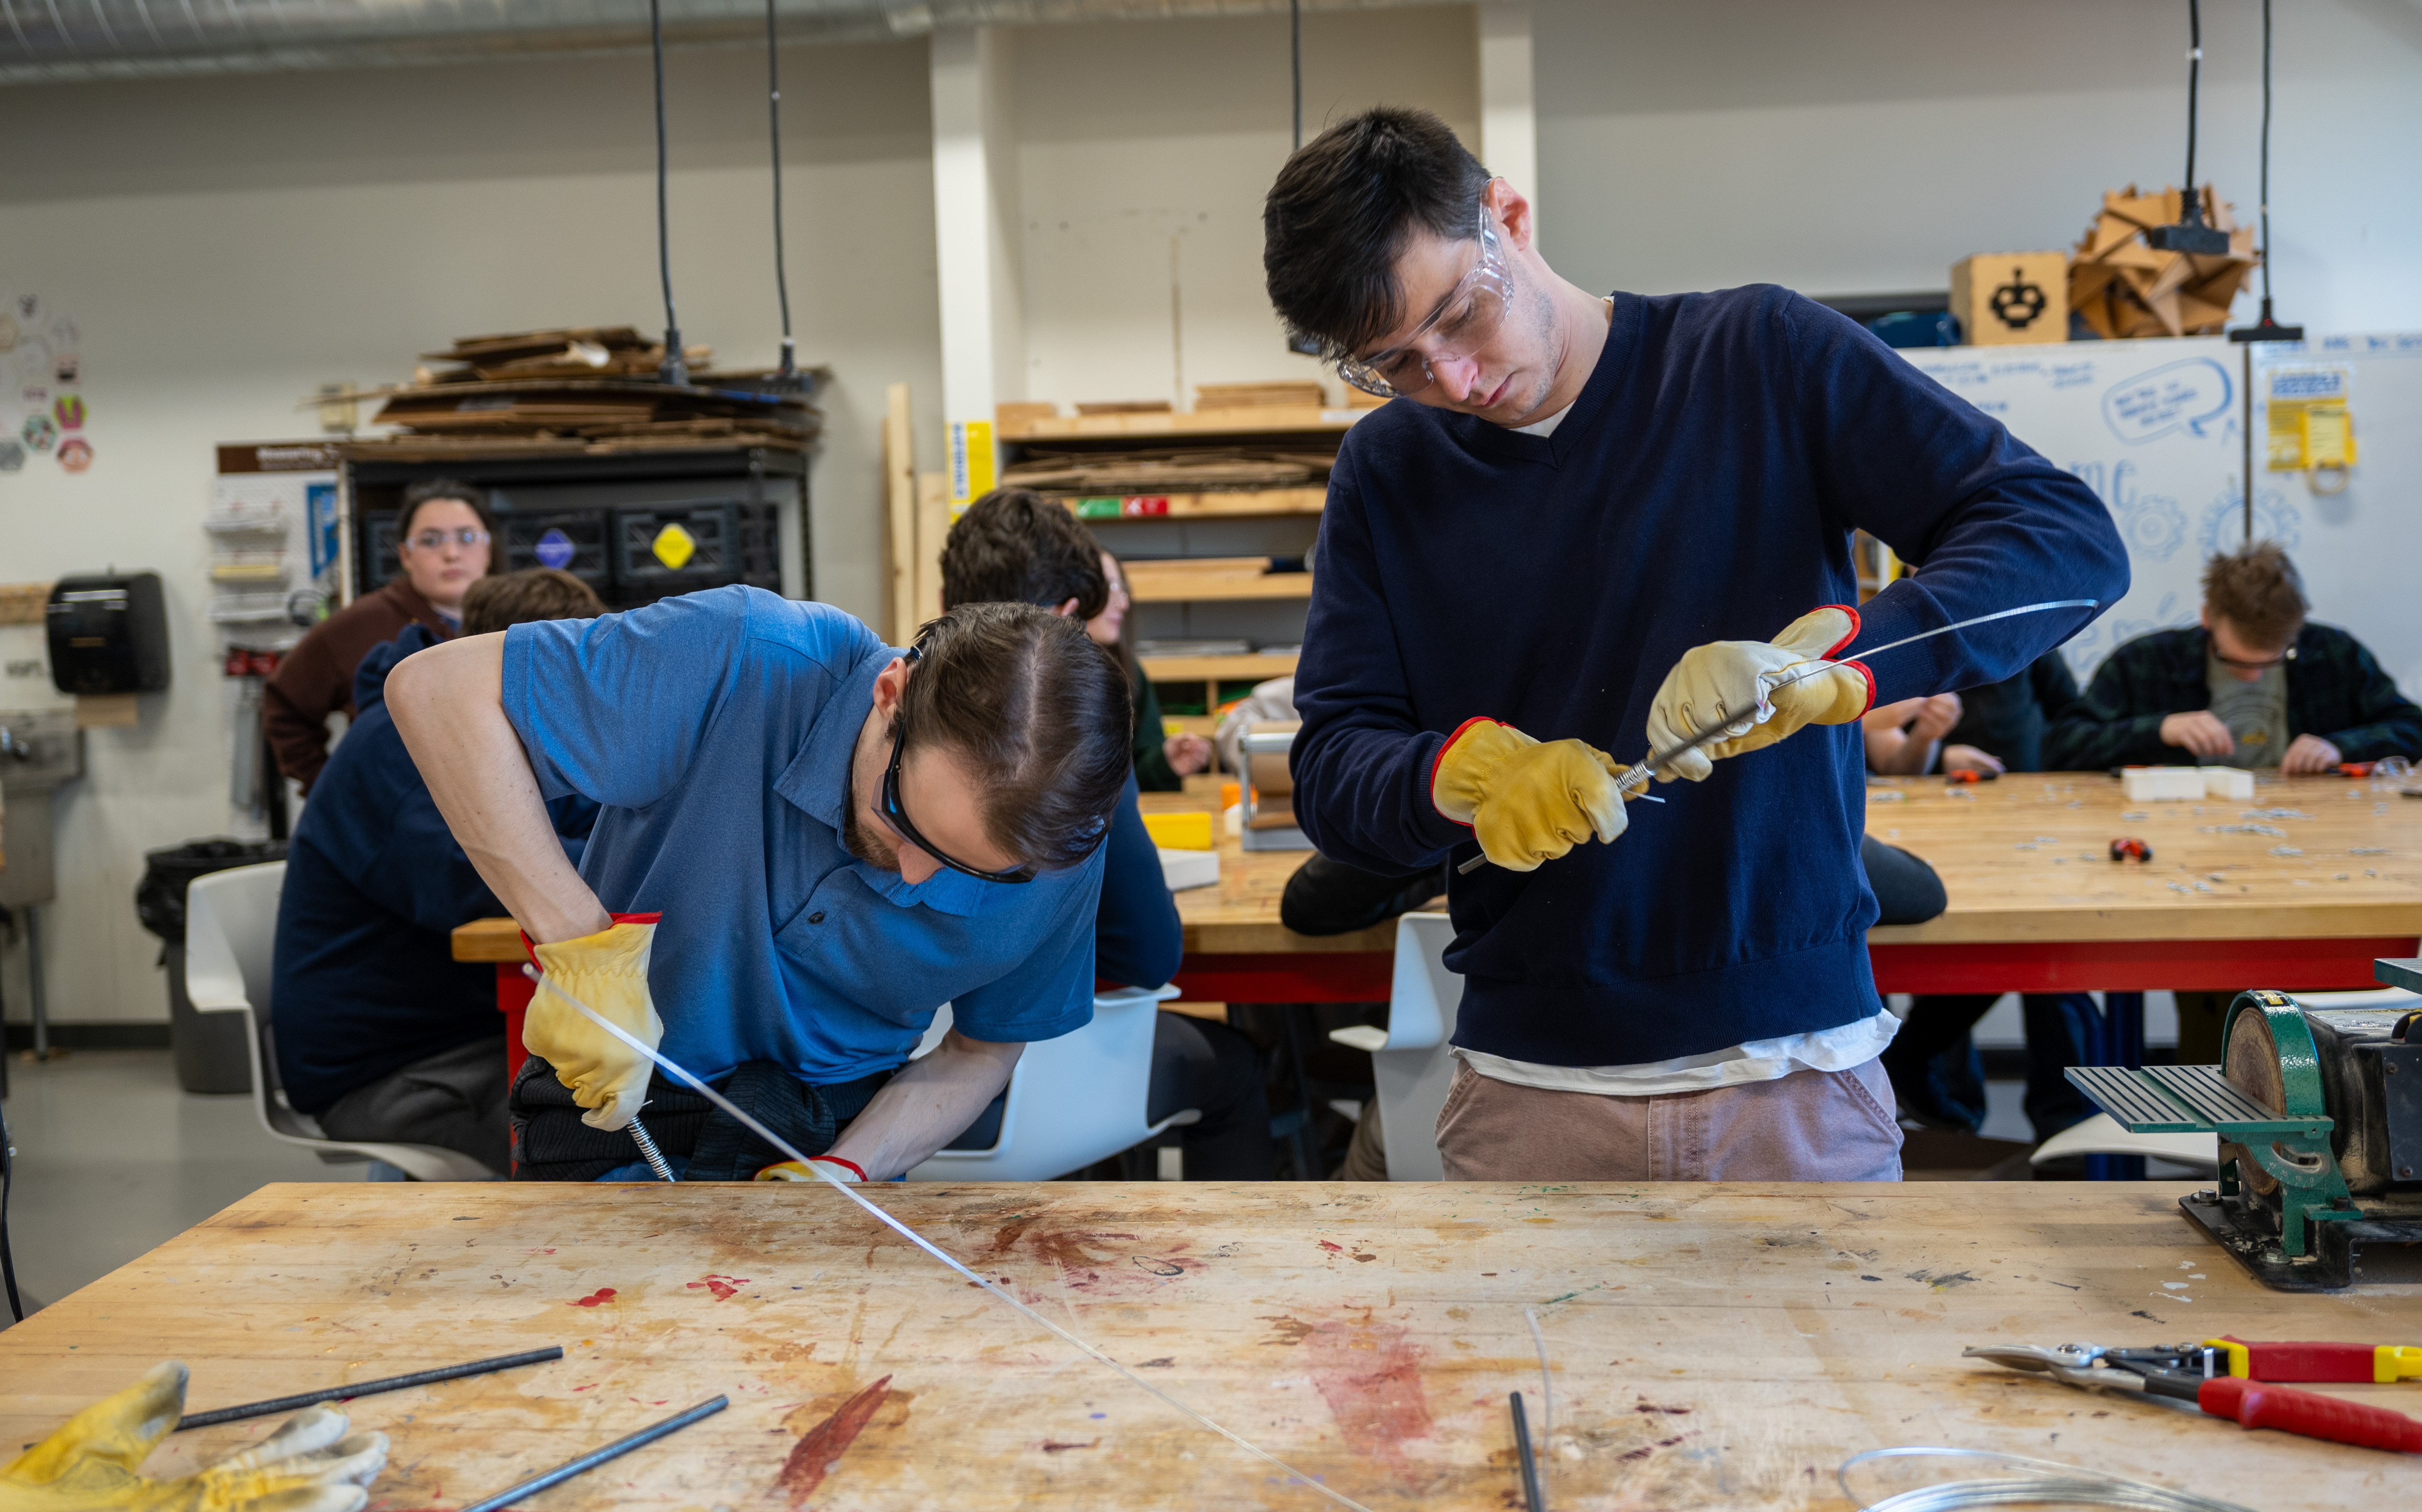
The Vikings
The slow and difficult process of making chainmail
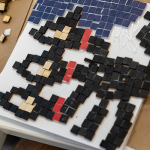
Mythology
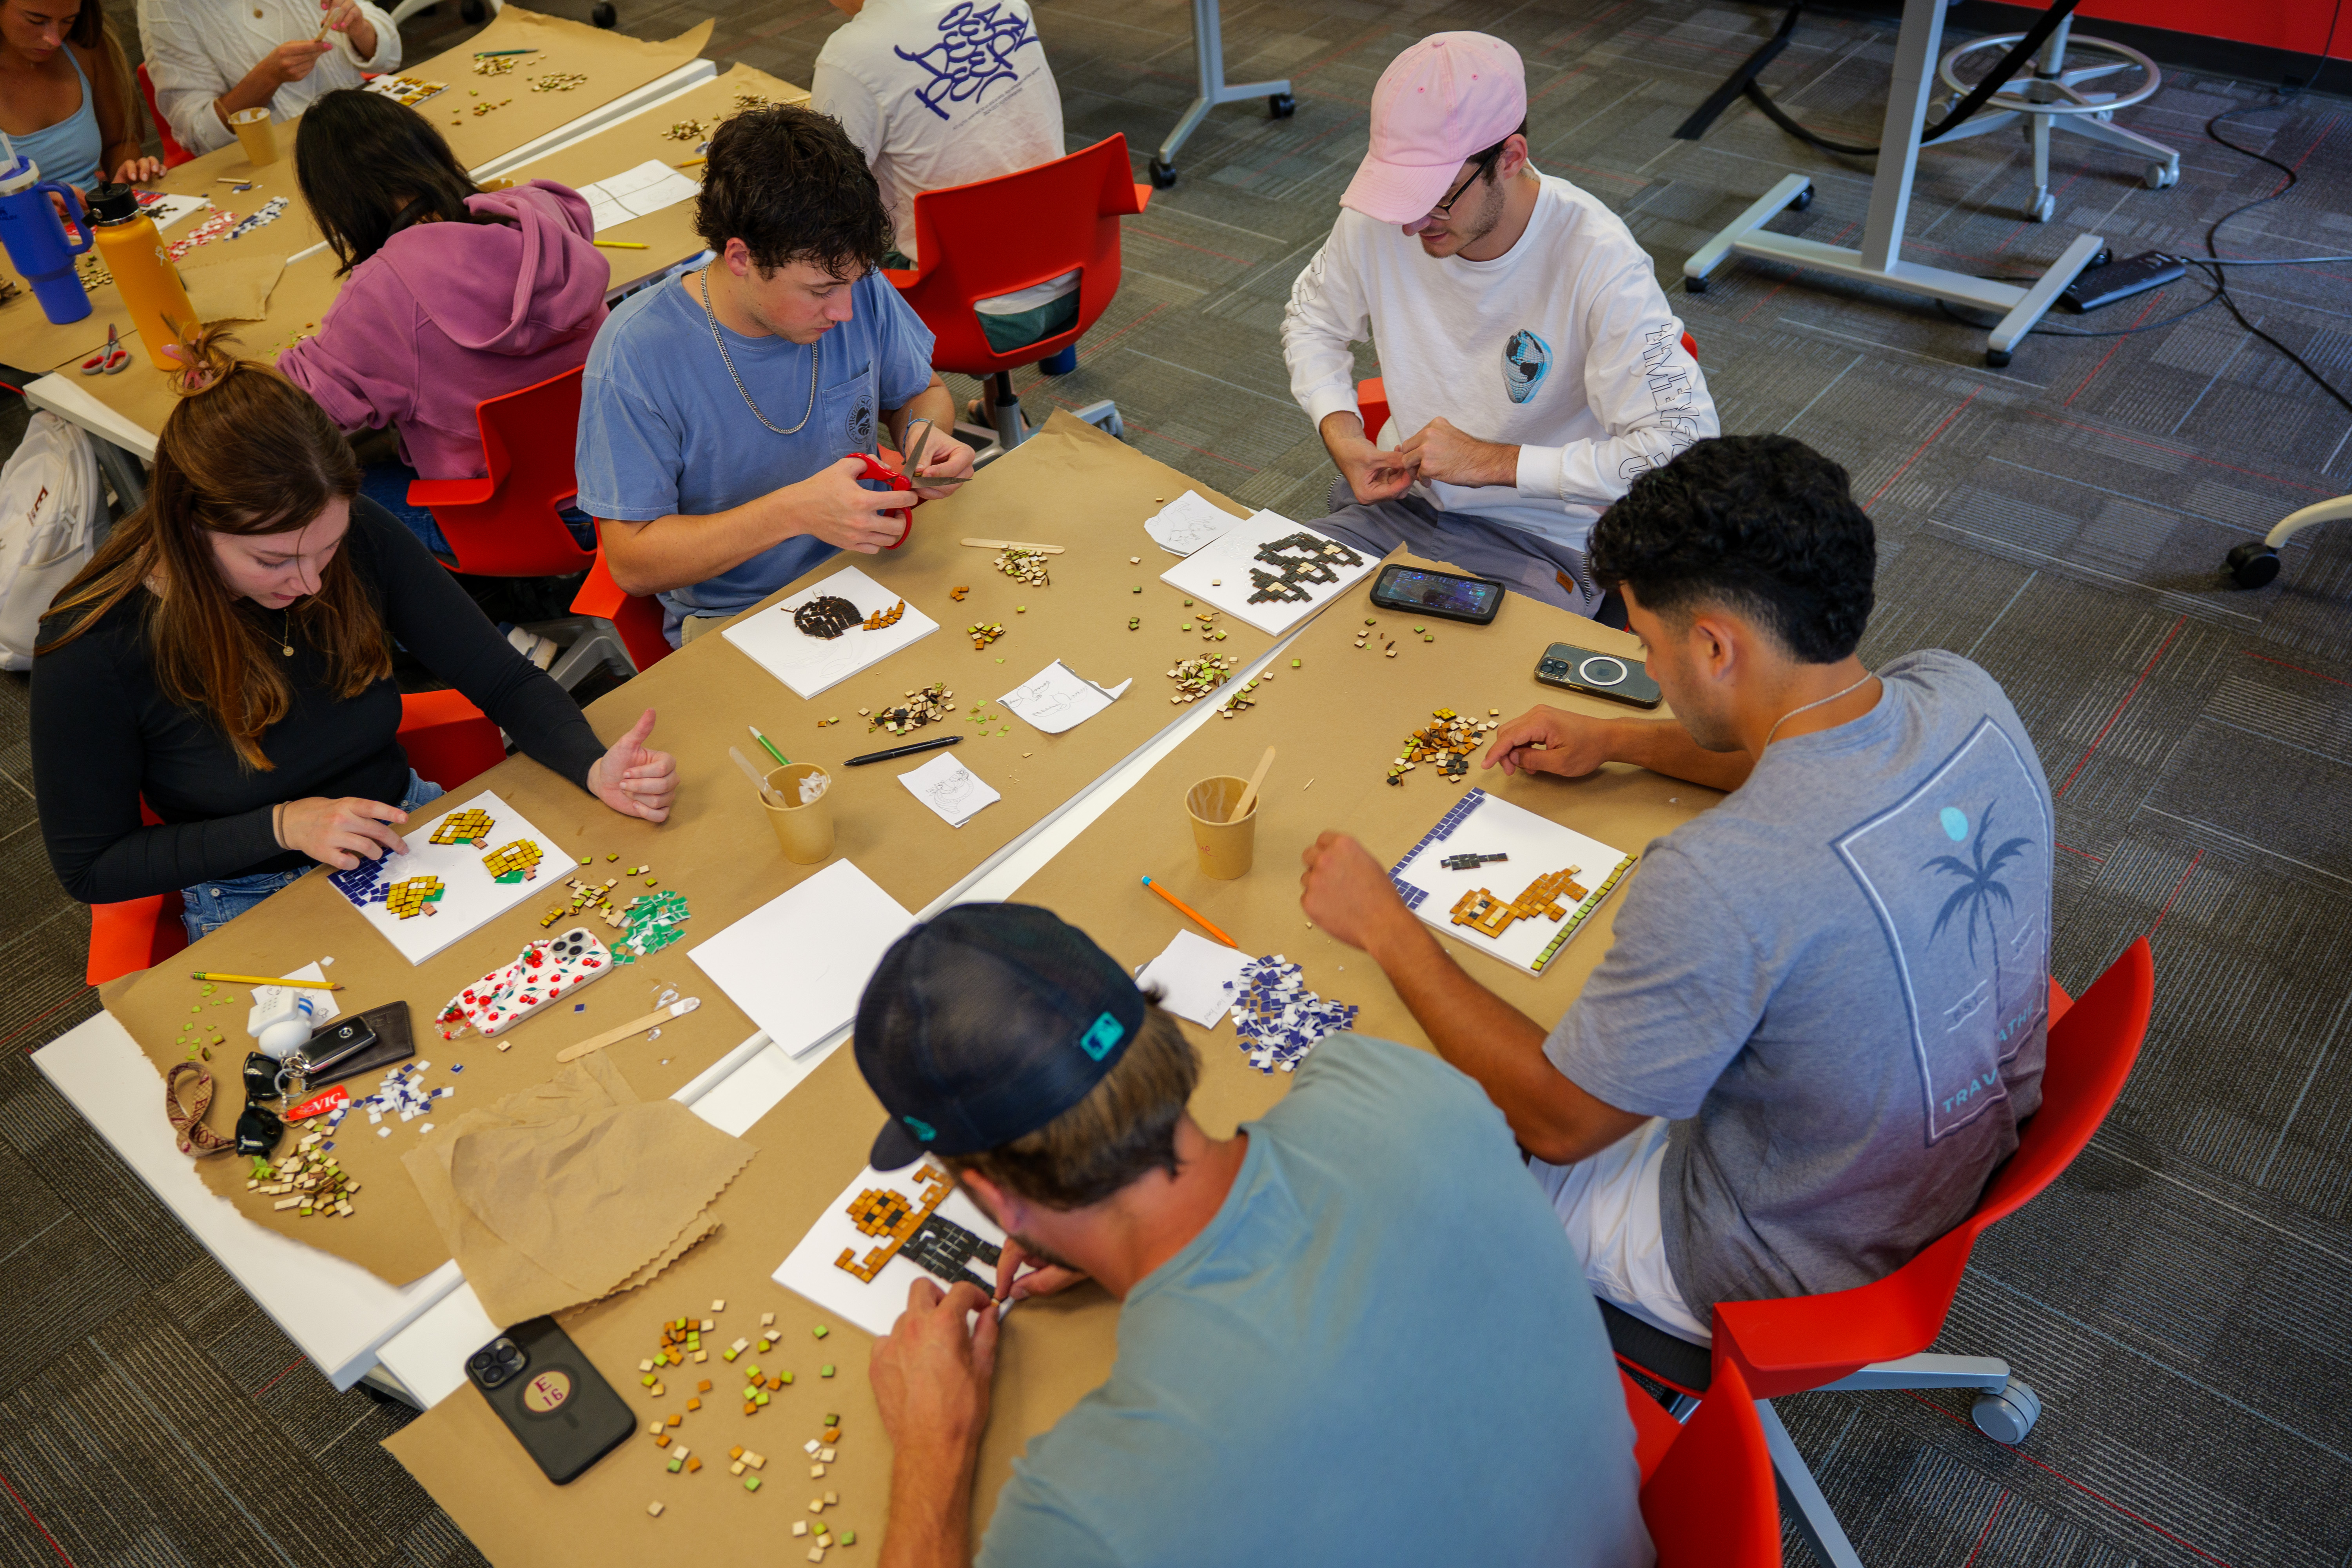
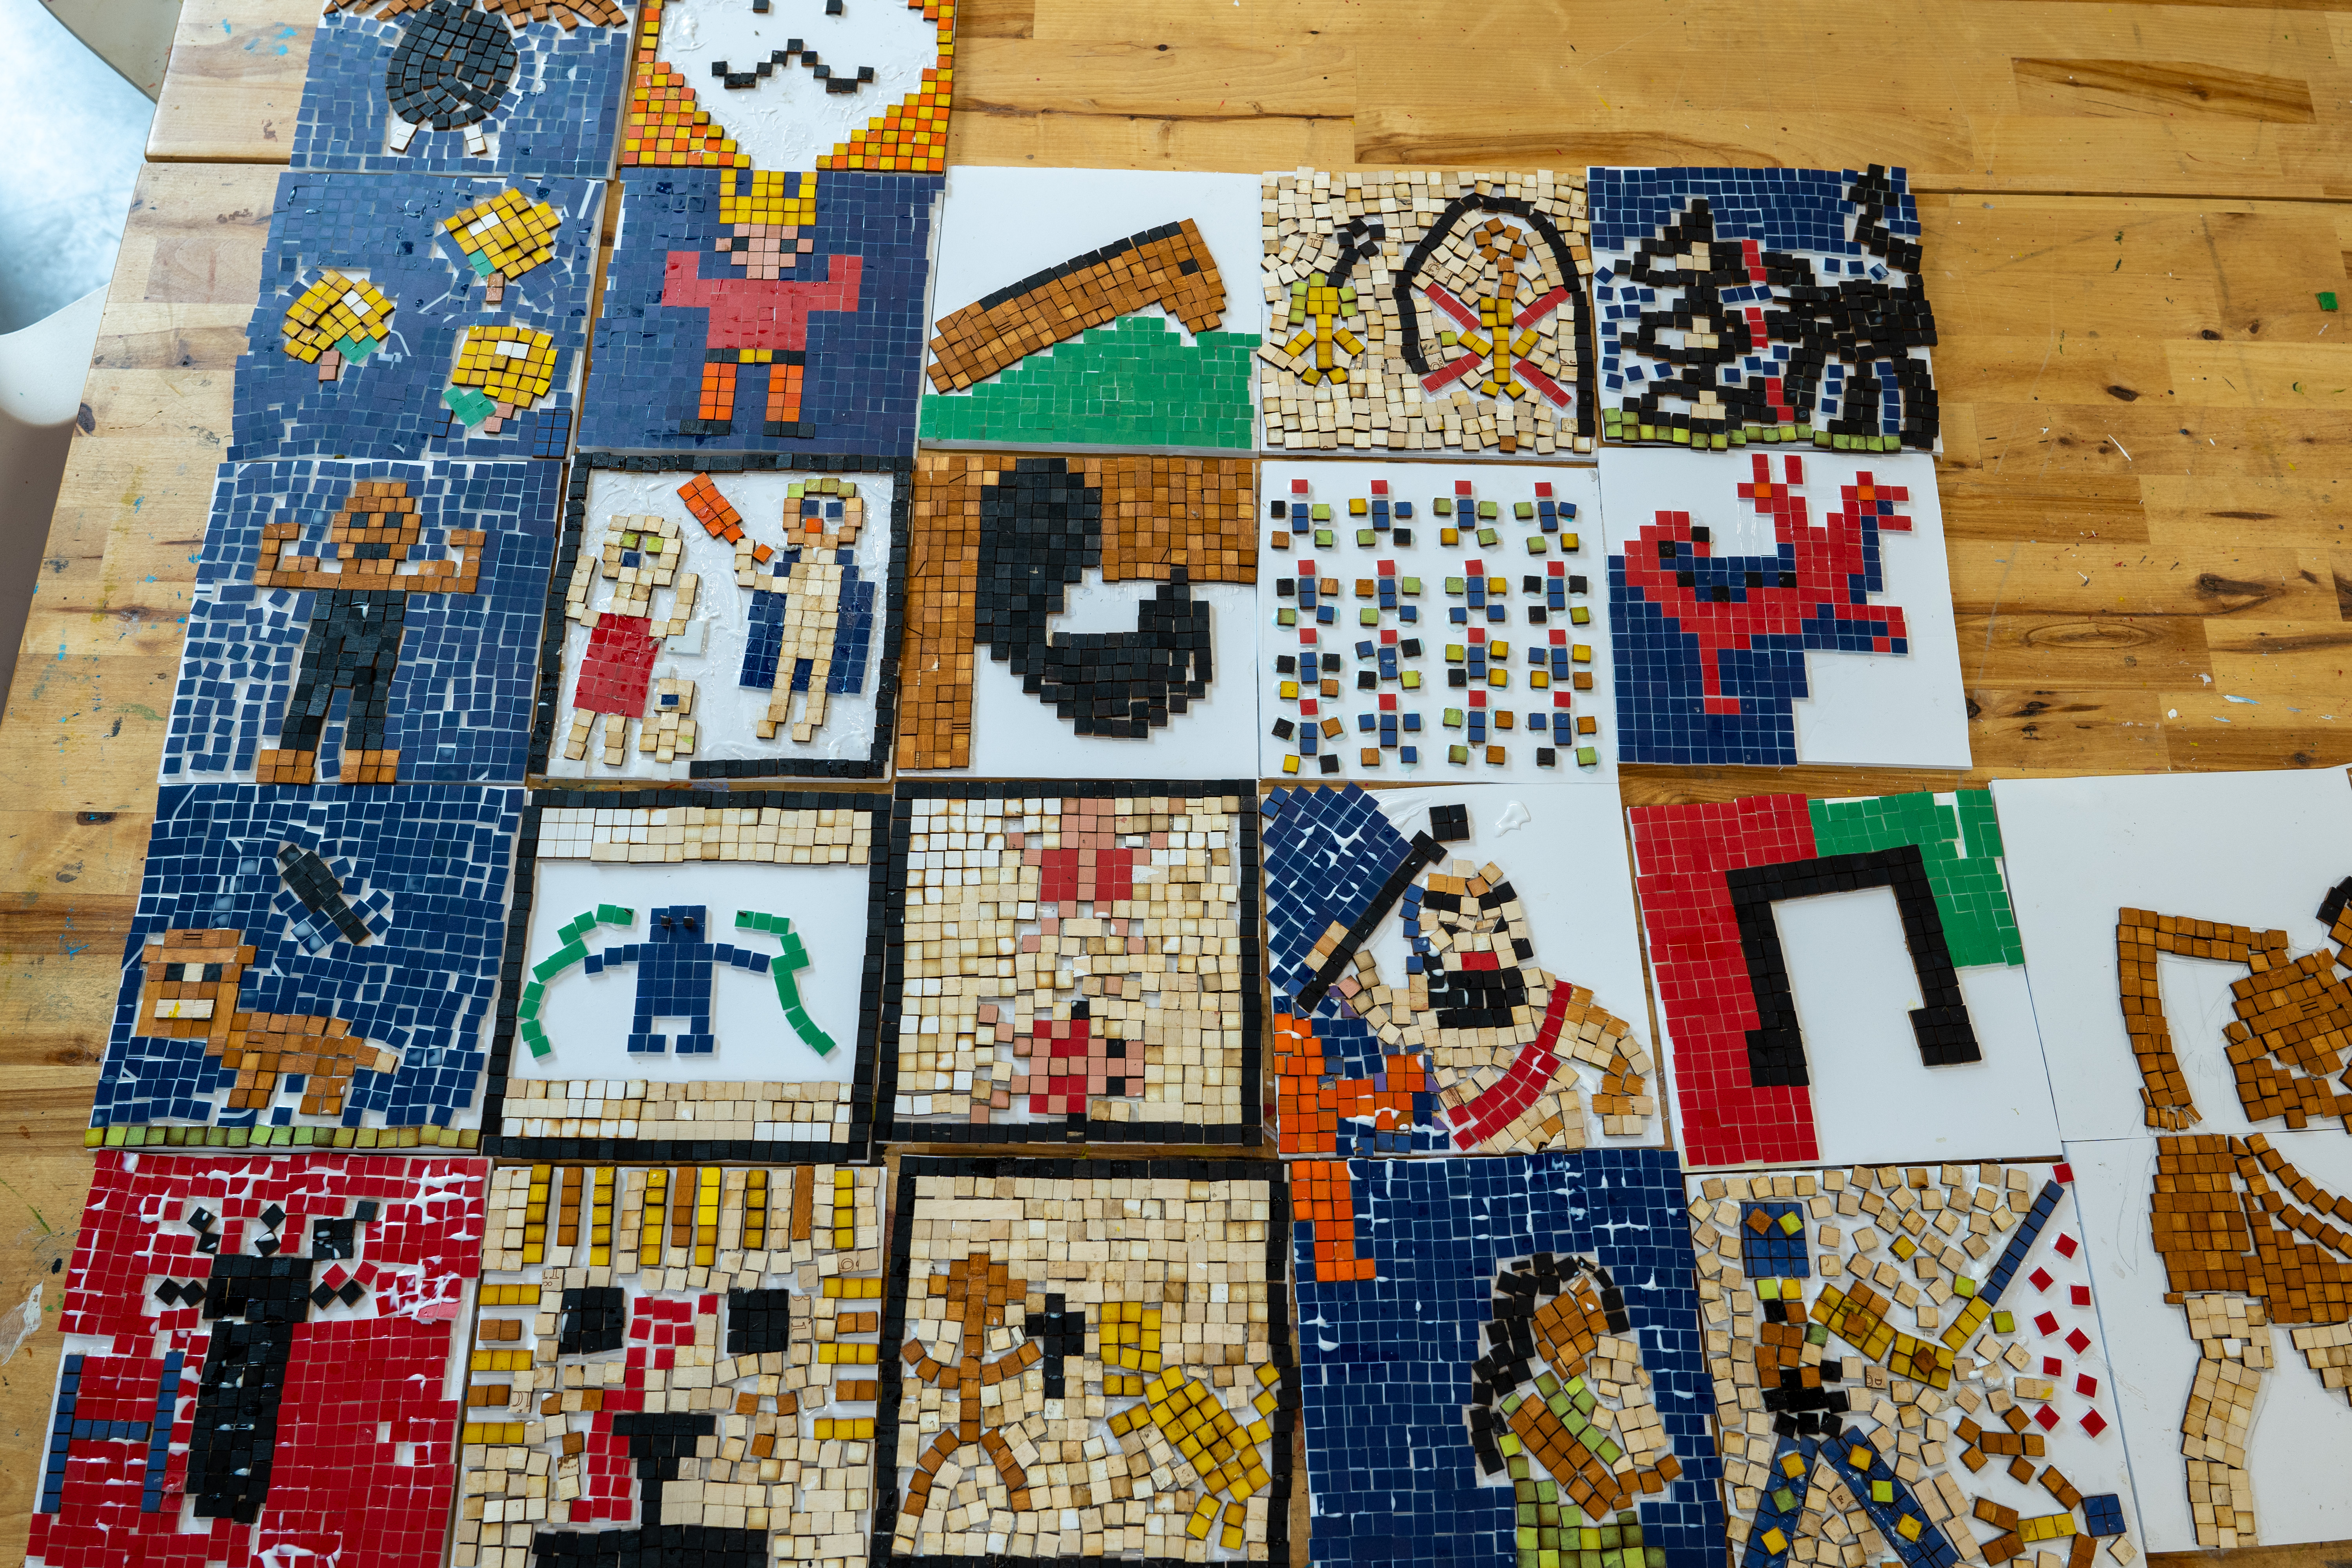
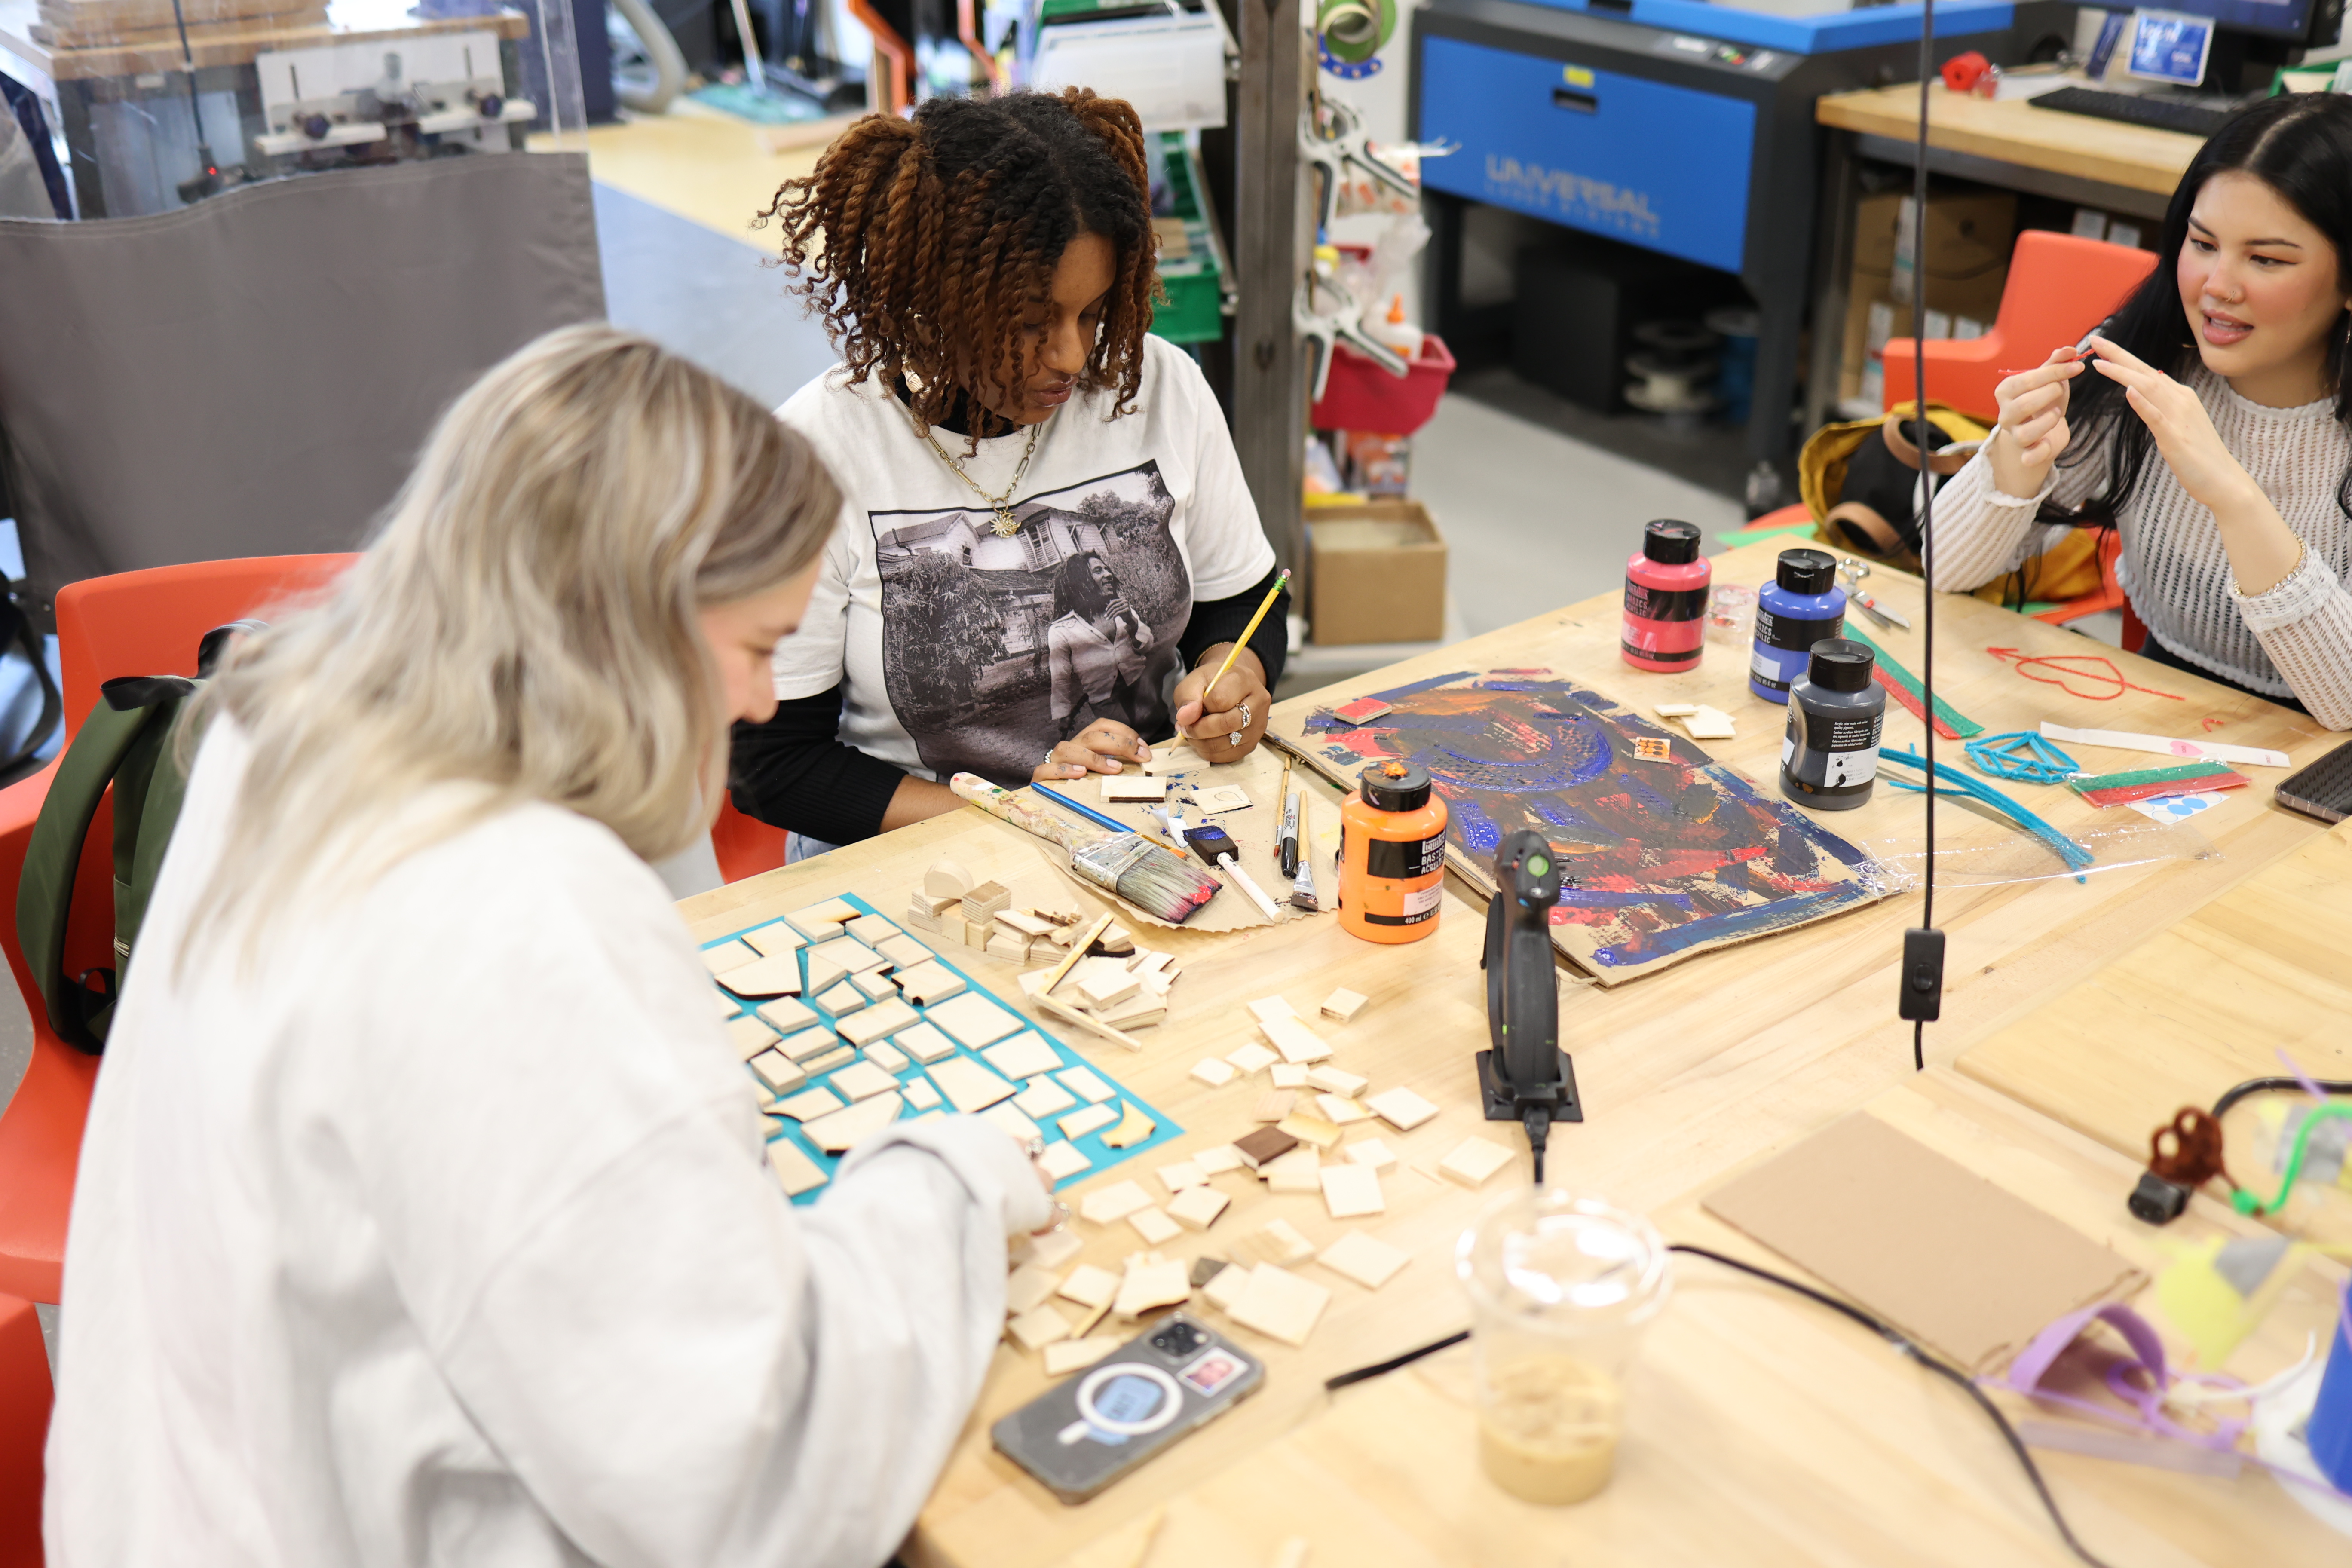
Repurposing scraps to create tile mosaics about Heracles

Counseling Families
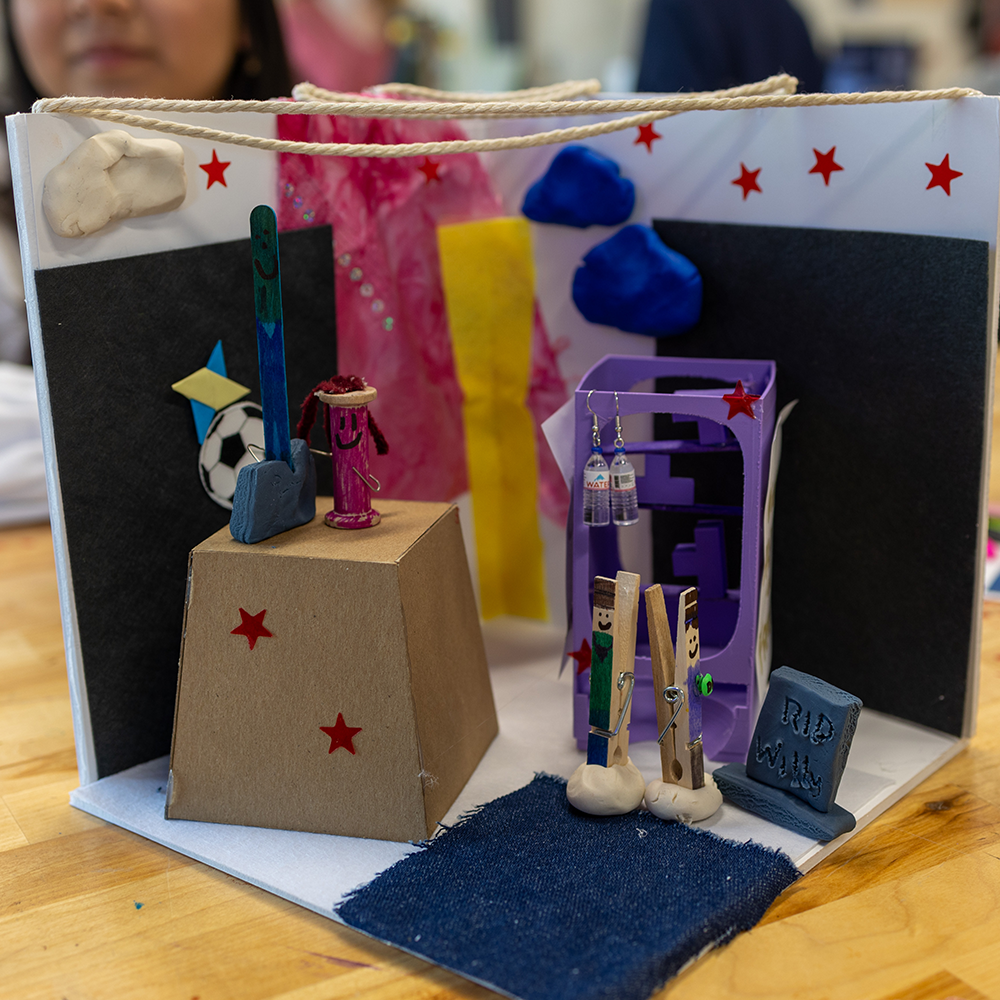
Course concepts into physical form
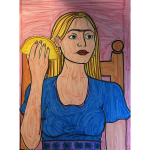
Elementary Spanish I & II
Making art as part of a larger project.
European
History
Combine research and 3D printing skills.
From Art to Action
Collaborating to create custom board games
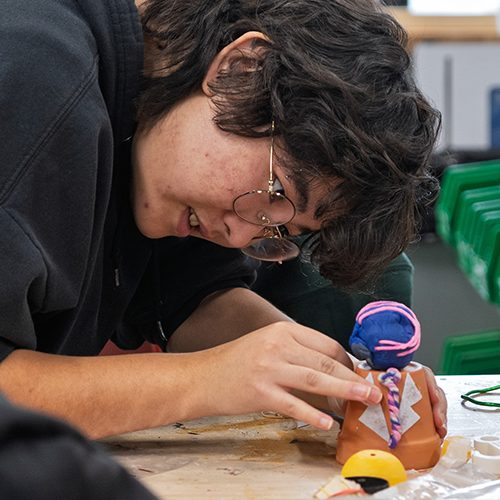
Stress & Well-being
Reducing personal stress with a creative outlet
Fundamentals of Design
Introducing students to a design process

3 Dimensional Design
Assembling 3D shapes from cardboard

Elementary Latin I & II
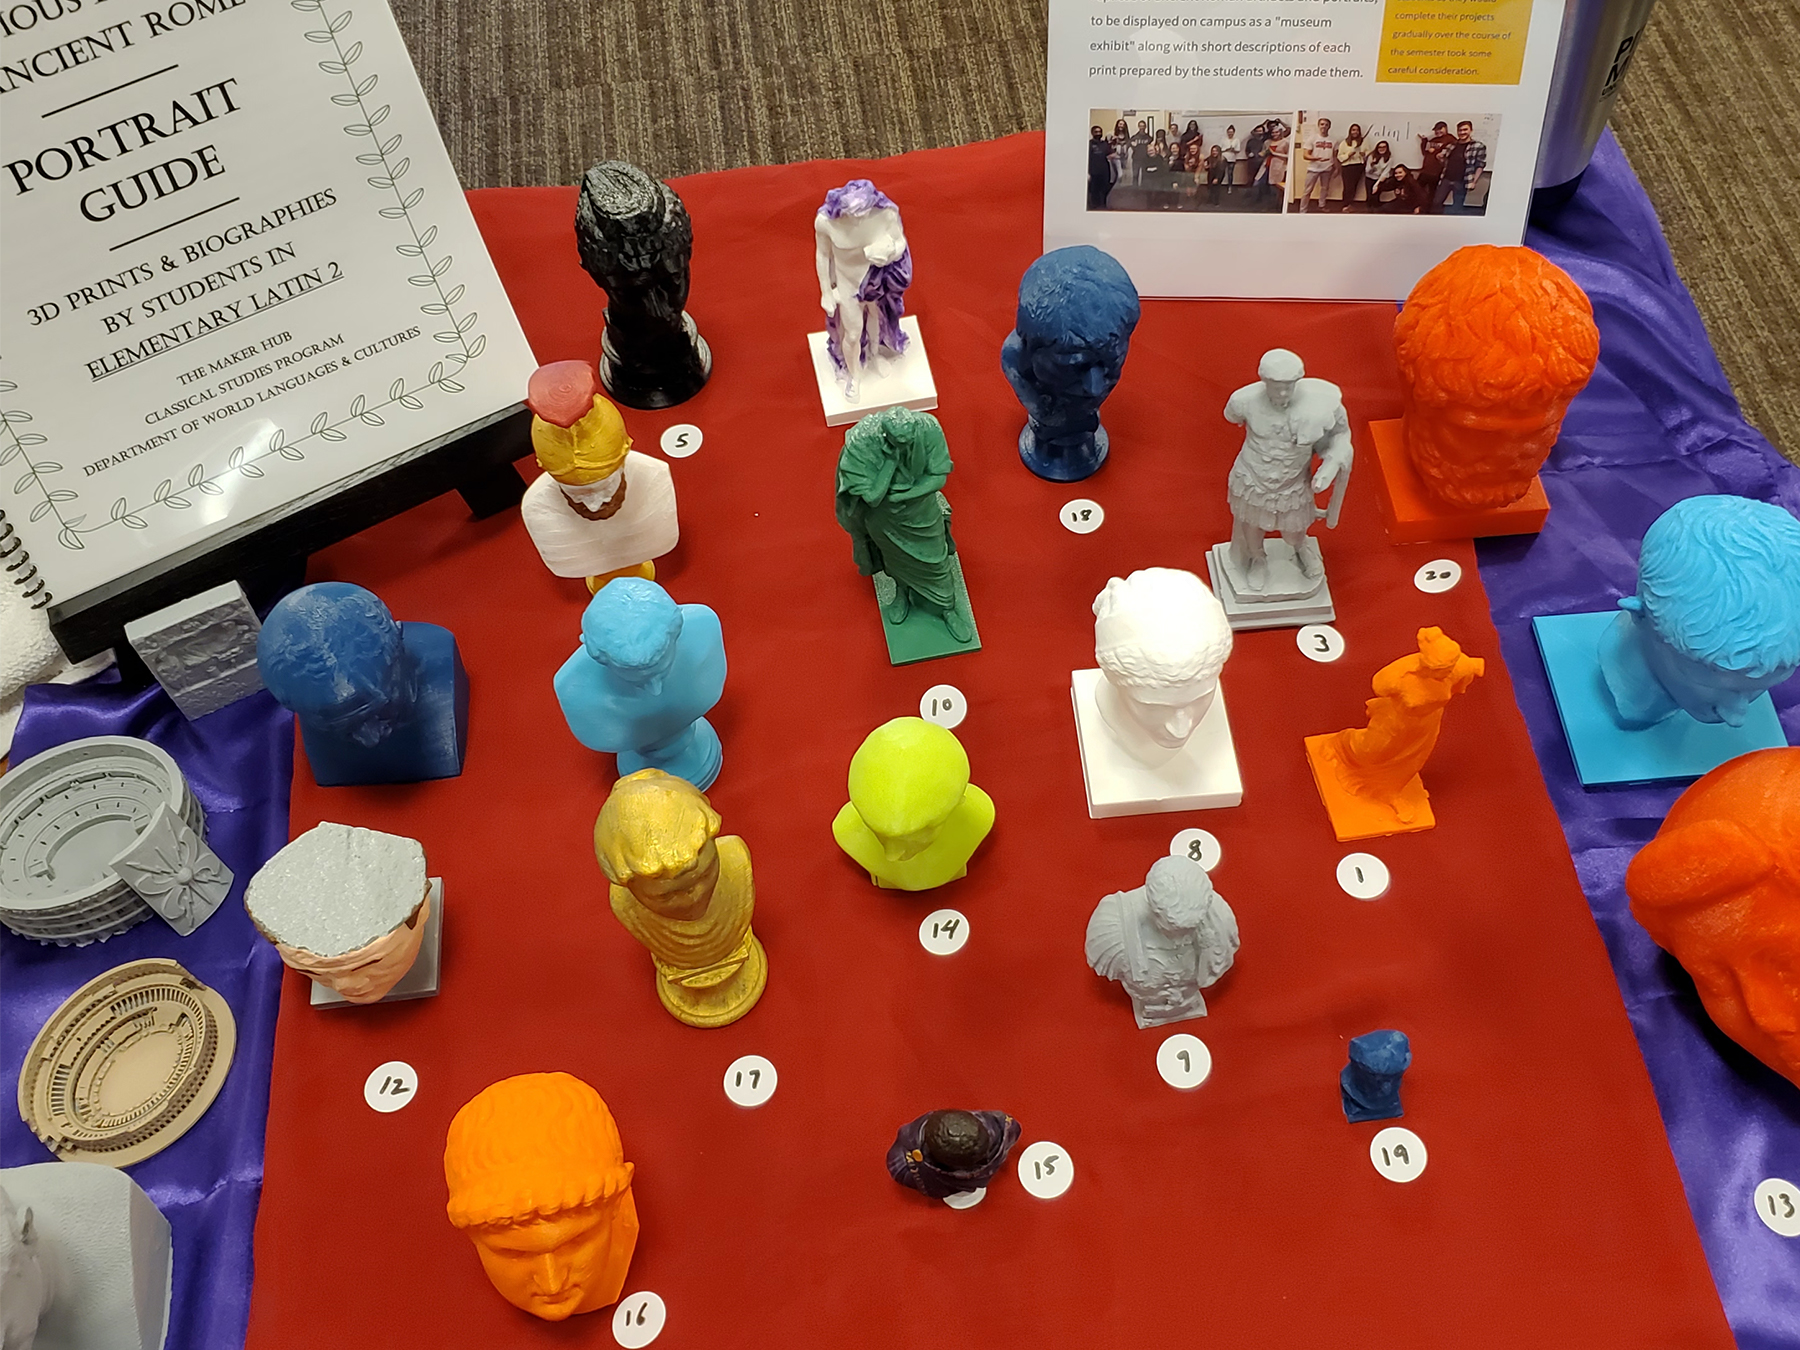
Researching and 3D printing Roman artifacts
History
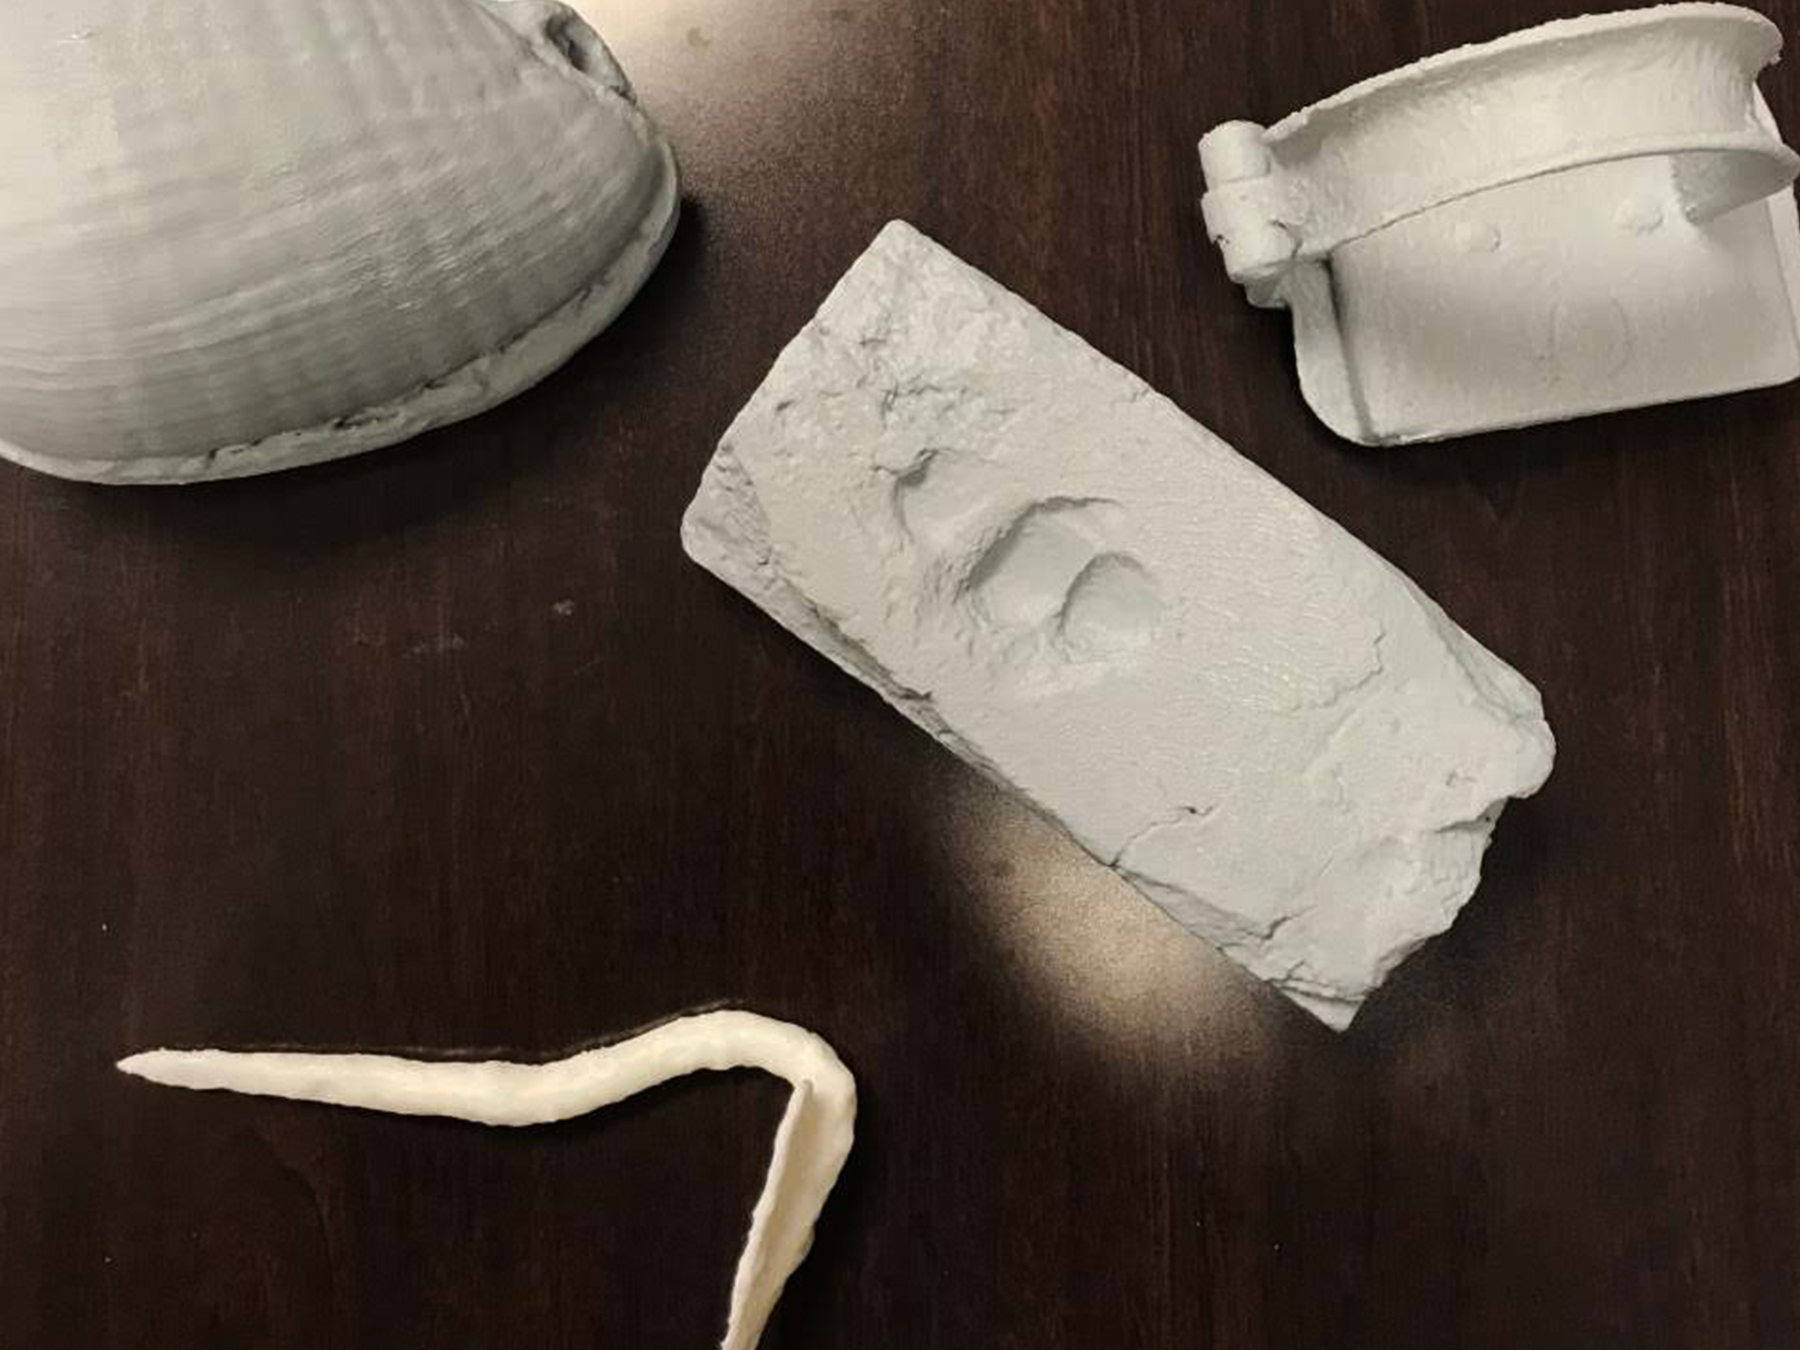
3D printing relics of slavery

Scenic Design
Creating scale models
Inquiry in the Arts & Sciences
Building class community
Japanese Society and Culture Through Film | ANT2400
Instructor: Pamela Runestad
Assignment Objective
I wanted the students to have the chance to use the terms they learned about Japanese culture and society in a creative way. I also wanted them to leave the classroom space for a little while and practice teamwork.
Deliverable
The assignment deliverable was a manga/anime character made from Maker Hub material scraps using terms we had learned in class. Students made a figure and gave it a backstory.
Why the Hub?
The Maker Hub was the best space for this because of the tools and materials available there.
Success? Encore?
I will definitely do this activity again. And I have ideas for using the Hub in a similar way for other classes. The students loved it, and I think it helped them process what they were learning.
Tools
Hot glue guns
Materials
Glue, various scrap material (small peices of wood, plastic, fabric) from the Maker Hub
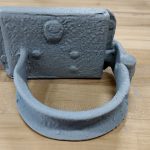
The Vikings | HST3290
Instructor: David Fletcher


Assignment Objective
Why did you want to do this activity?
History can be far more riveting, and understanding it can be deeply expanded when hands-on projects help us to explore the material aspects of life in the distant past. This project offers students insights into the labor required to produce a common but expensive form of armor that was used for over 1500 years in Europe, and also was produced and worn in other contemporaneous societies across the Eurasian and (northern) African continents. Our focus in The Vikings is experiencing a simulation of the armor worn by warrior elites in the early Middle Ages – its feel, weight, cost to produce in time and labor, its protective and limiting qualities, and pattern variations that were used for different purposes. Holding a piece of chainmail in your hands and learning to make it awakens motivations for investigating history in different ways and with alternative processes that expand book and archaeological research.
How did the assignment tie into your course?
While reading selections from the medieval epic Beowulf, we spend a full J-term class day away from traditional literary-based analysis and discussion, to make a chainmail piece that enhances students’ appreciation of armor descriptions and finds and inspires them to investigate other varieties of Hands-On Archaeology and Living History in preparation for our “Modern Vikings Manifestations” end-of-the-semester research paper.
Deliverable
We created small, rectangular “butted” chainmail pieces to learn an optimal method for quickly joining the rings and to produce a small takeaway item that would inspire students to explore more on their own. The takeaway result is easy to carry and show off to others, and it can be extended or combined with other pieces to create larger projects. We utilize simple, inexpensive tools and materials while also considering methods to enhance production efficiency.
Why the Hub?
I wanted to try the Hub after my spouse (Dr. Chang, in HST/AHIST/GEO) had tried it for a different class and project; also, the tools, workspace, and safety goggles are very convenient.
Success? Encore?
I will definitely continue the chainmail project. Some students enjoyed it very much (and a few continued with it on their own time after our one trial session), while others were not immediately “hooked” or said it was more demanding and complicated than they had imagined. I held an informal Q&A session with the students for about three minutes at the end of the workshop, focusing mainly on suggestions for improving the maker process. For future workshops, I will add a reflective written exercise to ask the students what they learned from this hands-on history approach (applying it to our course readings) and whether they would try it again or wish to try another history-related Maker project.
Preparing students before the making session with how-to instructions didn’t help that much. A quick explanation of how-to at the start of the workshop, coupled with coaching, offering efficiency tips, rotating demo-instruction, and continual encouragement, was very effective.
What advice would you give other faculty?
Try it – or any idea that you have! It’s fun and informative. Try the activity first to plan it for instruction and time duration. I recommend designing a project to be conducted by small groups; several groups can do the same process simultaneously, but the Hub can support maybe 15-16 max for this activity at one time, so plan your project and cap limits with the Hub staff (maybe dividing larger classes into two halves that meet at different times). Also, consider safety precautions and possible physical limitations for some students (work on ways to include everyone).
Tools
Pliers, bolt cutters, and metal rods for wrapping the wire into circles. We also all wore safety glasses/goggles.
Materials
14-gauge galvanized steel wire
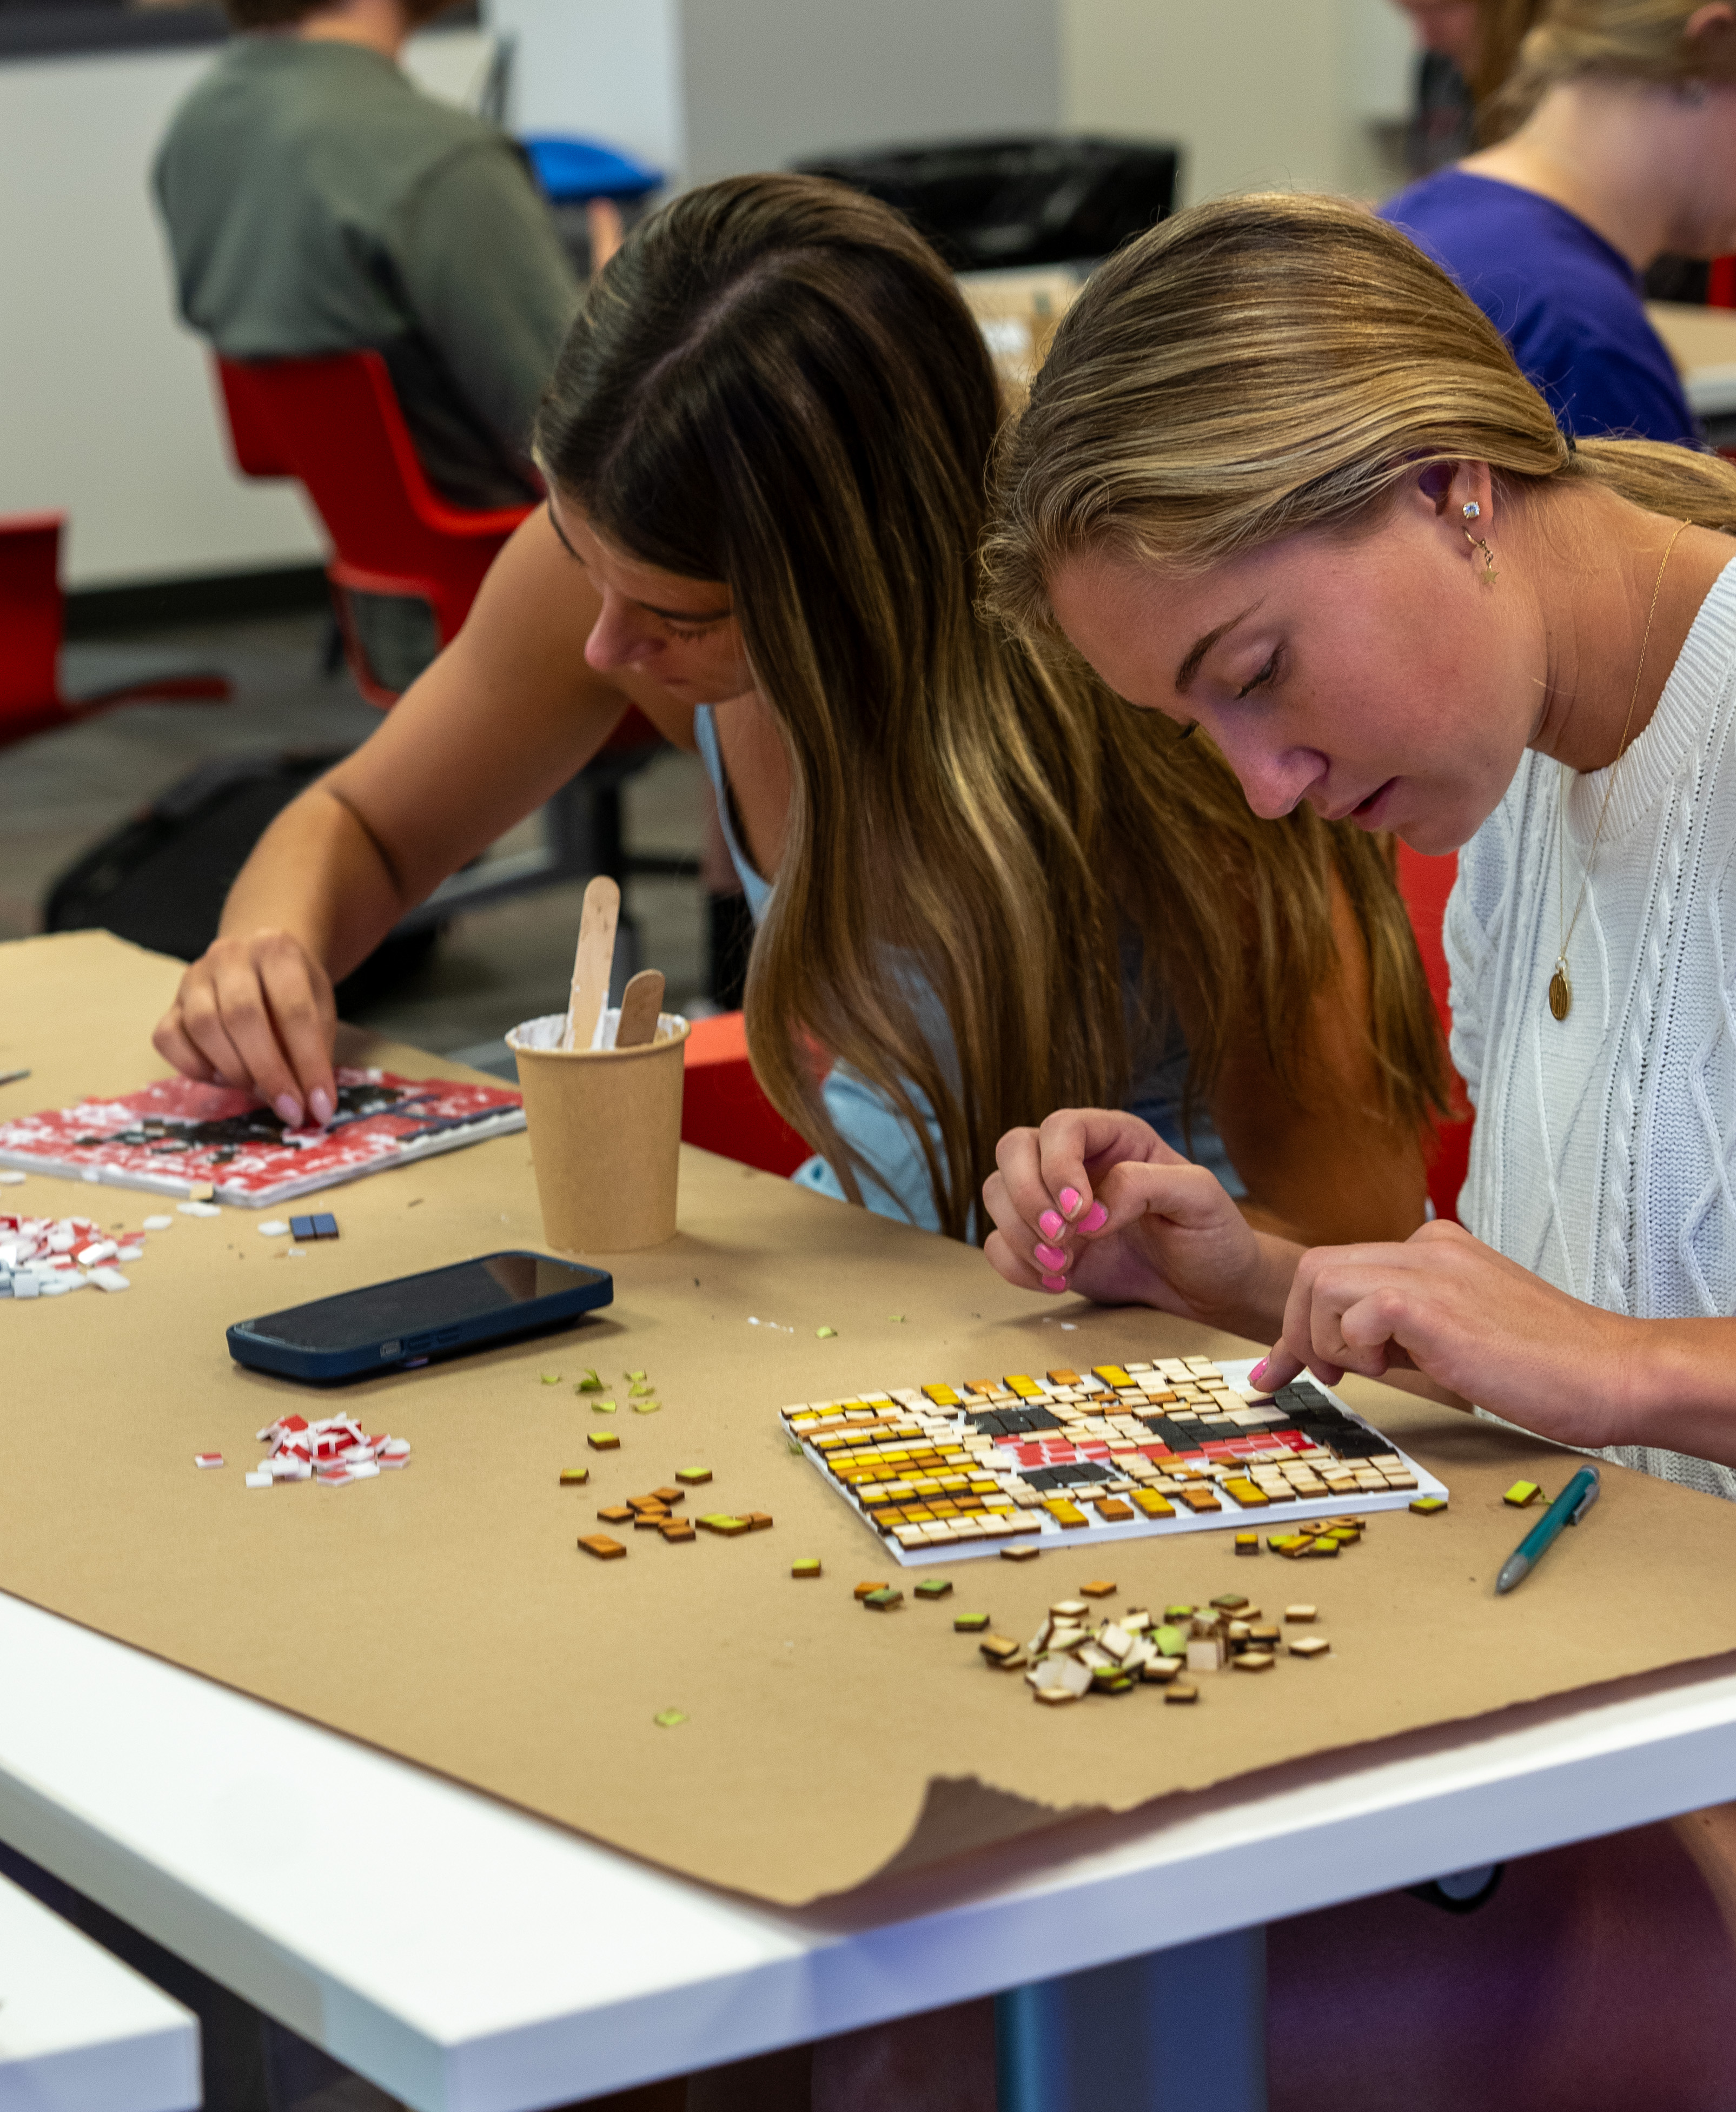
Mythology | CLA1100
Instructor: Brandon Baker
Assignment Objective
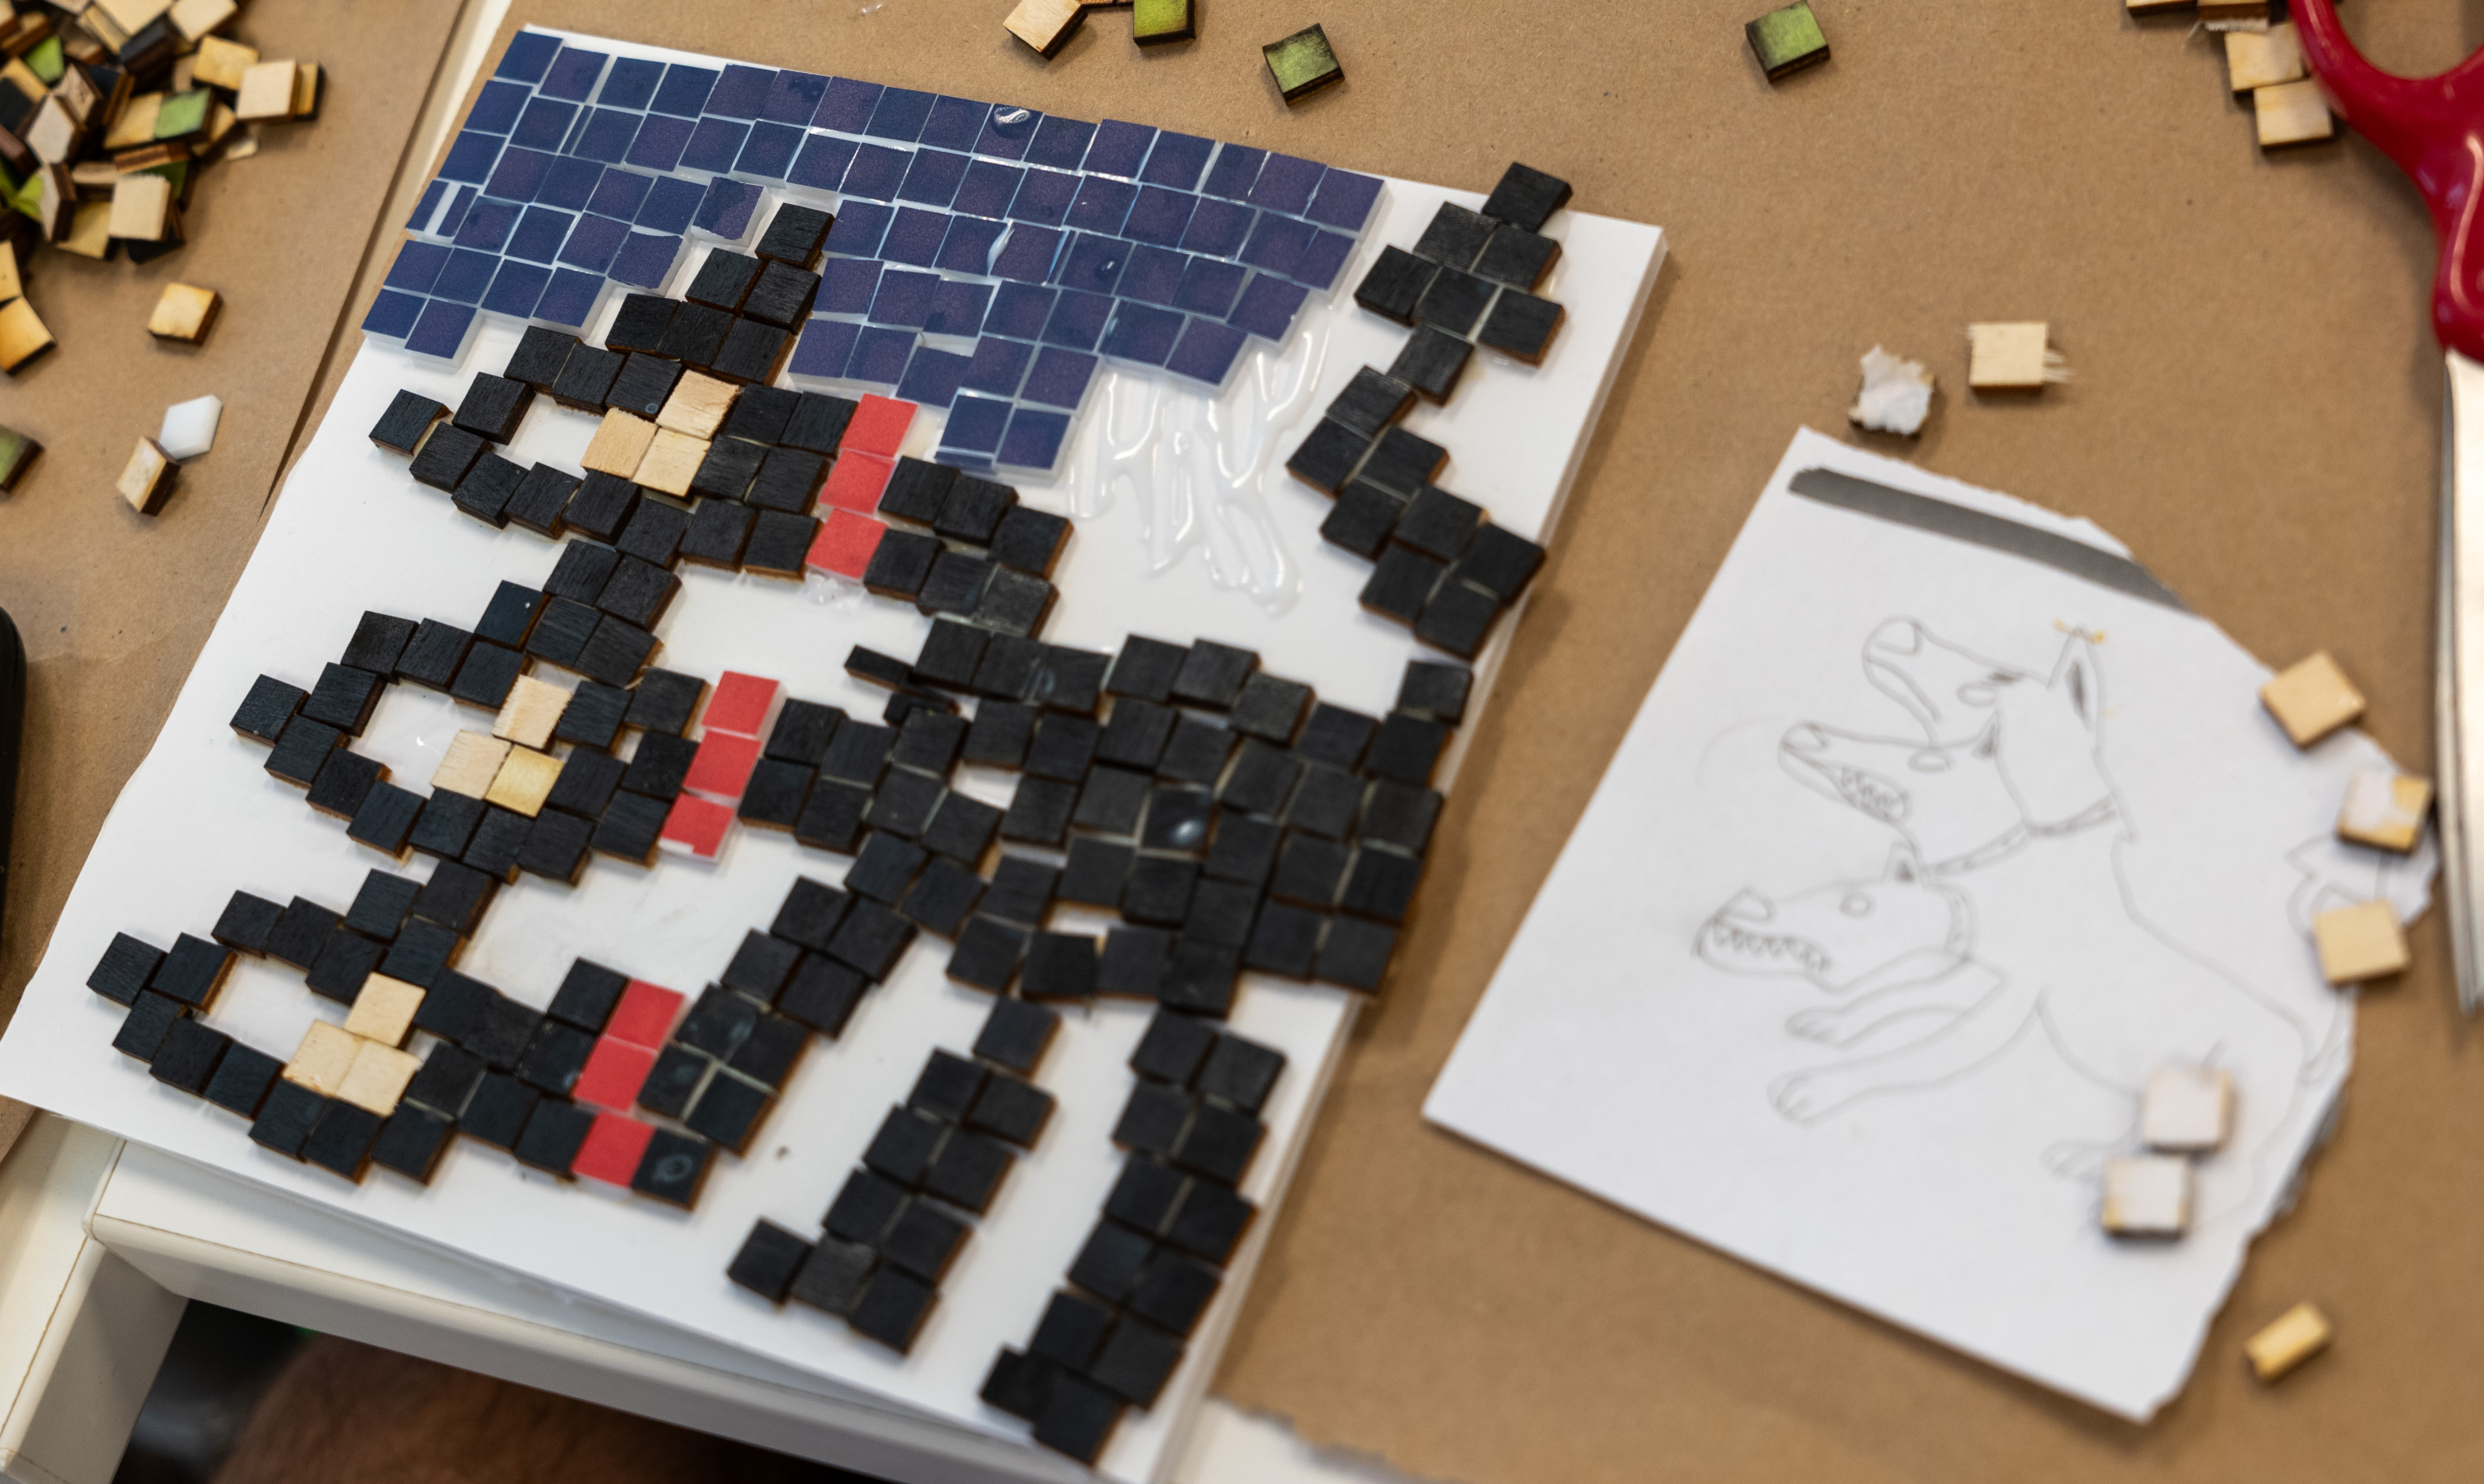
In Mythology, we spent the semester studying a wide swath of ancient mythological figures from Greece and Rome. For our unit on the mythic hero Heracles, we examined his accomplishments and stories within the framework of modern superhero tales, as captured in the pages of comic books. We also viewed a wide range of ancient Roman mosaics and the ways in which they captured scenes from the myths on their decorative tiles that would have blanketed houses, public bath houses, and palaces. This assignment asked the students to create mosaics of Heracles in the style of the ancients. The students were asked to consider them almost as if they were creating a panel in comic book. They had to consider how to capture a particular aspect of the tale within a single image by delving into the iconography and/or imagery they would use to convey the tale.
Deliverable
The students first sketched out their designs for the mosaics on paper to ensure they could realize their vision. Next, they used both acrylic and wooden tile pieces on a foam board backing to create their mosaics during a class visit to the Maker Hub.
Why the Hub?
The Maker Hub provided the necessary tools and environment for the students to create their projects. The change of environment from the standard classroom helped to generate excitement in the students as they worked on their creations.
Success? Encore?
It went well. I am continually looking for ways for students to express their creativity and engage in kinesthetic experiences that move beyond a typical lecture format. The Maker Hub offers numerous opportunities for students to engage in tactile learning through its diverse range of resources. I plan to continue working with the Maker Hub on a variety of activities and am continually in communication with the team about new ideas that pop into my head and the ways in which we might be able to realize them.
Tools
Hot glue guns
Materials
The Maker Hub provided thousands of 1 cm square pieces that they laser-cut from their scrap plywood. We also used acrylic paint, Modge Podge, brushes, and foamboard.
Counseling Individuals and Families | HSS 2120
Instructor: Judy Folmar
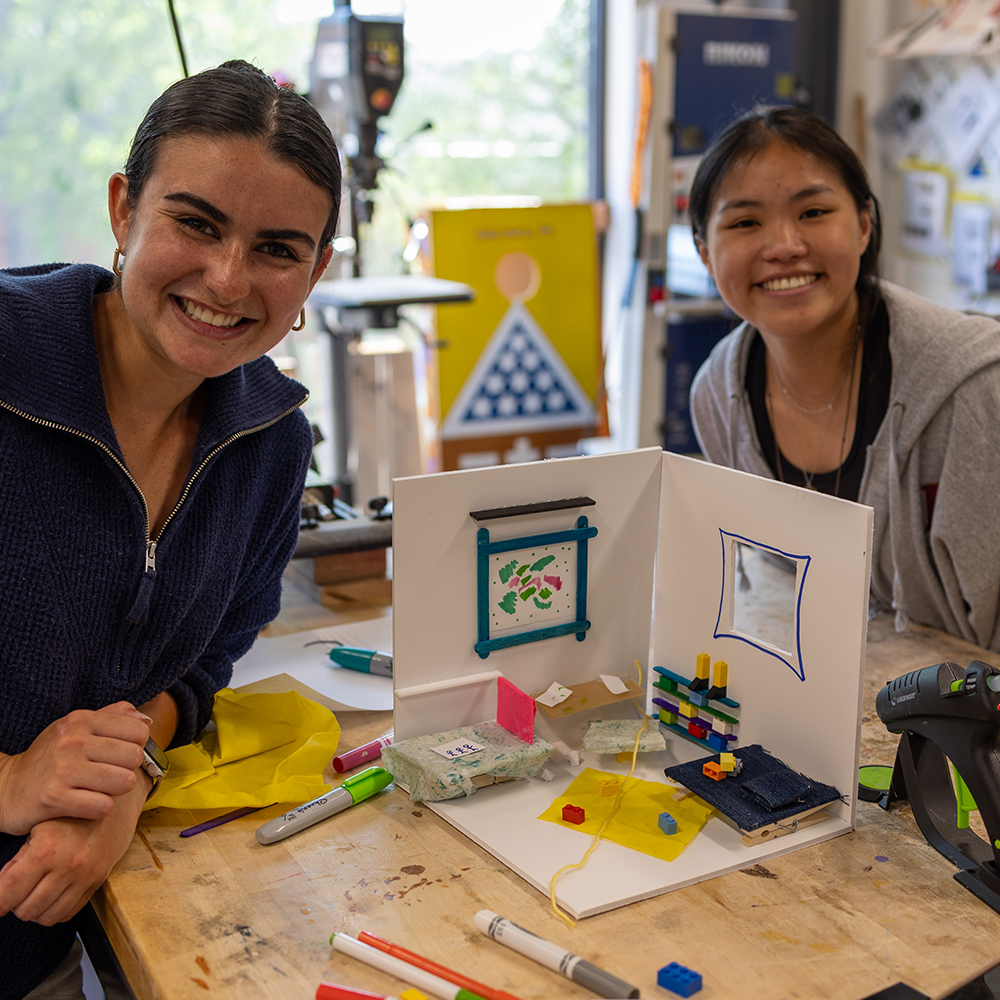
Assignment Objective
I wanted to offer a creative alternative to teaching counseling concepts in the classroom. The hope was that by learning and creating in the Maker Hub, students would have insights into what they have learned about counseling and be able to synthesize concepts in new, deeper ways.
Deliverable
We went to the Maker Hub twice for two activities. The goal was for students to translate course concepts and personal reflections into a physical item. For the first assignment, they created a symbol of their individual strengths as a counselor. For the second assignment, students formed fictional families and created model homes for the families showing the strengths the families possessed. At the end of each class, students presented their thinking and artifacts to the class.
Why the Hub?
I wanted the students to have the opportunity to extend their learning beyond the regular classroom in order to stimulate more creativity. Plus, working with Dan Reis is a treat, and it’s a nice change of pace for everyone involved.
Success? Encore?
Everyone LOVED the experience. The overall feedback was, please! MORE TIME AT THE HUB!
Tools & Materials
For the first activity, they used craft materials like rubber bands, popsicle sticks, paper clips, hot glue guns, markers, stickers, scissors, pipe cleaners, and markers. For the family assignment, they had boards, fabric, and just about any other item in the Hub to create a small house.
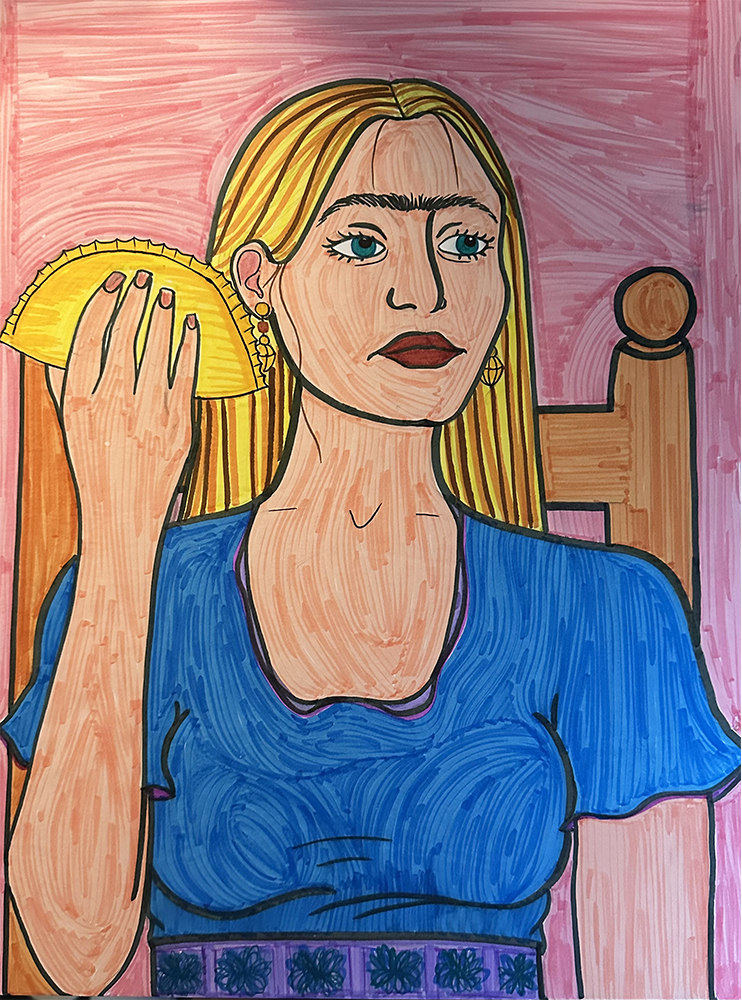
Elementary Spanish I & II | SPN 1015
Instructor: Bethanny Sudibyo
Assignment Objective
In this class, students are introduced to artists from the Spanish-speaking world as part of their cultural discussions. Students not only engage in discussions about important figures but also examine the ways in which artists convey their personal stories through art. One of the course objectives is to convey personal anecdotes from the past using various past tenses. As their final project, students create a digital presentation about an artwork they produced at the Maker Hub, drawing inspiration from a personal experience. They then record a video presentation, sharing both their artwork and the story behind it, using prompts provided during class.
Deliverable
Students created an art piece that would serve as their presentation’s topic.
Why the Hub?
The Maker Hub provided an alternative teaching space for students. It took them out of their routine and allowed them to work with new people in a new environment. The space also allowed students to further strengthen their sense of community.
Success? Encore?
Although I was quite nervous about the assignment (since it was my first-time taking students to the Maker Hub), I would say the assignment was a success because students were participating in the orientation as well as during the workshop days. The overall feedback was also very positive. In their end-of-semester learning portfolio, I asked students what their most memorable moments in the classroom were. One student had this to say: “The memorable moment I had in the classroom was actually when we attended the Maker Hub and made those towers out of toothpicks. Although this wasn’t Spanish-related, I remember how much fun my group had making our tower and how much fun the whole class had with the activity. I think this moment sticks out to me because it is a testament to the culture that was created in this class.”
Tools
Laser engraver, 3d printer, scissors, crafting tools
Materials
Paint, markers, old magazines, and paper
Europe and the Mediterranean World to 1500 | HST 1110
Instructor: Hui-Hua Chang
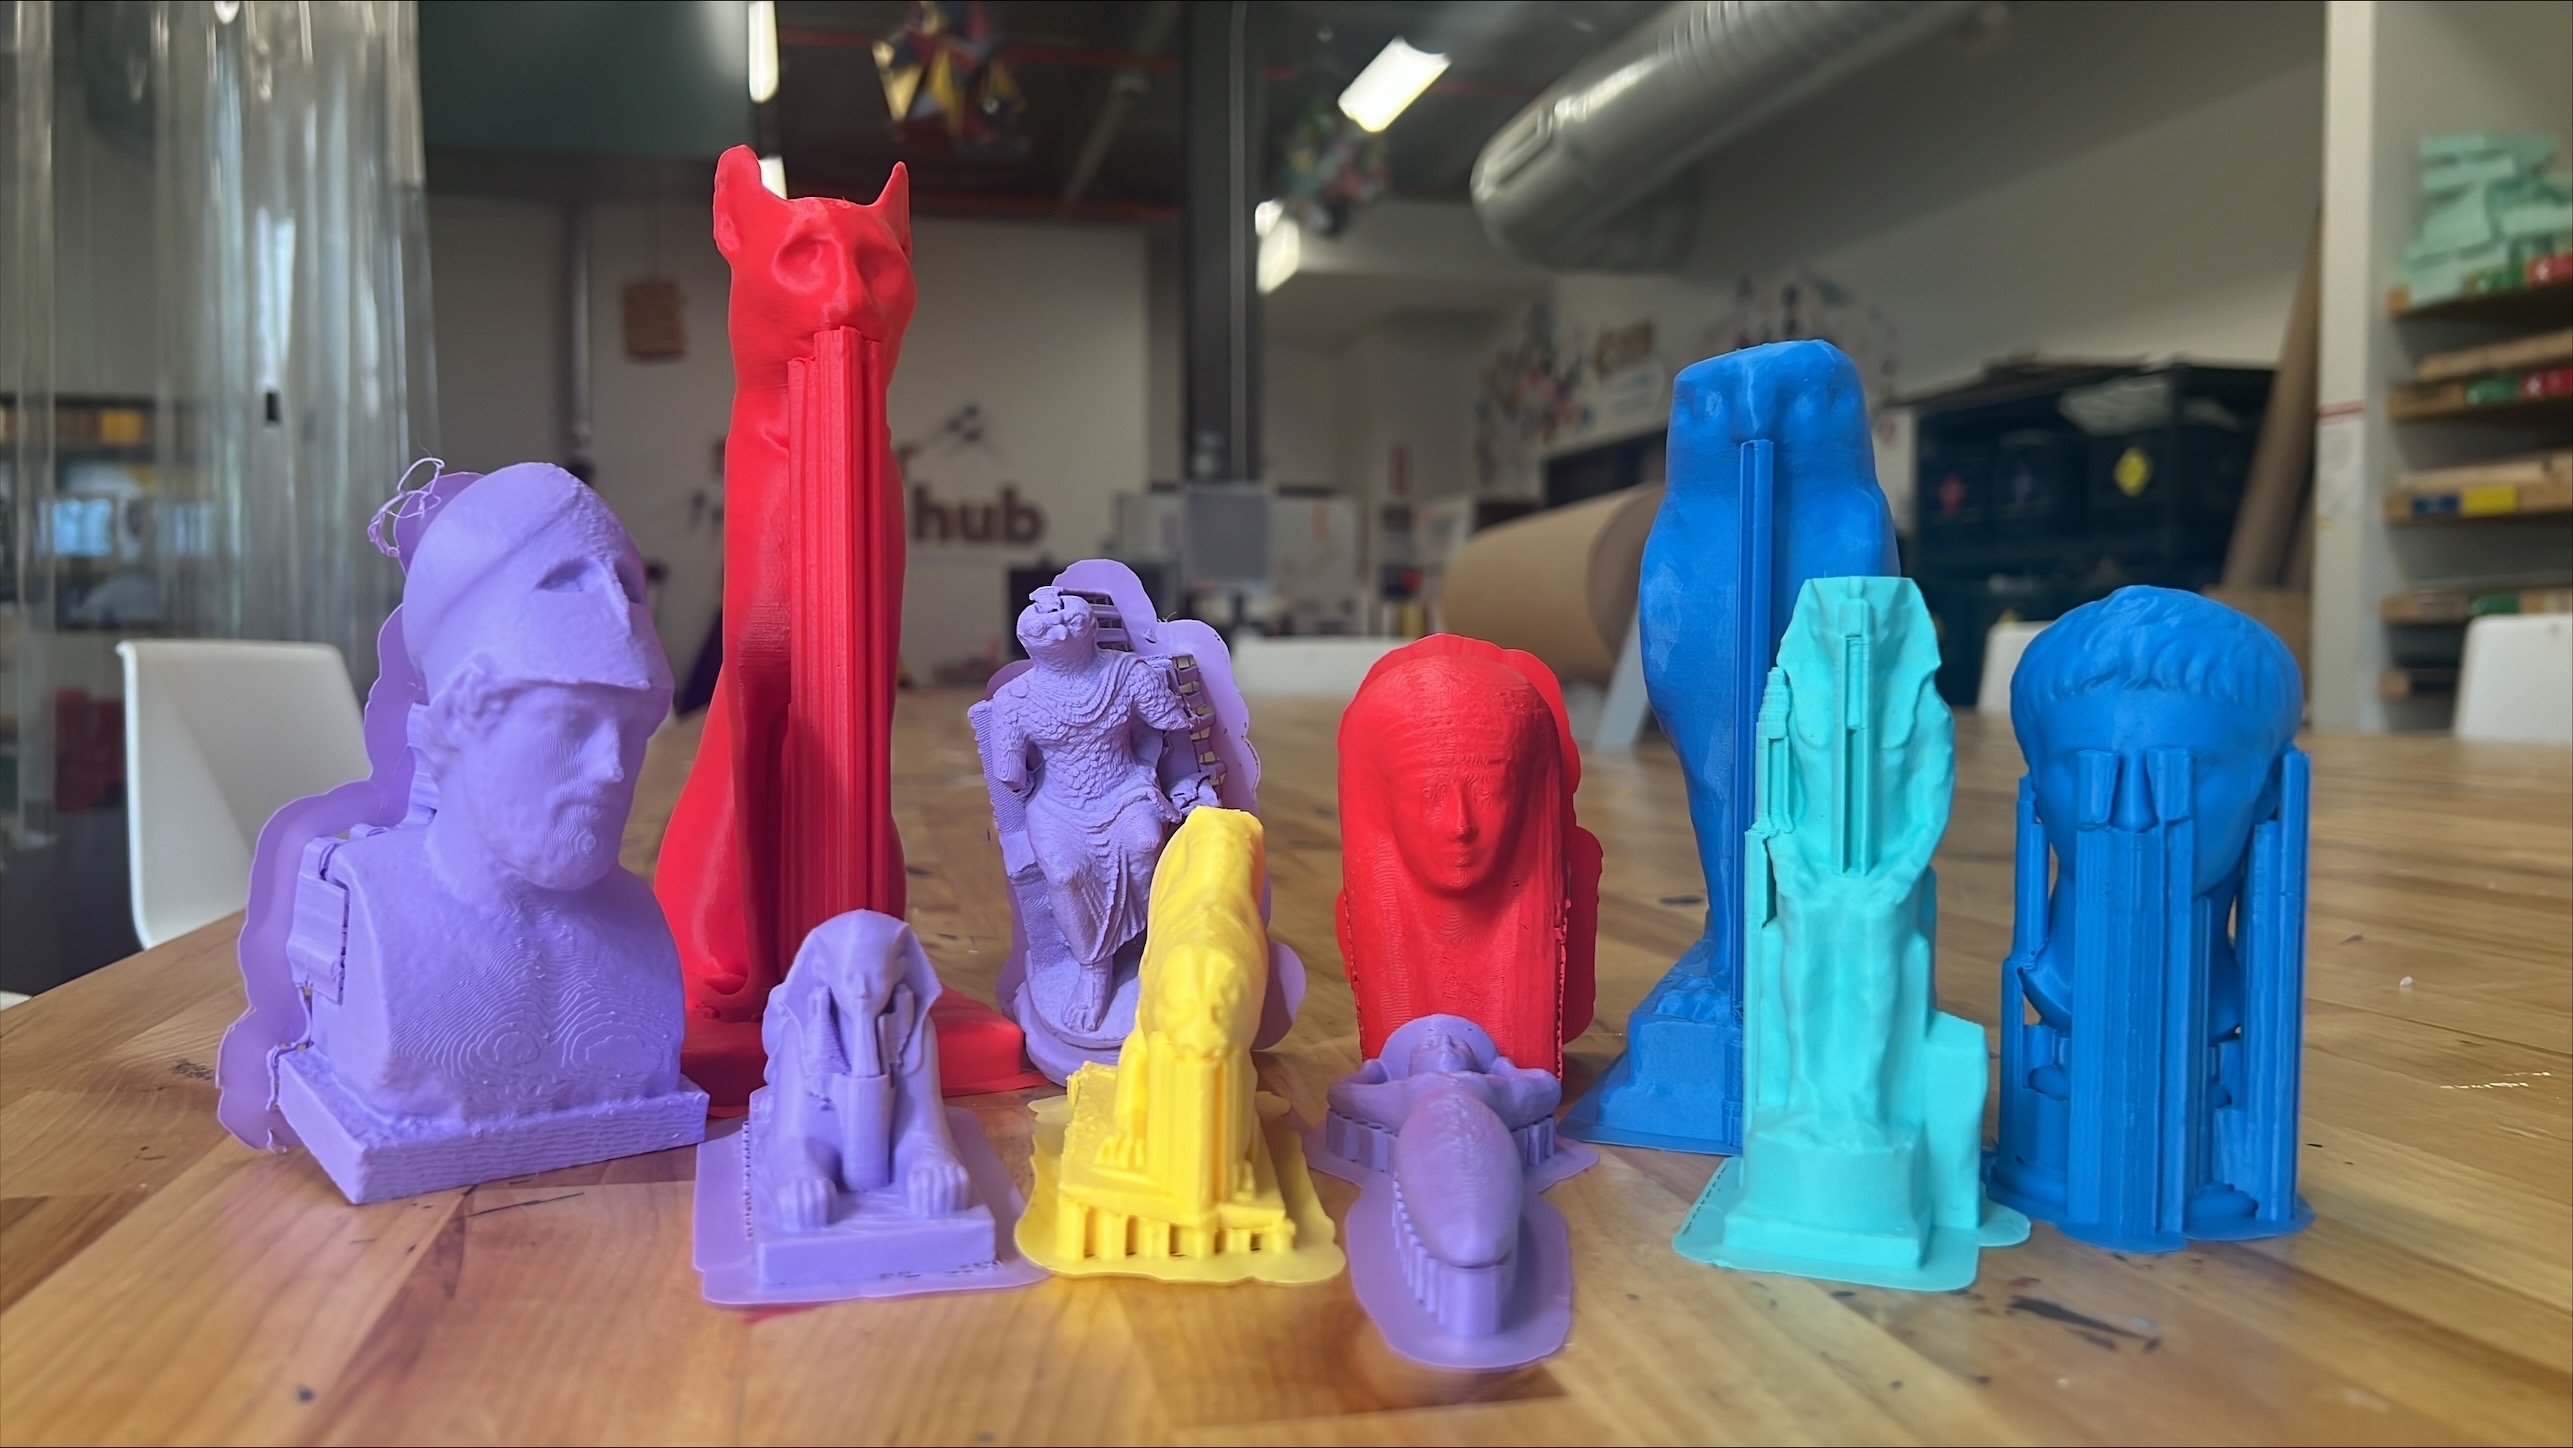
3D printed artifacts from HST1110
Assignment Objective
In this assignment, students combine hands-on experience with research skills. They select an ancient or medieval artifact from a museum’s website, 3D print it, and conduct research on it. The students learn step-by-step how to print 3D objects and conduct research to learn about and write about the artifacts. Many museums in the world have made free 3D models available which helps facilitate this project. In my courses, it is incorporated into one of the small research projects, which emphasizes research skills-building.
Deliverable
Each student chooses a 3D model of an ancient or medieval artifact on a museum website and learns how to prepare the digital model for 3D printing. The printed object is submitted along with the student’s written research report.
Why the Hub?
The Maker Hub offers many hands-on activities, which encourage the students to step outside of textbook reading and be creative.
Success? Encore?
The workshop and printing went well. I plan to use this assignment in my future courses. Advice: Schedule a workshop early so it fits nicely into the course plan and content. Also, allow some flexibility with the submission deadline of the print object in case of printing failure.
Tools
3D printers
From Art to Action: Literature, Games, and Society | HNR 1510
Instructor: Brandon Essary
Assignment Objective
As the course title implies, we wanted to move from what might be seen as relatively “passive” or at least “individual” activities (“art” perceived as “reading literature” in this case; Dante Alighieri’s The Divine Comedy, in particular) to “active,” collaborative activities involving groups. In a way we did this by making discussion groups that had student leaders asking thought-provoking questions, forcing their peers to interact deeply with the readings. Then, throughout the semester, we played games or watched video games based on The Divine Comedy.
After having those experiences, I wanted the students to take the active engagement a step further and create a new product based on our readings and the already-available board and video games. I wanted the students to gain an even more intimate connection to and understanding of Dante’s literature by taking on a design-production mentality and making an original board game. After the games were done, the students presented them briefly and then traded with other groups so that everyone got to play and critique a game.
Finally, I wanted students to see that great literature is alive all around us in the world: in the books, yes, but in board games, video games, art, dance, design, music, theater… EVERYWHERE. We just have to take the time to read; think; and then look all around us with a creative, clever eye. That realization is huge, and it could be enough for a class like this. But, once students are armed with the critical glance, I thought it would be icing on the cake for them to become not just critical consumers but also critical producers of knowledge.
Deliverable
The Maker Hub was the ideal place for students to design their own board games. Each group started out with a “board game kit” from Amazon.com with basic pieces: a foldable board; blank cards; generic markers; etc. However, I challenged them through the exercise to make their game come to life through designs that were unique to them. I didn’t want to stifle creativity, so I only required that they use at least two tools from the Hub, including the laser engraver. They ended up using at least 2 or 3 tools, and the results were highly original.
Why the Hub?
The Maker Hub has the tools for making a project like this come to life. The students could make highly original pieces and design elements, and a class period was enough for them to learn how to use the machines and make significant progress. So, in each of the 4 class periods we dedicated to being in the Maker Hub, students were able to train, make goals, and achieve them. Honestly, by the end of the semester, we all get a little tired of being in the same desks, the same space, etc. The Maker Hub was like a field trip for us, too, to a place still on campus, technically, but that felt like being a world away from the “traditional” classroom and class experience. I must admit also that the Design Thinking Center was the perfect counterpart space for the experience.
Success? Encore?
It went very well, and I will do it every time I teach this class for sure. The students were so engulfed by the fun and engagement of the making that they forgot they were learning. And, believe, they were learning by reflecting and applying the lessons of the literature and the semester of discussions and writing. I wonder aloud also about creating similar activities for other classes I teach. I’d encourage faculty to give it a try. It is a high-impact experience and with the help and generosity of the Maker Hub colleagues, it’s not that hard to make happen.
Tools
Again, since there was training required for the laser engraver (and the products coming from it looked so awesome), I required one person in each group to do the training and each group to incorporate an element from the engraver. Then, groups used the 3D printers, the sticker makers, and woodcutting tools.
Materials
I remember cardstock, chipboard, PVC pipe, wood, acrylic, and 3D prints were used.
Stress and Well-being | WHE 1150
Instructor: Jill McSweeney

Assignment Objective
Students were asked to create a representation of their stress as a way to connect their own lived experiences to the theoretical and conceptual theories we were learning in class. In addition, the activity was framed as an experience to engage in a stress reduction activity as a way to support their individual well-being. The hope is that students begin to identify key stressors in their own life that they can address while also building habits/behaviors that support healthy practices.
Deliverable
Students were required to create a physical representation of their stress, which they then described and reflected on in their individual wellness journals.
Why the Hub?
I wanted students to experience the Maker Hub as an opportunity for them to connect to a space on campus that they could utilize beyond the course to be creative and have an outlet for stress. The Maker Hub also offers an opportunity for the class to build connections with each other, explore what being creative means to them, and at the core, have fun!
Success? Encore?
The activity was a success! Students were able to spend their time connecting with each other, reflecting on how their learning shows up in their lives, and activity participating in an activity that they said helped them relax and have fun. Students shared in their wellness journals that the activity encouraged them to reengage in creative hobbies that they carried on beyond the course. I will most certainly be bringing this class back to the Maker Hub! My advice to faculty considering bringing students to the Maker Hub is to see the opportunity serving both as an opportunity for students to learn, apply and create in the context of your course and as a chance to enhance their well-being through creativity and fun!
Tools
Hot glue guns, markers, paints
Materials
Scrap material from the Maker Hub, including oddly shaped pieces of fabric, acrylic, wood, and cardboard.
Drawing & Fundamentals of Design | ART 1120
Instructor: Billy Dee
Assignment Objective
In all of my studio art classes, I find it really helpful to have students attend an orientation at the Maker Hub. I often find that students are confused by or resistant to the concept of prototyping as part of a design process. I notice that students will jump onto Pinterest to research approaches to a project instead of experimenting with materials and finding out what they want to make through actually trying things out.
In my studio art classes, even if I speak to my students about how to approach a design process for a particular project I find that many of my students skip the process as much as possible because it can be frustrating and time-consuming. This is very unfortunate because it is indeed this process that feels like one of the most fundamental aspects of any studio art class – at least from my perspective and in my style of teaching.
Why the Hub?
It really helps to have the tangible experience of an orientation at the Maker Hub where students literally need to work collaboratively and engage in a design process. I particularly like the marshmallow challenge because it gives us all a shared understanding of what happens when we don’t make space for failure and adaptation in a design process (usually our towers fall down!).
Success/Encore?
I definitely intend to bring future classes to the Hub. Not only does it provide space to really explore the concept of a design process, but it is also an AMAZING and welcoming resource for students in the completion of projects for studio art classes (and for their own projects outside of the classroom).
Also, so many of our students have experienced intense isolation during the pandemic. Any opportunities for students to practice real collaboration and have opportunities for meaningful social connection are really important. I am a huge fan of the Maker Hub because it is a welcoming and flexible space that is outside of the usual classroom environment making it uniquely suited to social connection. I am also so happy that there is a supportive space for students who wish to pursue complex and inventive projects.
3-Dimensional Design | Art 1130
Instructor: Ryan Rasmussen
-

- Student using hot glue to assemble their shape.
-
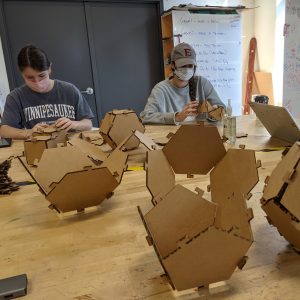
- Students working on their shapes.

-
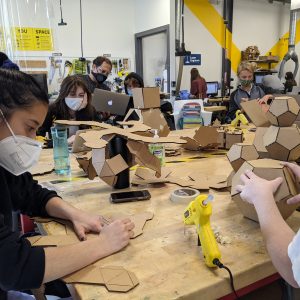
- Students using hot glue to assemble and glue their shapes.

-
- Student using masking tape to hold the shapes together.
Assignment Objectives
In my introduction to 3D Design course, I wanted students to get exposed to a variety of material handling strategies ranging from analog processes such as carving to sophisticated digital fabrication techniques like laser cutting. It was important for me to show students the range of possibilities when making things so as to explore both traditional and contemporary techniques. I also wanted to show students how an idea can be stretched into a variety of iterations, so this project was multilayered ranging from ideation, to design, to fabrication, to public display.
Deliverable
Students worked to design and laser cut 3D polyhedral forms out of cardboard. Each student created a unique form based on Platonic and Archimedean solids. They then worked together in a full class collaboration to create a large aggregate form which was then projection-mapped onto with a variety of unique digital designs. This culminated in a public event called Pizza, Pixels, and Polyforms which took place behind the Performing Arts building.
Why the Hub?
This project seemed like the perfect opportunity to get students to interface with the incredible resource that is the Maker Hub. I hope to get students excited about making things and solving problems, a mission that is shared and embodied in the Maker Hub. The Maker Hub is such a great nexus for creativity and interdisciplinary potential, I hope to continue to explore this resource with students both in and outside of class.
Success? Encore?
Overall this was a great success. Students really enjoyed learning new techniques and working both individually and collaboratively to realize this project. I would encourage anyone considering doing a project with the Maker Hub to go ahead and do it. It’s a great teaching and research tool. Not to mention it serves as a community generator of eager makers, thinkers, tinkerers. I’ll be back.
Tools
Students were required to complete the Maker Hub’s Laser Engraver training before the class session. During the session, students spent the time laser cutting their pieces and assembling them.
Materials
Cardboard and hot glue
Elementary Latin I & II | LAT121 & LAT122
Instructor: Tedd Wimperis
Assignment Objectives
The main goals were to expand on the work we did in the class (an elementary language course) with a project that gave students a chance to look at Roman art and artifacts alongside our work with the language and to do a hands-on, collaborative project that let students use cool technology at a really valuable campus resource.
Deliverable
- 3D print
- Brief description/analysis the students wrote about their print
- A public “museum exhibit” of all artifacts together, with their descriptions/analyses compiled into the “artifact guide”
-
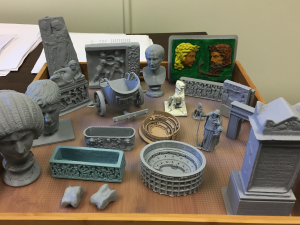
- 3D prints on display in 2018

-
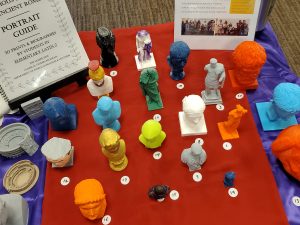
- 3D Prints on display at the Maker Takeover in 2019
-
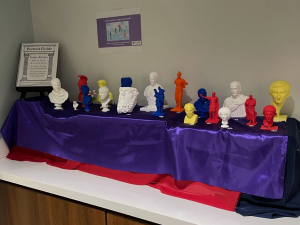
- 3D Prints on display in the Carlton building in 2021

Why the Hub?
Working with the 3D printers at the Maker Hub introduced students to an exciting resource, and opened up more ways for them to engage with the material beyond our usual practice in class (using tech).
Success? Encore?
I would definitely consider the projects a success—the students really seem to enjoy them, per feedback on surveys I’ve given. The projects have become a regular fixture of those classes and generated some good buzz around campus and among colleagues at other institutions.
Tools
Projects focused on the 3D printers; they chose a 3D model online and printed it at the Maker Hub
Materials
3D printer filament, paint
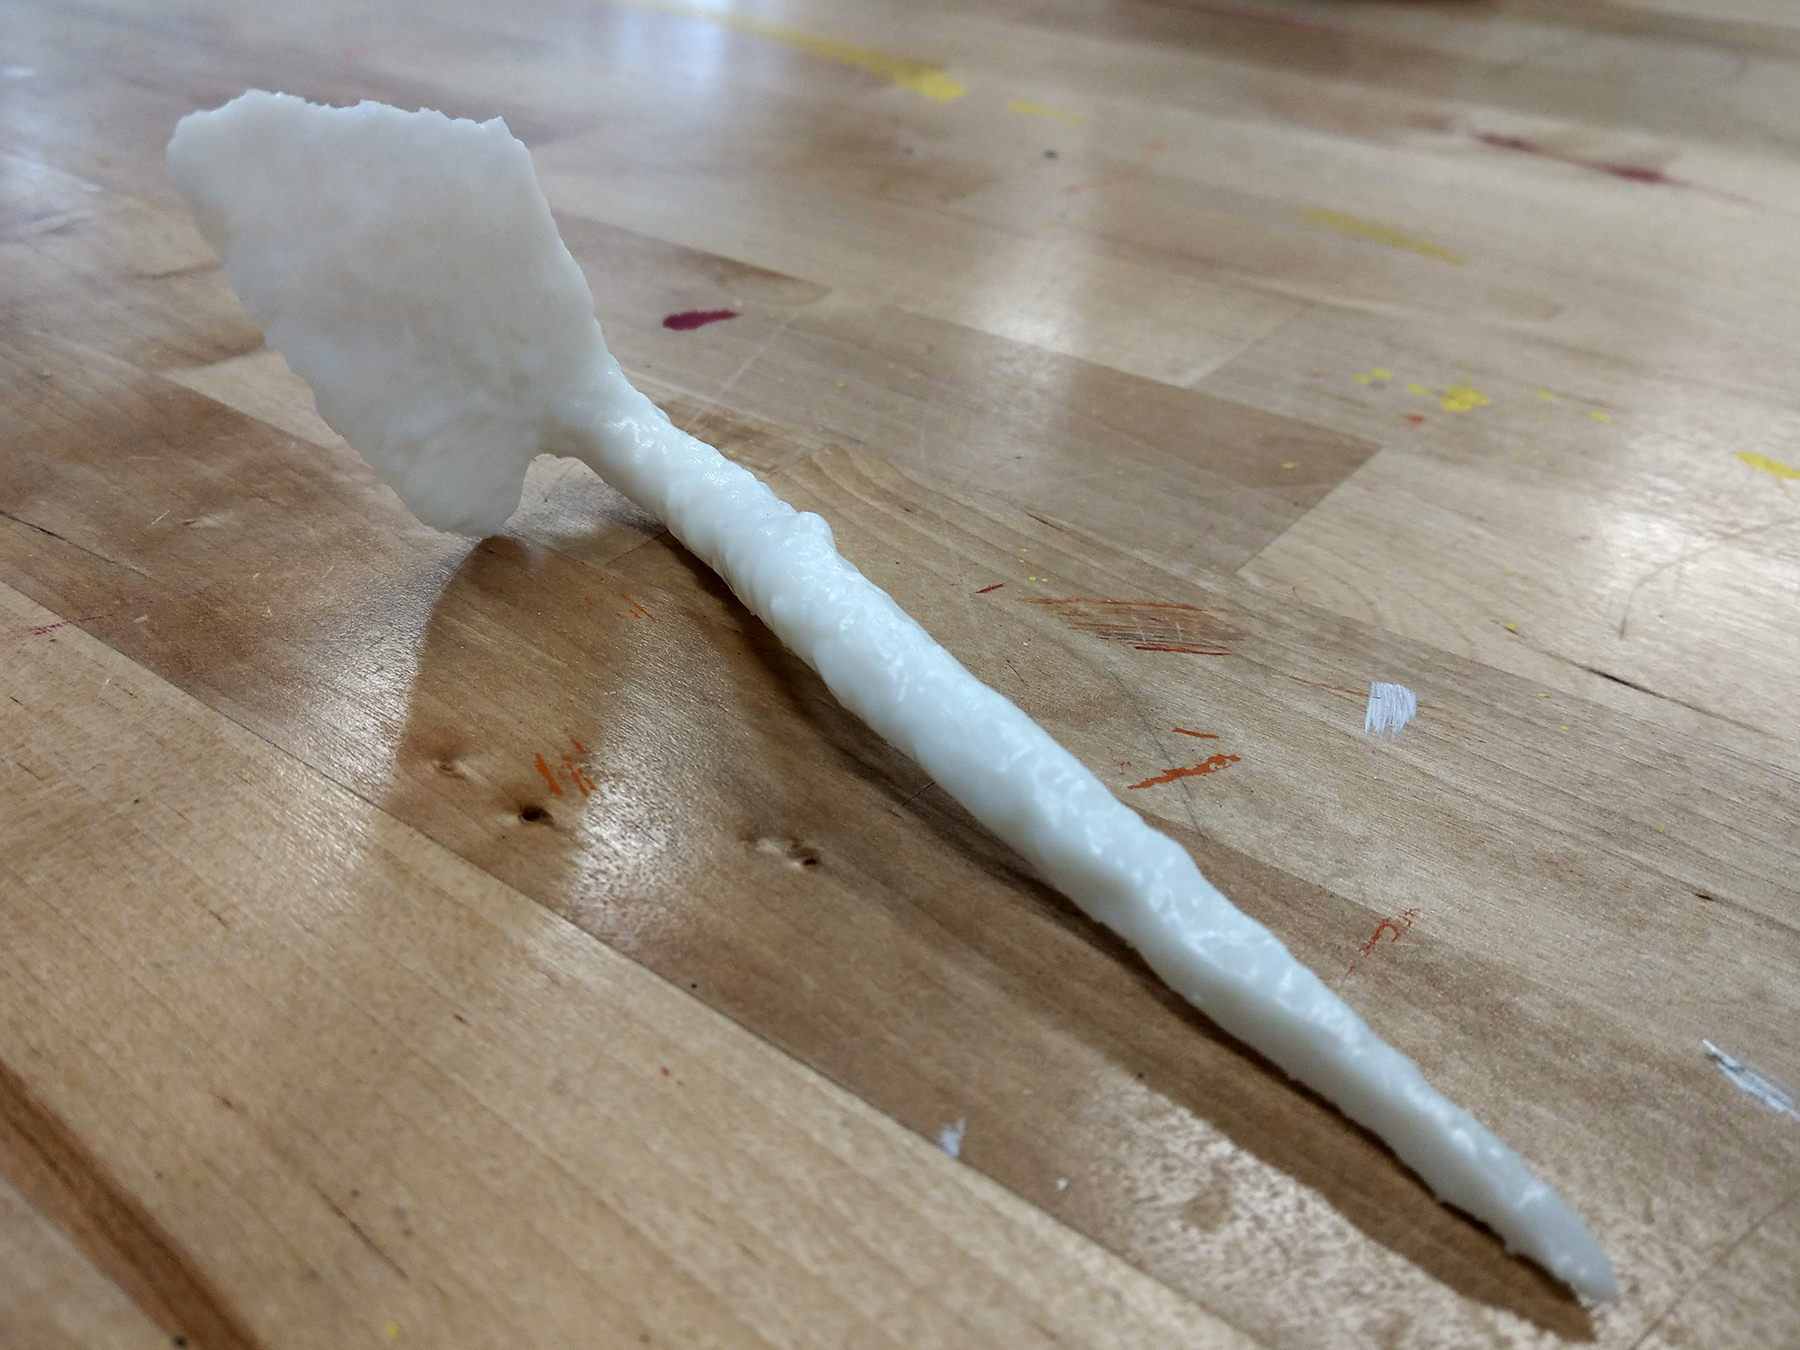
History
Instructor: Charles Irons
Assignment Objectives
Among the course goals that students addressed in their writing were an exploration of “The tremendous diversity of the enslaved experience, including an analysis of the variables responsible for that diversity” and “How men and women resisted their enslavement, through both open conflict and more subtle forms of resistance. Enslaved people rebelled, fled from slavery, maintained cultural practices distinct from those of slave owners, launched religious and political protest, etc.”
Deliverable
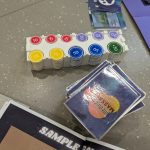
Students handled 3D printed objects (from files at Virginia Commonwealth University’s Virtual Curation Lab) and then did an informal writing assignment on what we can learn about the lives and experiences of enslaved people by attending to the material culture of US slavery. The ability to interact with reproductions of four items associated with US slavery (a pair of shackles, a hoe discovered in an archeological dig under a cabin used by enslaved people, a brick with the fingerprint of an enslaved worker on it, and a cowrie shell) was what the Hub offered.
-
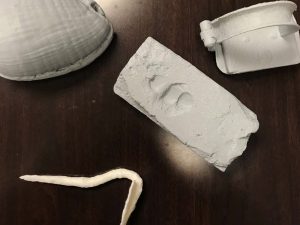
- 3D printed versions of artifacts
-
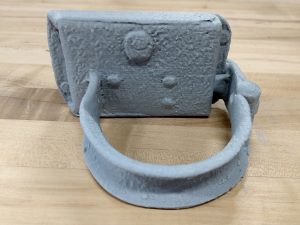
- 3D printed shackle

-

- 3D printed hoe
Tools
3D printers
Materials
Plastic filament
Why the Hub?
I wanted to help jolt students out of hearing about slavery as a purely academic/intellectual phenomenon and to consider more intimately what life was like.
Success? Encore?
I would consider the project a success and would gladly do it again!
More Information
Scenic Design | THE 361
Instructor: Natalie Hart
Course Objectives
In this course, students:
- Translate textual analysis into meaningful visual imagery
- Practice certain fundamental design skills with a focus on visual research, image, meaning and metaphor
- Communicate through traditional and new technologies in drawing, drafting and model building
Deliverable
Students design and produce
- 2 1/4-inch scale theatrical models with scenery. One is a single set show and one is a multi-set show
- 1 small model piece using newer technology like the 3D printer
- 1 piece using hand skills with a Xacto knife
- 1 eighth-inch scale model that uses grayscale abstract scenery to evoke a given word
Tools
Students use Xacto knives, 3D printers, laser engravers, and more depending on their designs.
Materials
Students use matboard, foam core, glue, Bristol board, plastic filament, and more depending on their designs
Why the Hub?
The Maker Hub provides the tools and materials needed for my course with an appropriate place to do the work. Prior to the maker hub, students had to spend money on these projects and do them in their residences which are not equipped for this work.
Success? Encore?
Definitely! I have taught this course every other year for 11 years. Having the Maker Hub as a resource has been a huge help to my students and more easily lets them accomplish learning objectives.
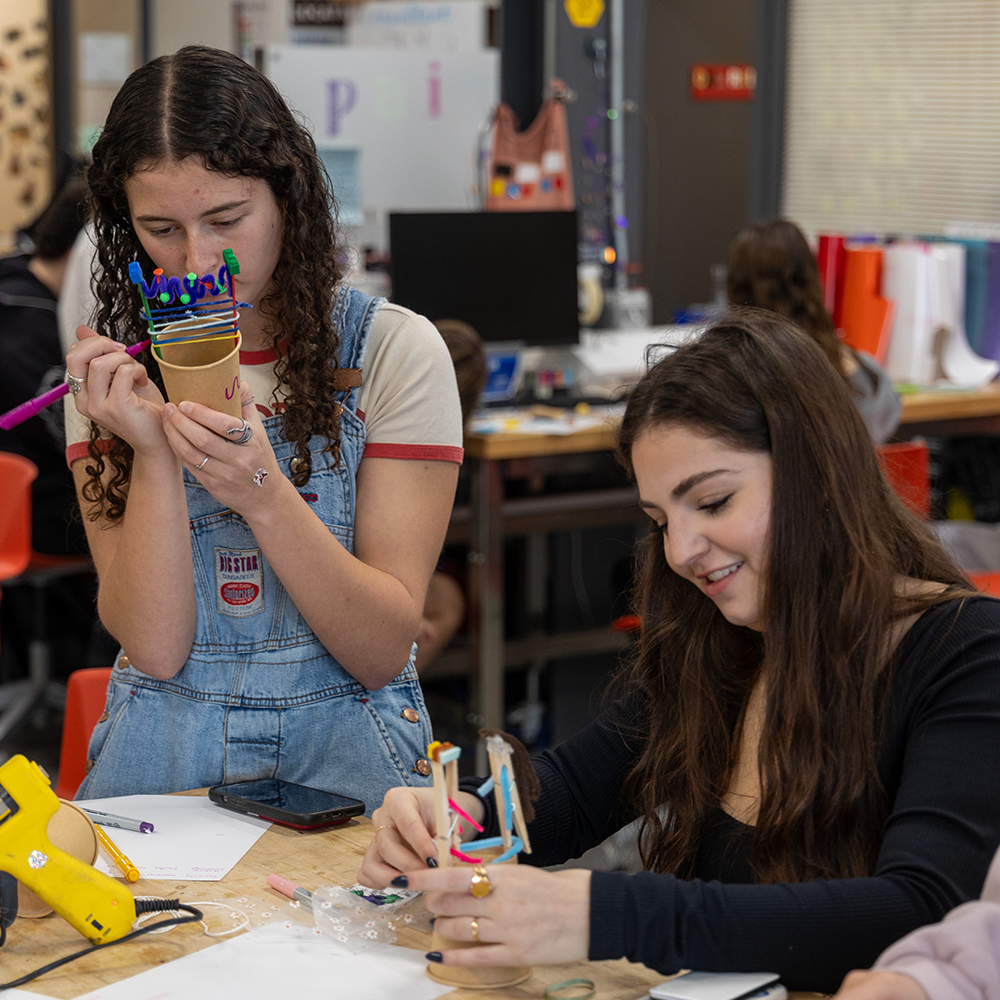
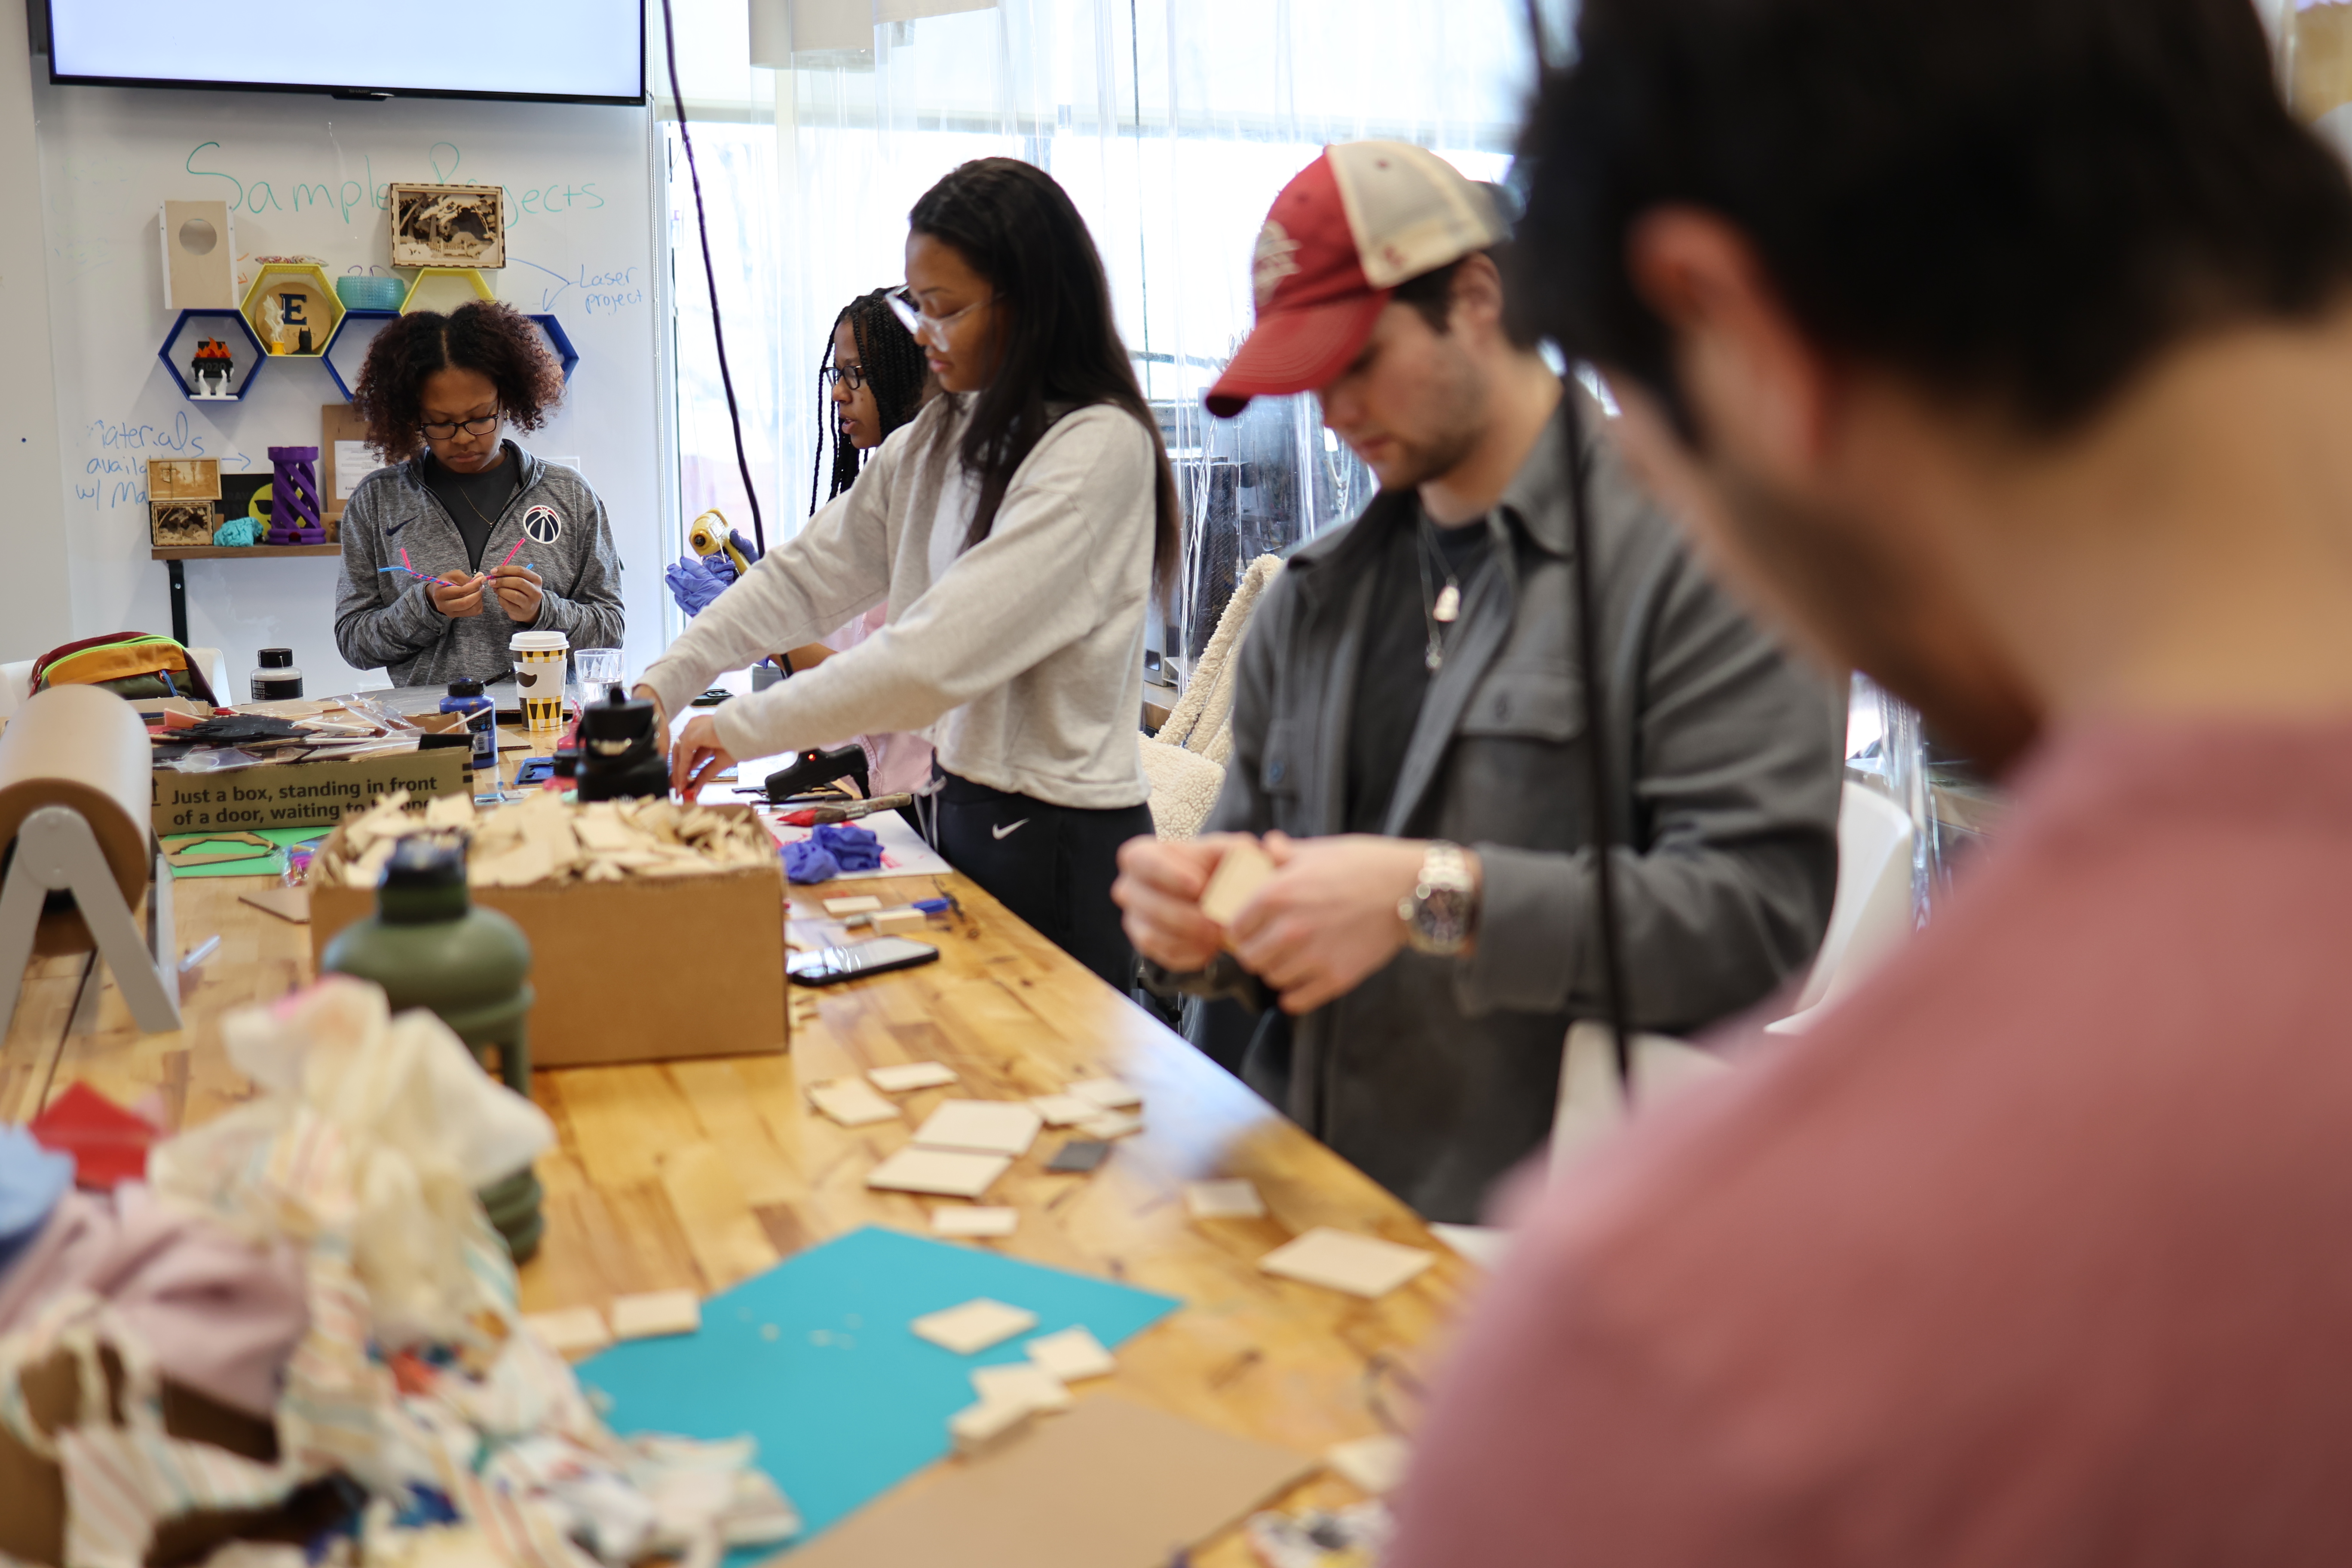
Paths to Inquiry in the Arts & Sciences | ECF 111
Instructor: Heather Lindenman
Assignment Objectives
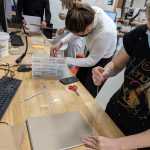
We visited the Maker Hub with two goals in mind. The first was to show that research inquiries and interests can stem from many life experiences, including “making.” The visit was one of 20+ experiential “PANDAs” (PANdemic Engagement Activities) we offered to students during four days in the middle of winter term. The second goal was to build community among the College Fellows, to give them a chance to get out and participate together in an activity with fellow students. This in itself was not insignificant, particularly during COVID.
Deliverable
Students chose their projects based on their own interests. They later composed a reflection about their experience at the Maker Hub and used their experiences there to brainstorm potential research questions they could pursue for their class “grant proposal” assignment.
-
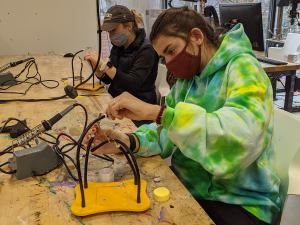
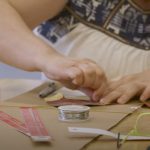
- Paths to Inquiry in the Arts & Sciences – Heather Lindenman: Students working on a simple electronics project by soldering a flip light.

-
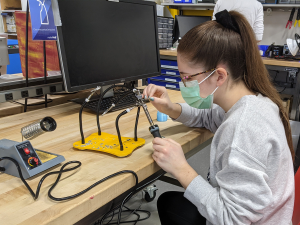
- Student soldering the battery to the LED light for the flip light project.

-
- Student making a hand-sewn cloth face covering.

Tools
Soldering tools, hot glue gun, vinyl cutter, and scissors
Materials
Students used the materials provided in the kits by Dan and the undergrad student leaders.
Why the Hub?
As the Arts and Humanities faculty member in ECF111, I wanted to have students visit and use the Maker Hub to show how creativity and “making” span disciplines and areas of study: creativity and active “making” aren’t reserved for creative writers, art majors, and theater studies folks (for instance). Creativity spans branches of the arts and sciences, and we see that at play at the Maker Hub.
Success? Encore?
Yes! It was great! Several students stayed behind to create more than one project, and students’ reflections showed that the experience was enjoyable and thought-provoking for them. Many said they are eager to visit the Maker Hub again in the future. Some said that the act of “making” was relaxing or meditative or that they were surprised how long it had been since they had “made” anything.