Communications
Student testing out her head-worn prototype that they designed with the help of AI.
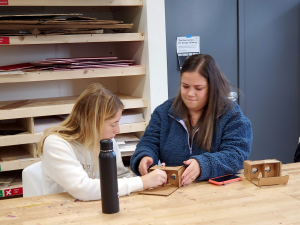
Students showing the first of 3 prototypes developed in Small Group Communications class.
Several prototypes created using AI in the Protobot Challenge in Design of Visual Images.
Students edit an Illustrator file of a flattened cube. The assignment is to alter the file, so the laser cut and assembled cube is a specific size.
Students assembled Google Cardboards and customized them to serve as an extension of a VR experience they created for a previous assignment in Multimedia Journalism.
Small Group Comm
Iterating on a project together

Design of Visual Images
Using AI as a creative partner
Writing for Visual Media
Document the making process
Design of Visual Images
Turn a digital design into a physical form

Multimedia Journalism
Assemble and customize a VR headset to continue the story
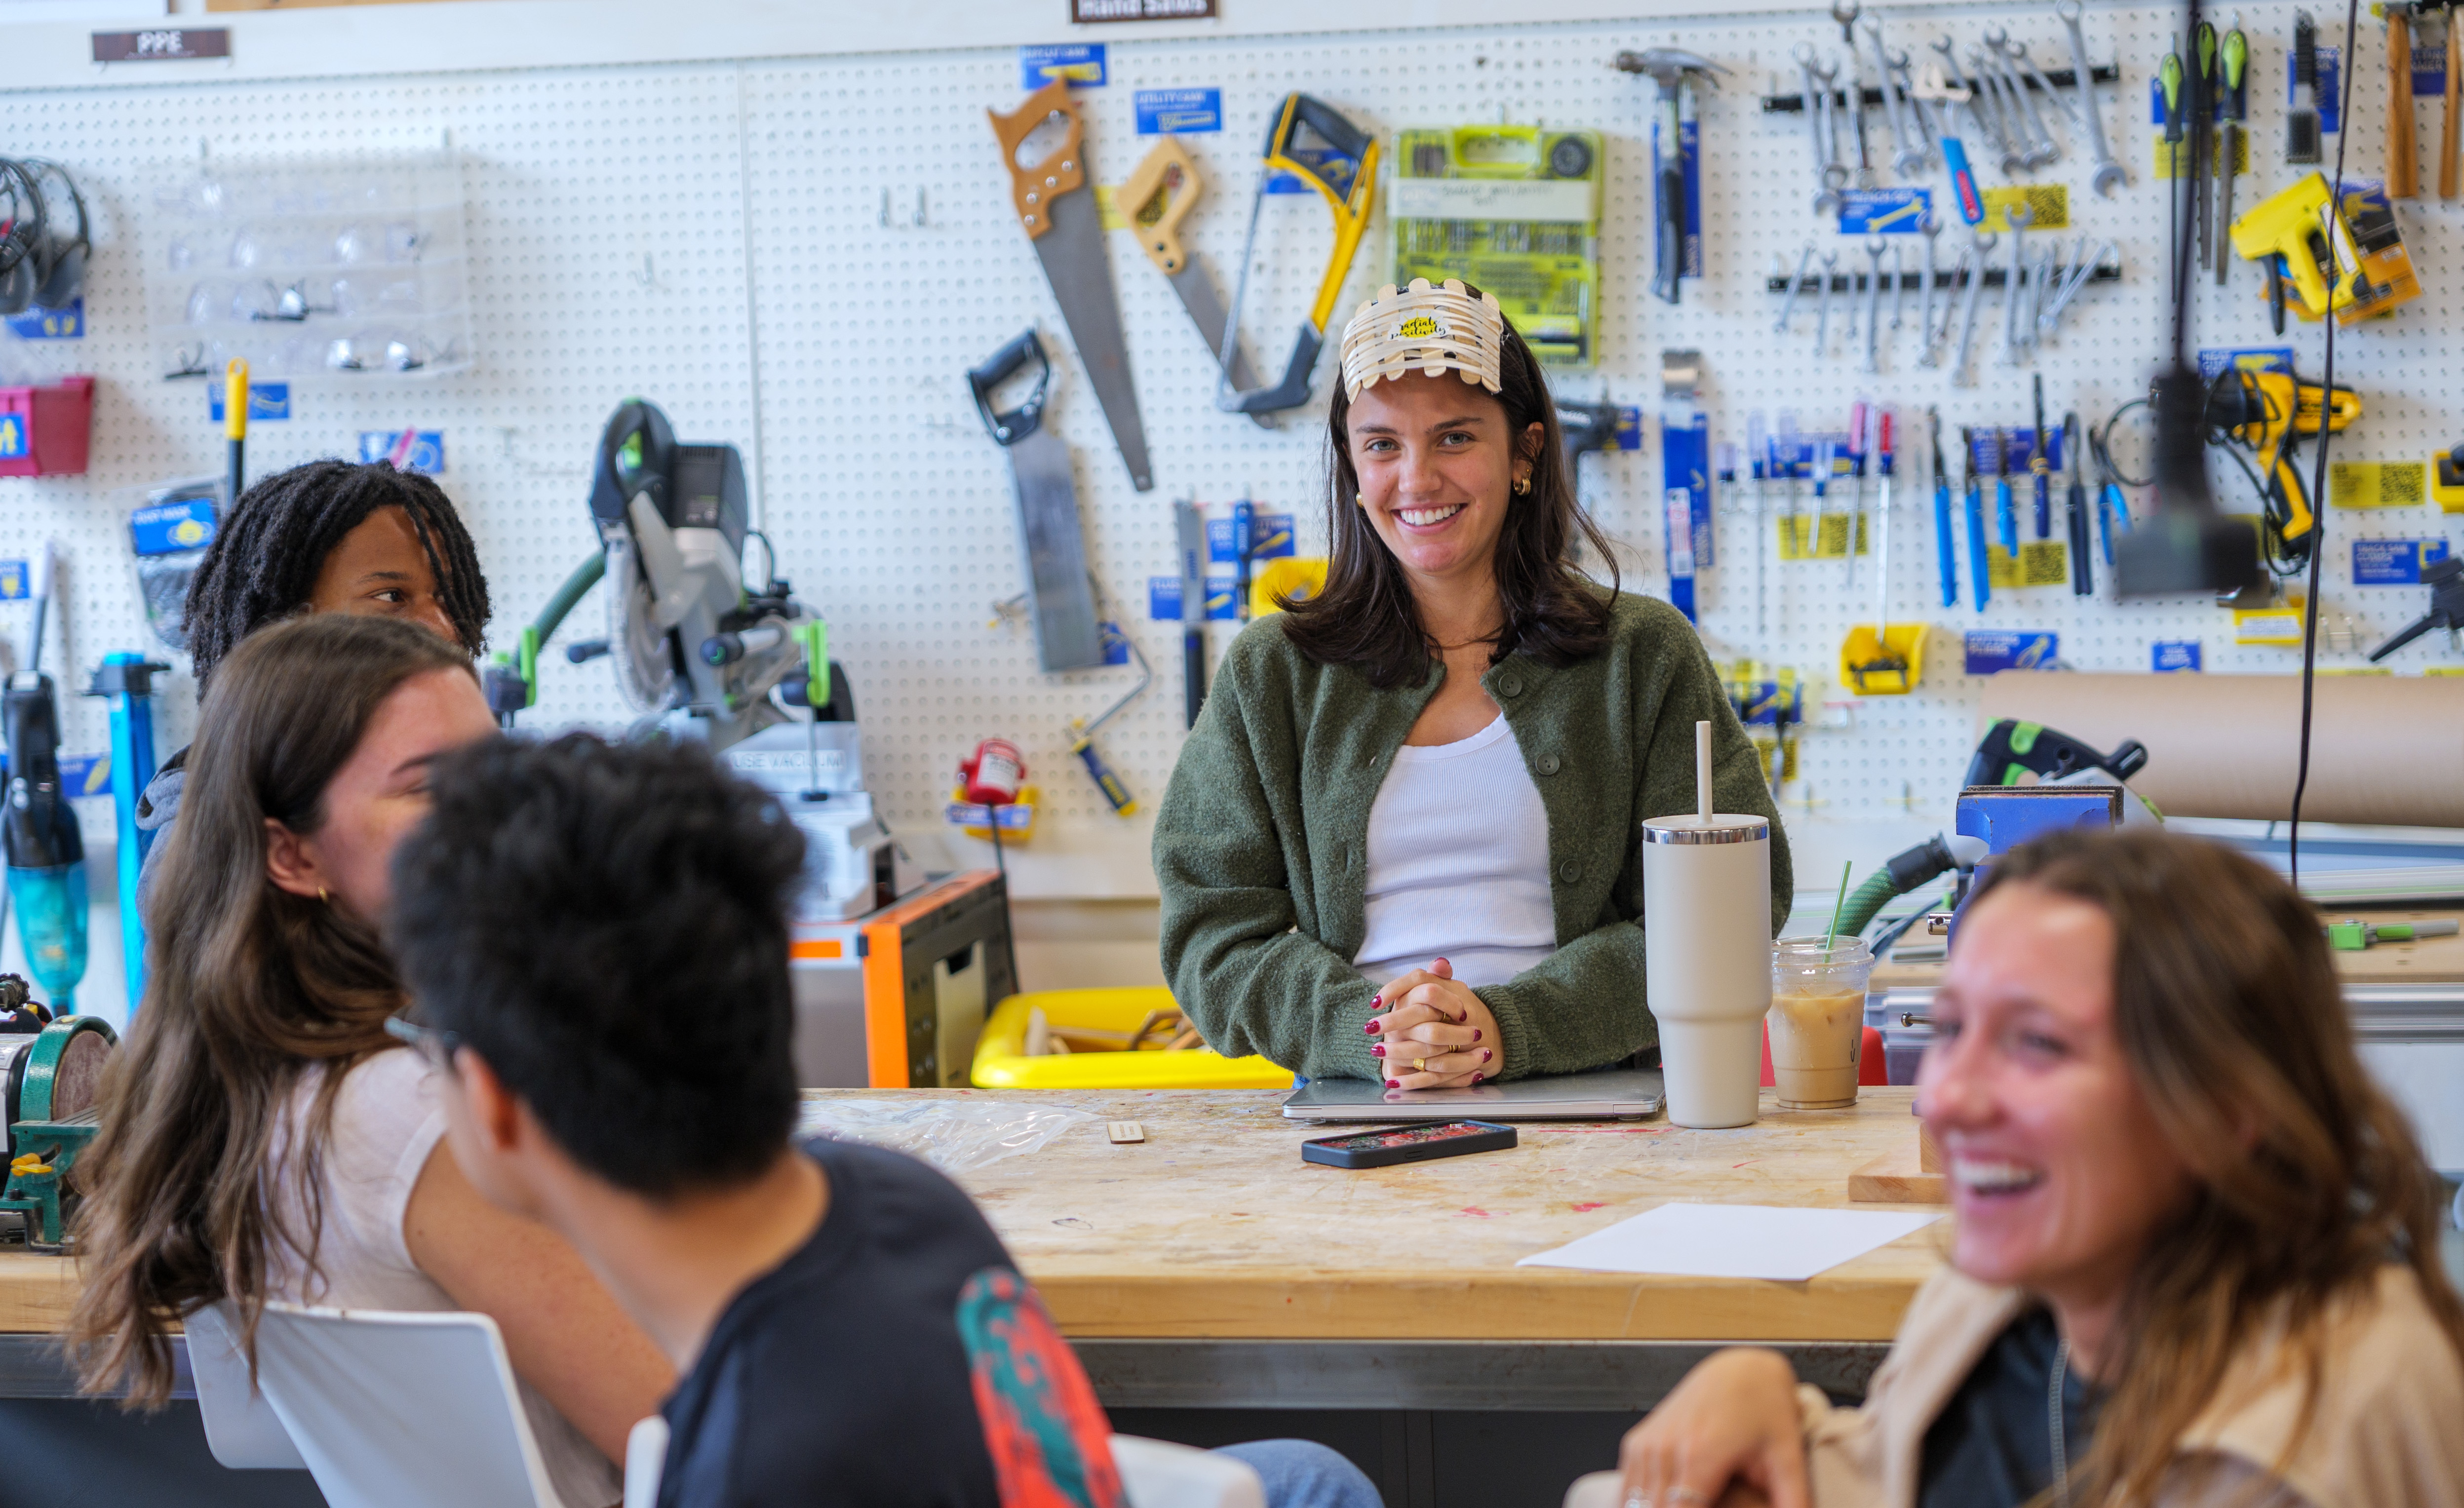
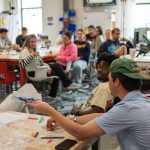
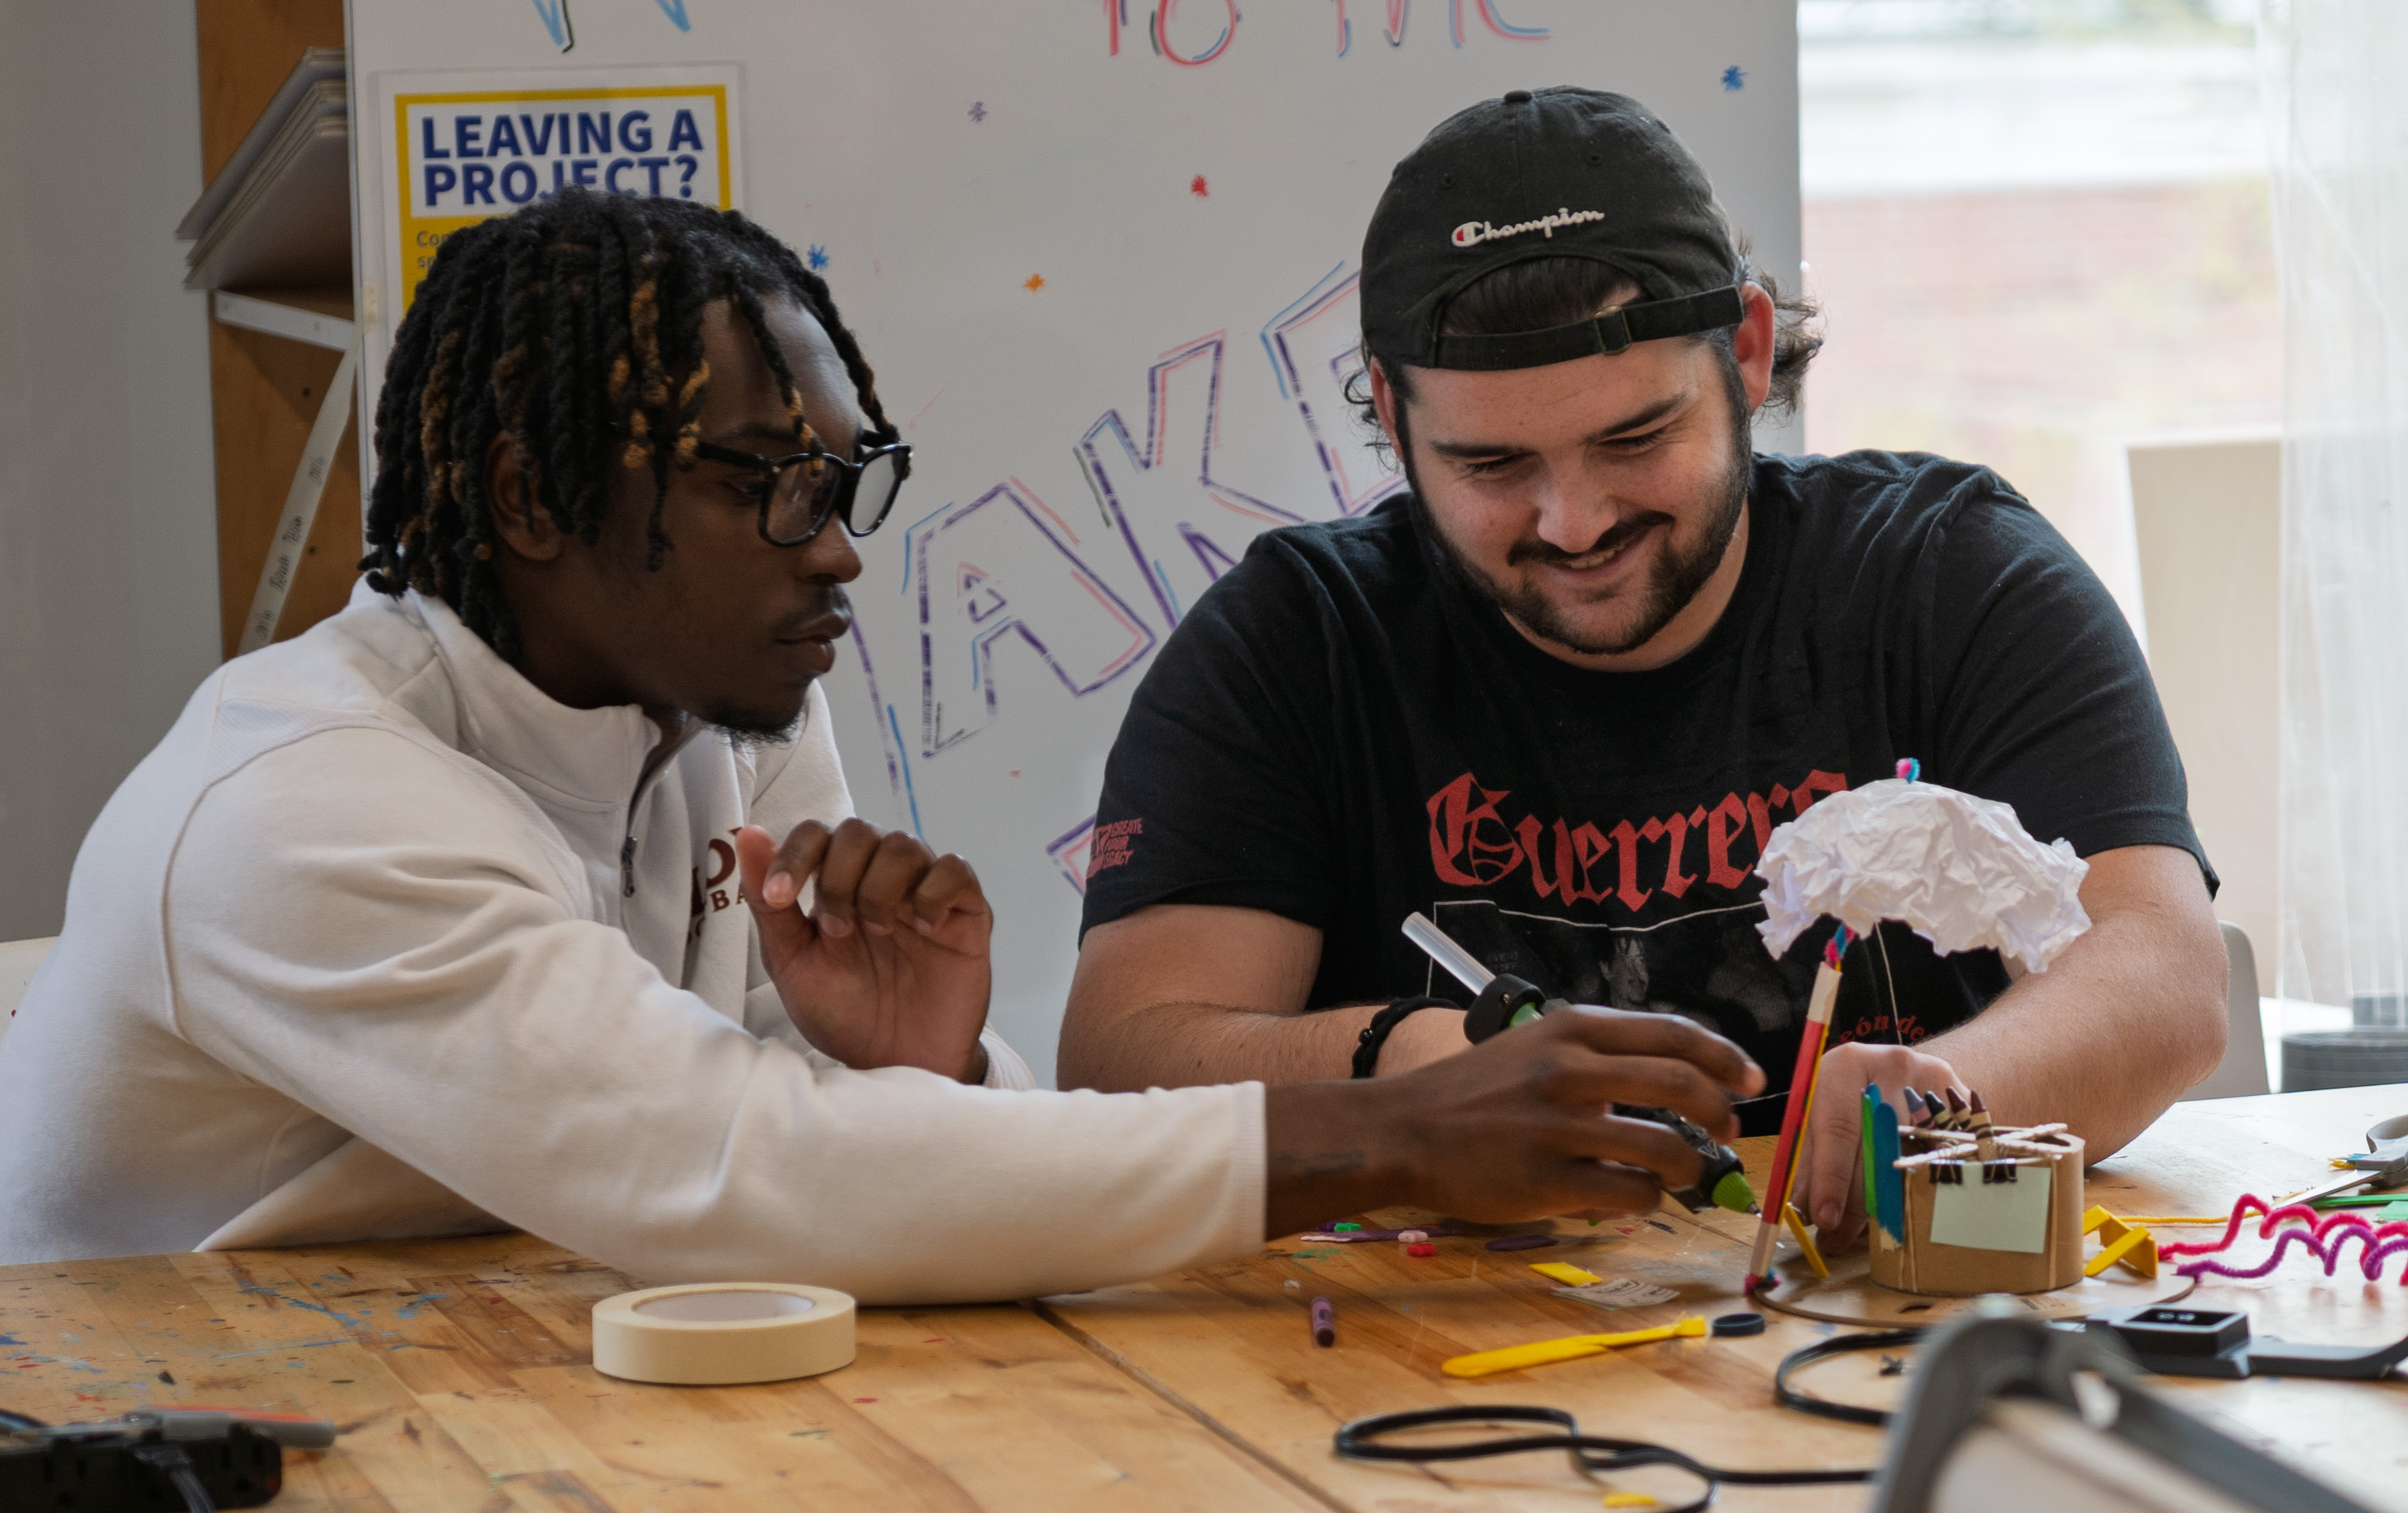
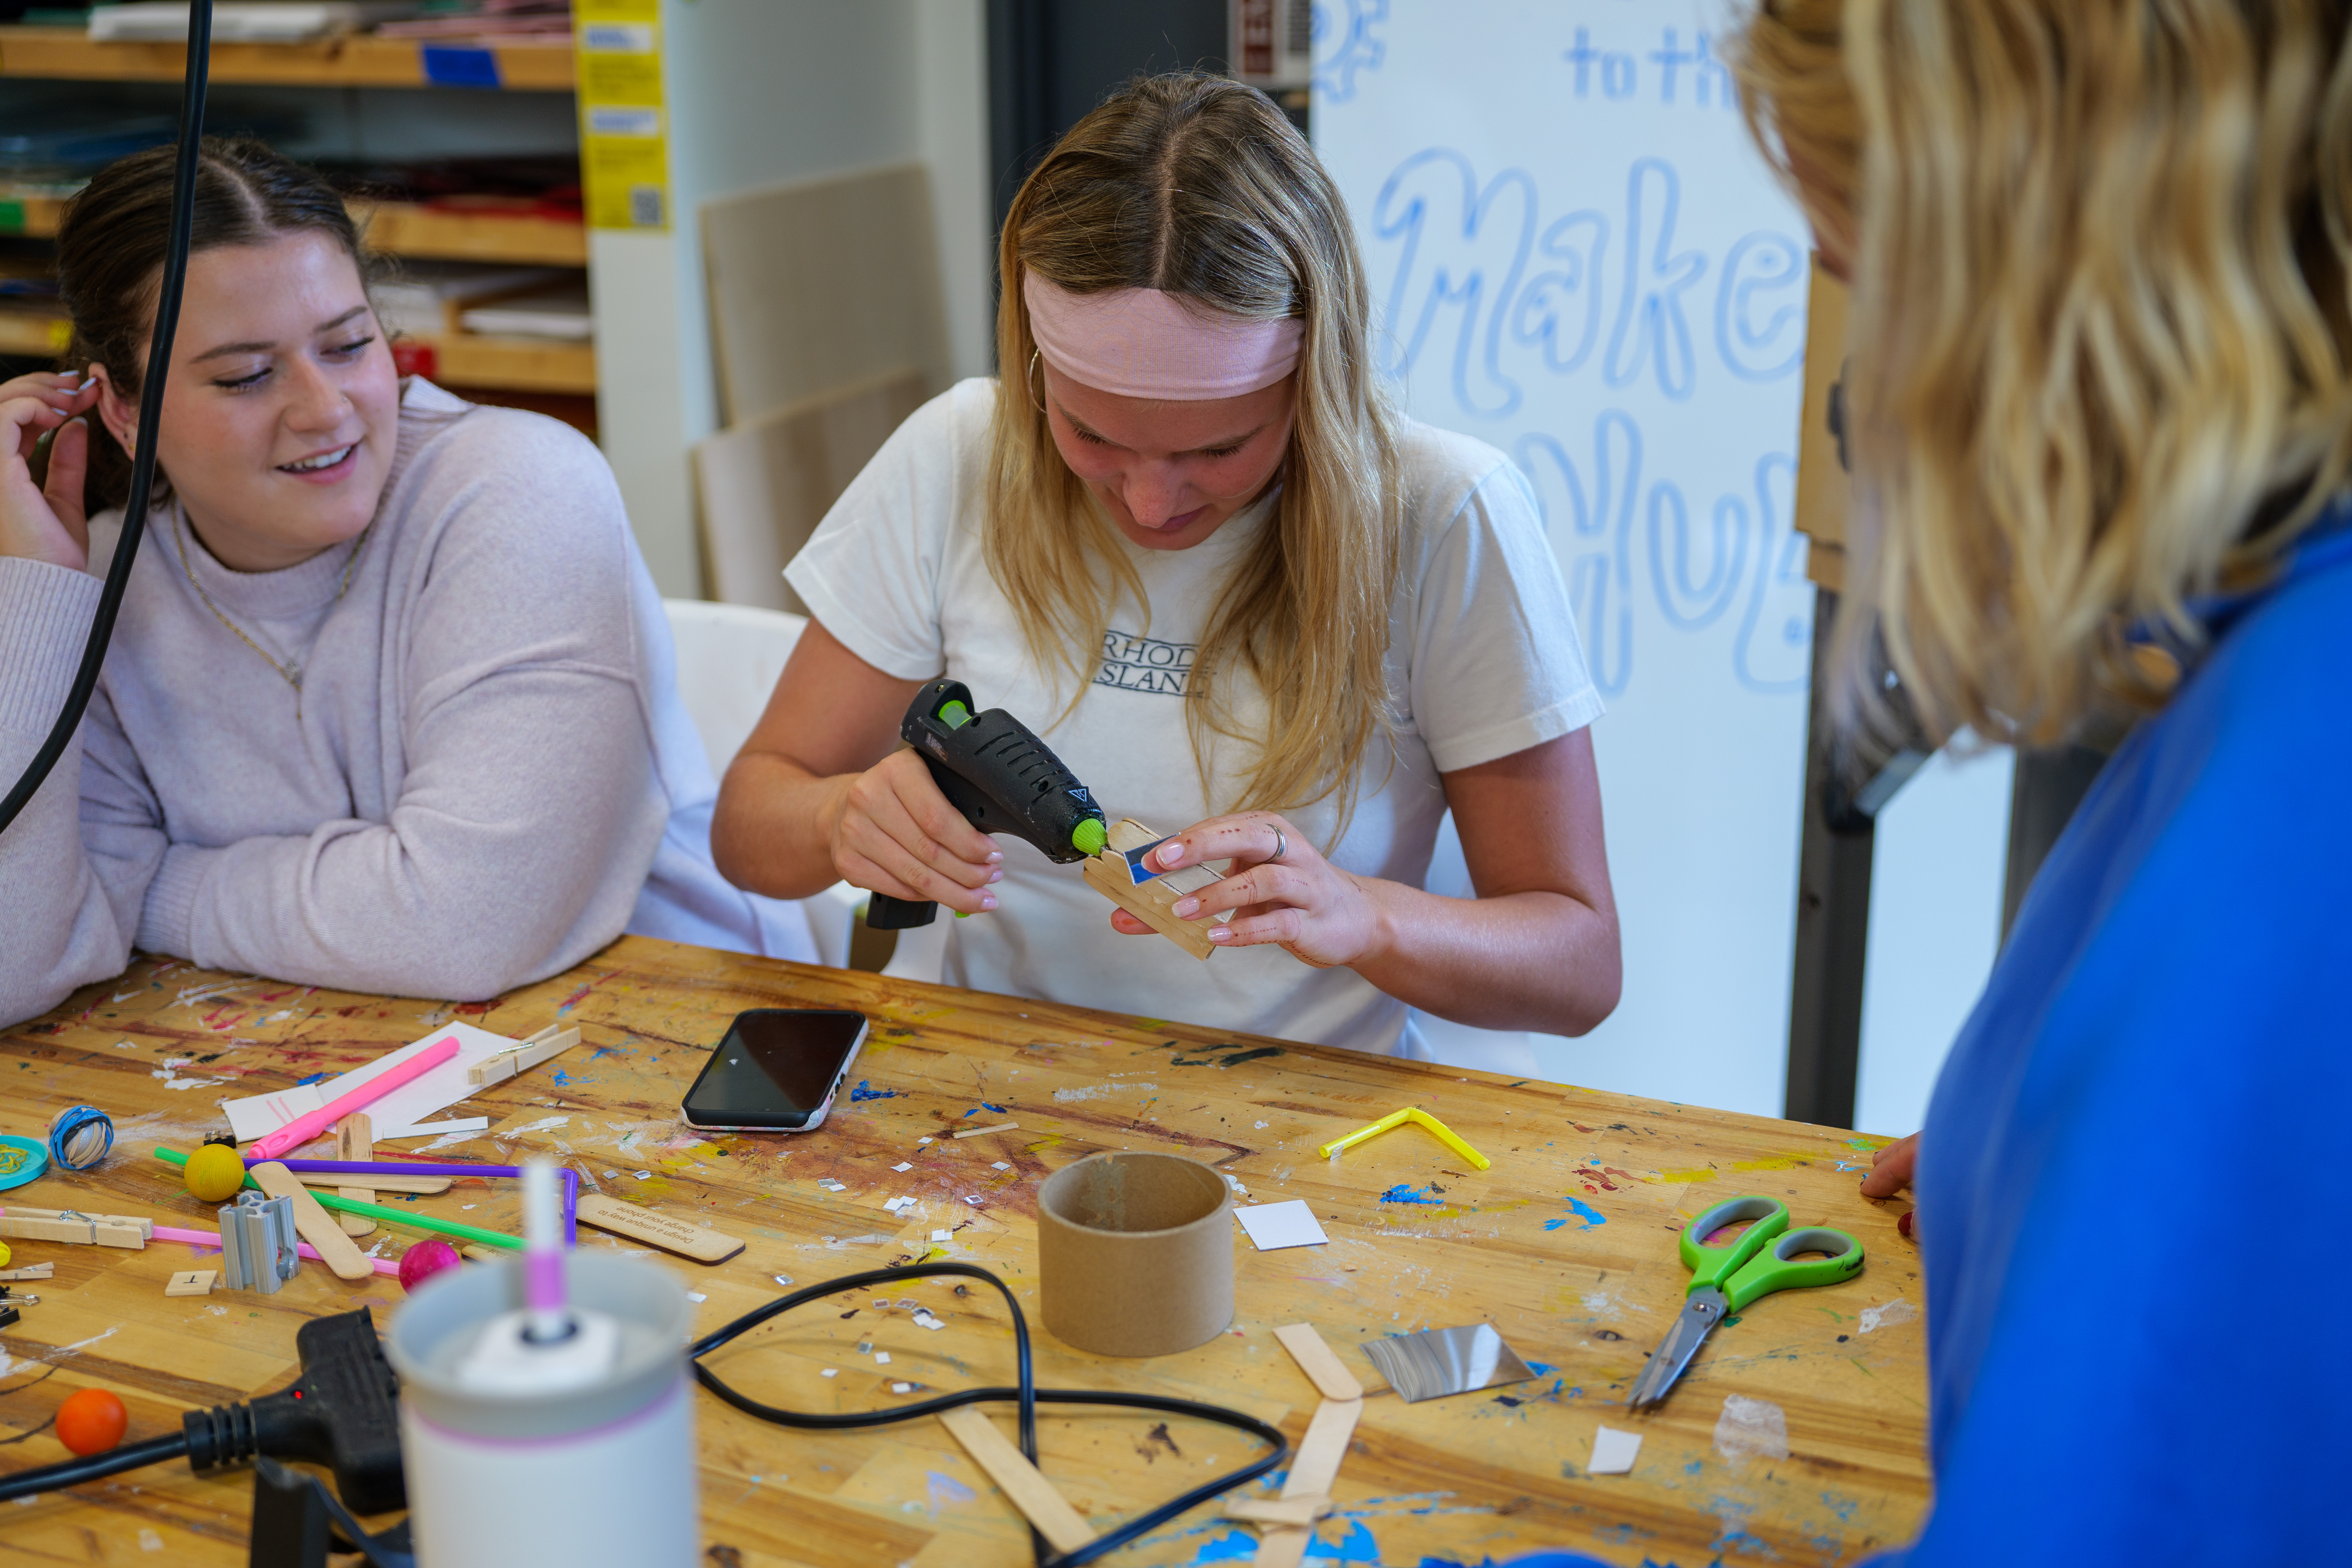
Small Group Communication | COM2650
Instructor: Frances Rodenbough
Assignment Objective
As a small group communications course, this activity was designed to engage students in experiential learning, providing a space for students to work together creatively and to improve their skill sets. The hope is that this assignment, in partnership with the Maker Hub, will build student confidence and a deeper understanding of course concepts through application.
Deliverable
Students were divided into small groups. Each group was then assigned a prompt of something to create. For example, one prompt was “A device to reach something up high that is also a status symbol.” They used that prompt to first make a quick prototype during the first class session. Then, in the two following sessions, groups were asked to expand and improve upon their solution through various iterations to develop an ideal, final prototype. Through the process of creation, students need to communicate and execute their ideas and visions for a collective solution. This requires group decision-making, conflict management and resolution, and overall group maintenance.
Why the Hub?
I wanted to get students out of the classroom and to think more “out of the box” with an opportunity to be creative and hands-on in their approach to group work.
Success? Encore?
I’ve really enjoyed working with the Maker Hub, and students appreciate the opportunity to do something different from a group paper or typical group presentation. I believe this process enables students to gain a deeper understanding of course concepts and their direct impact on their group work experience.
I think the Maker Hub is an underrated resource for students and faculty. Several students weren’t aware of the Maker Hub, and those who were aware didn’t understand how they could benefit from it until this course/project.
Tools
Hot glue guns and various tools, depending on the group project
Materials
Random supplies from our assorted parts bin to make the initial prototype. Various other materials, depending on the group project.
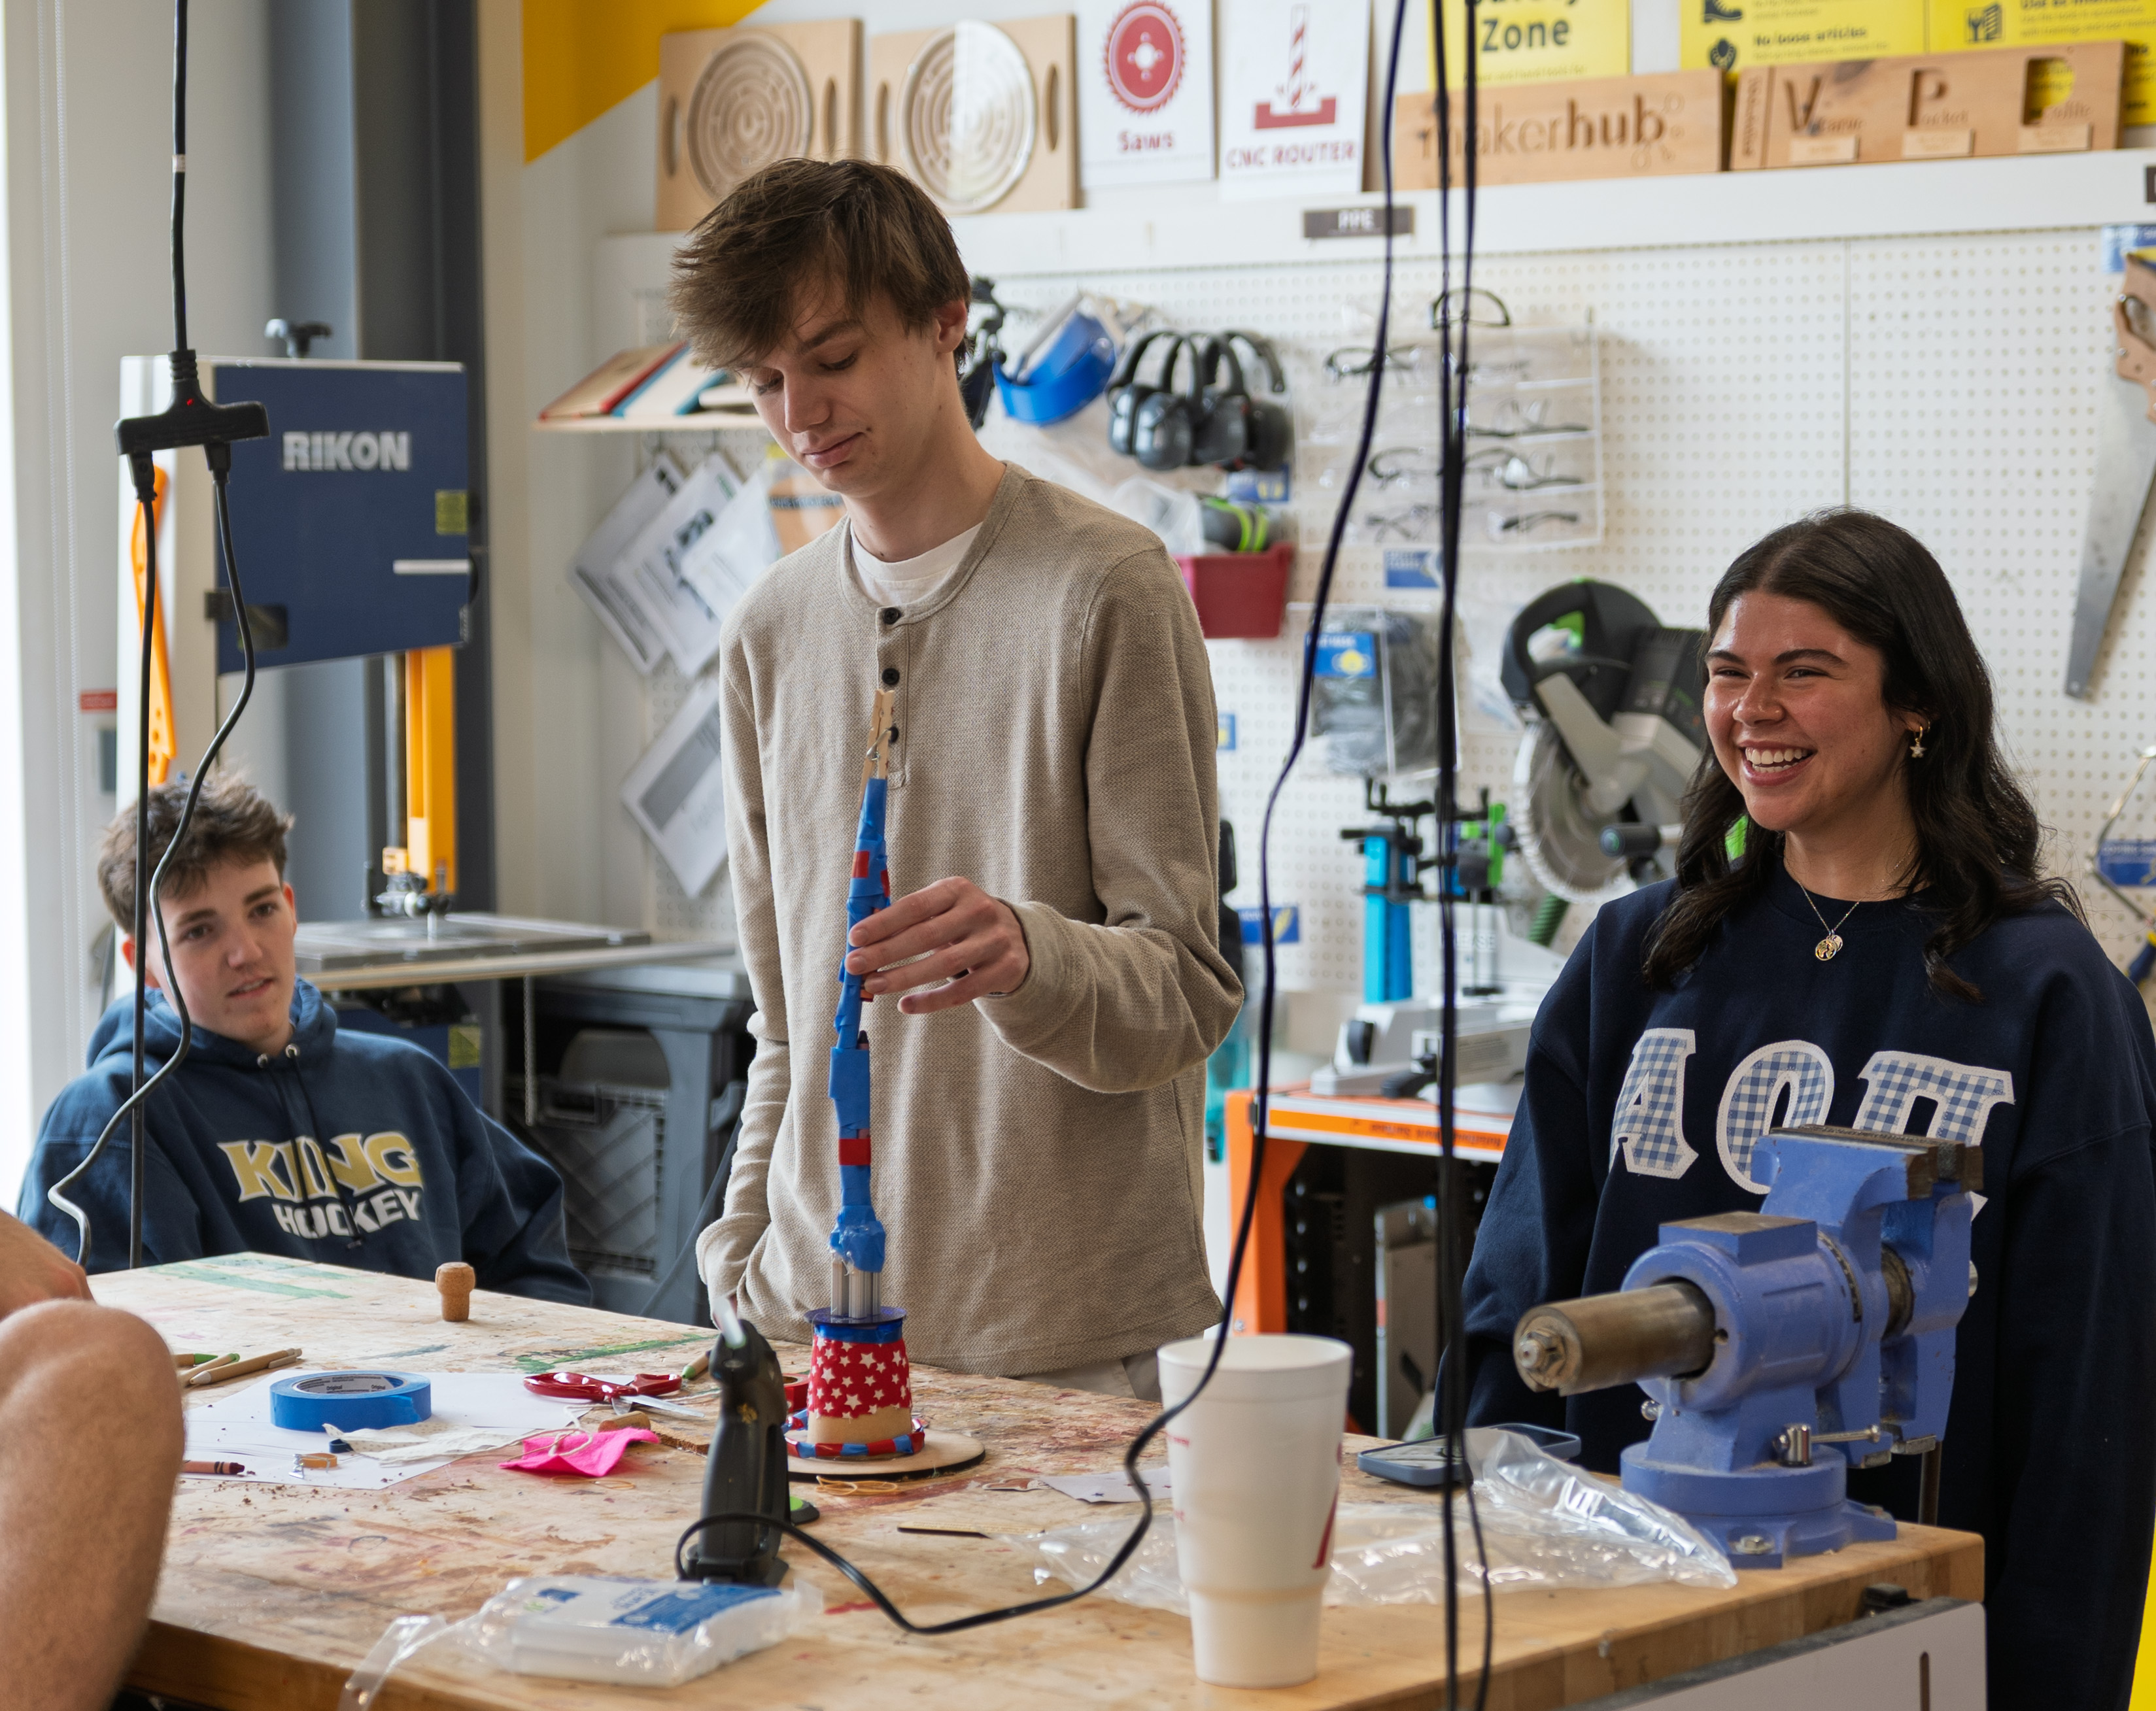
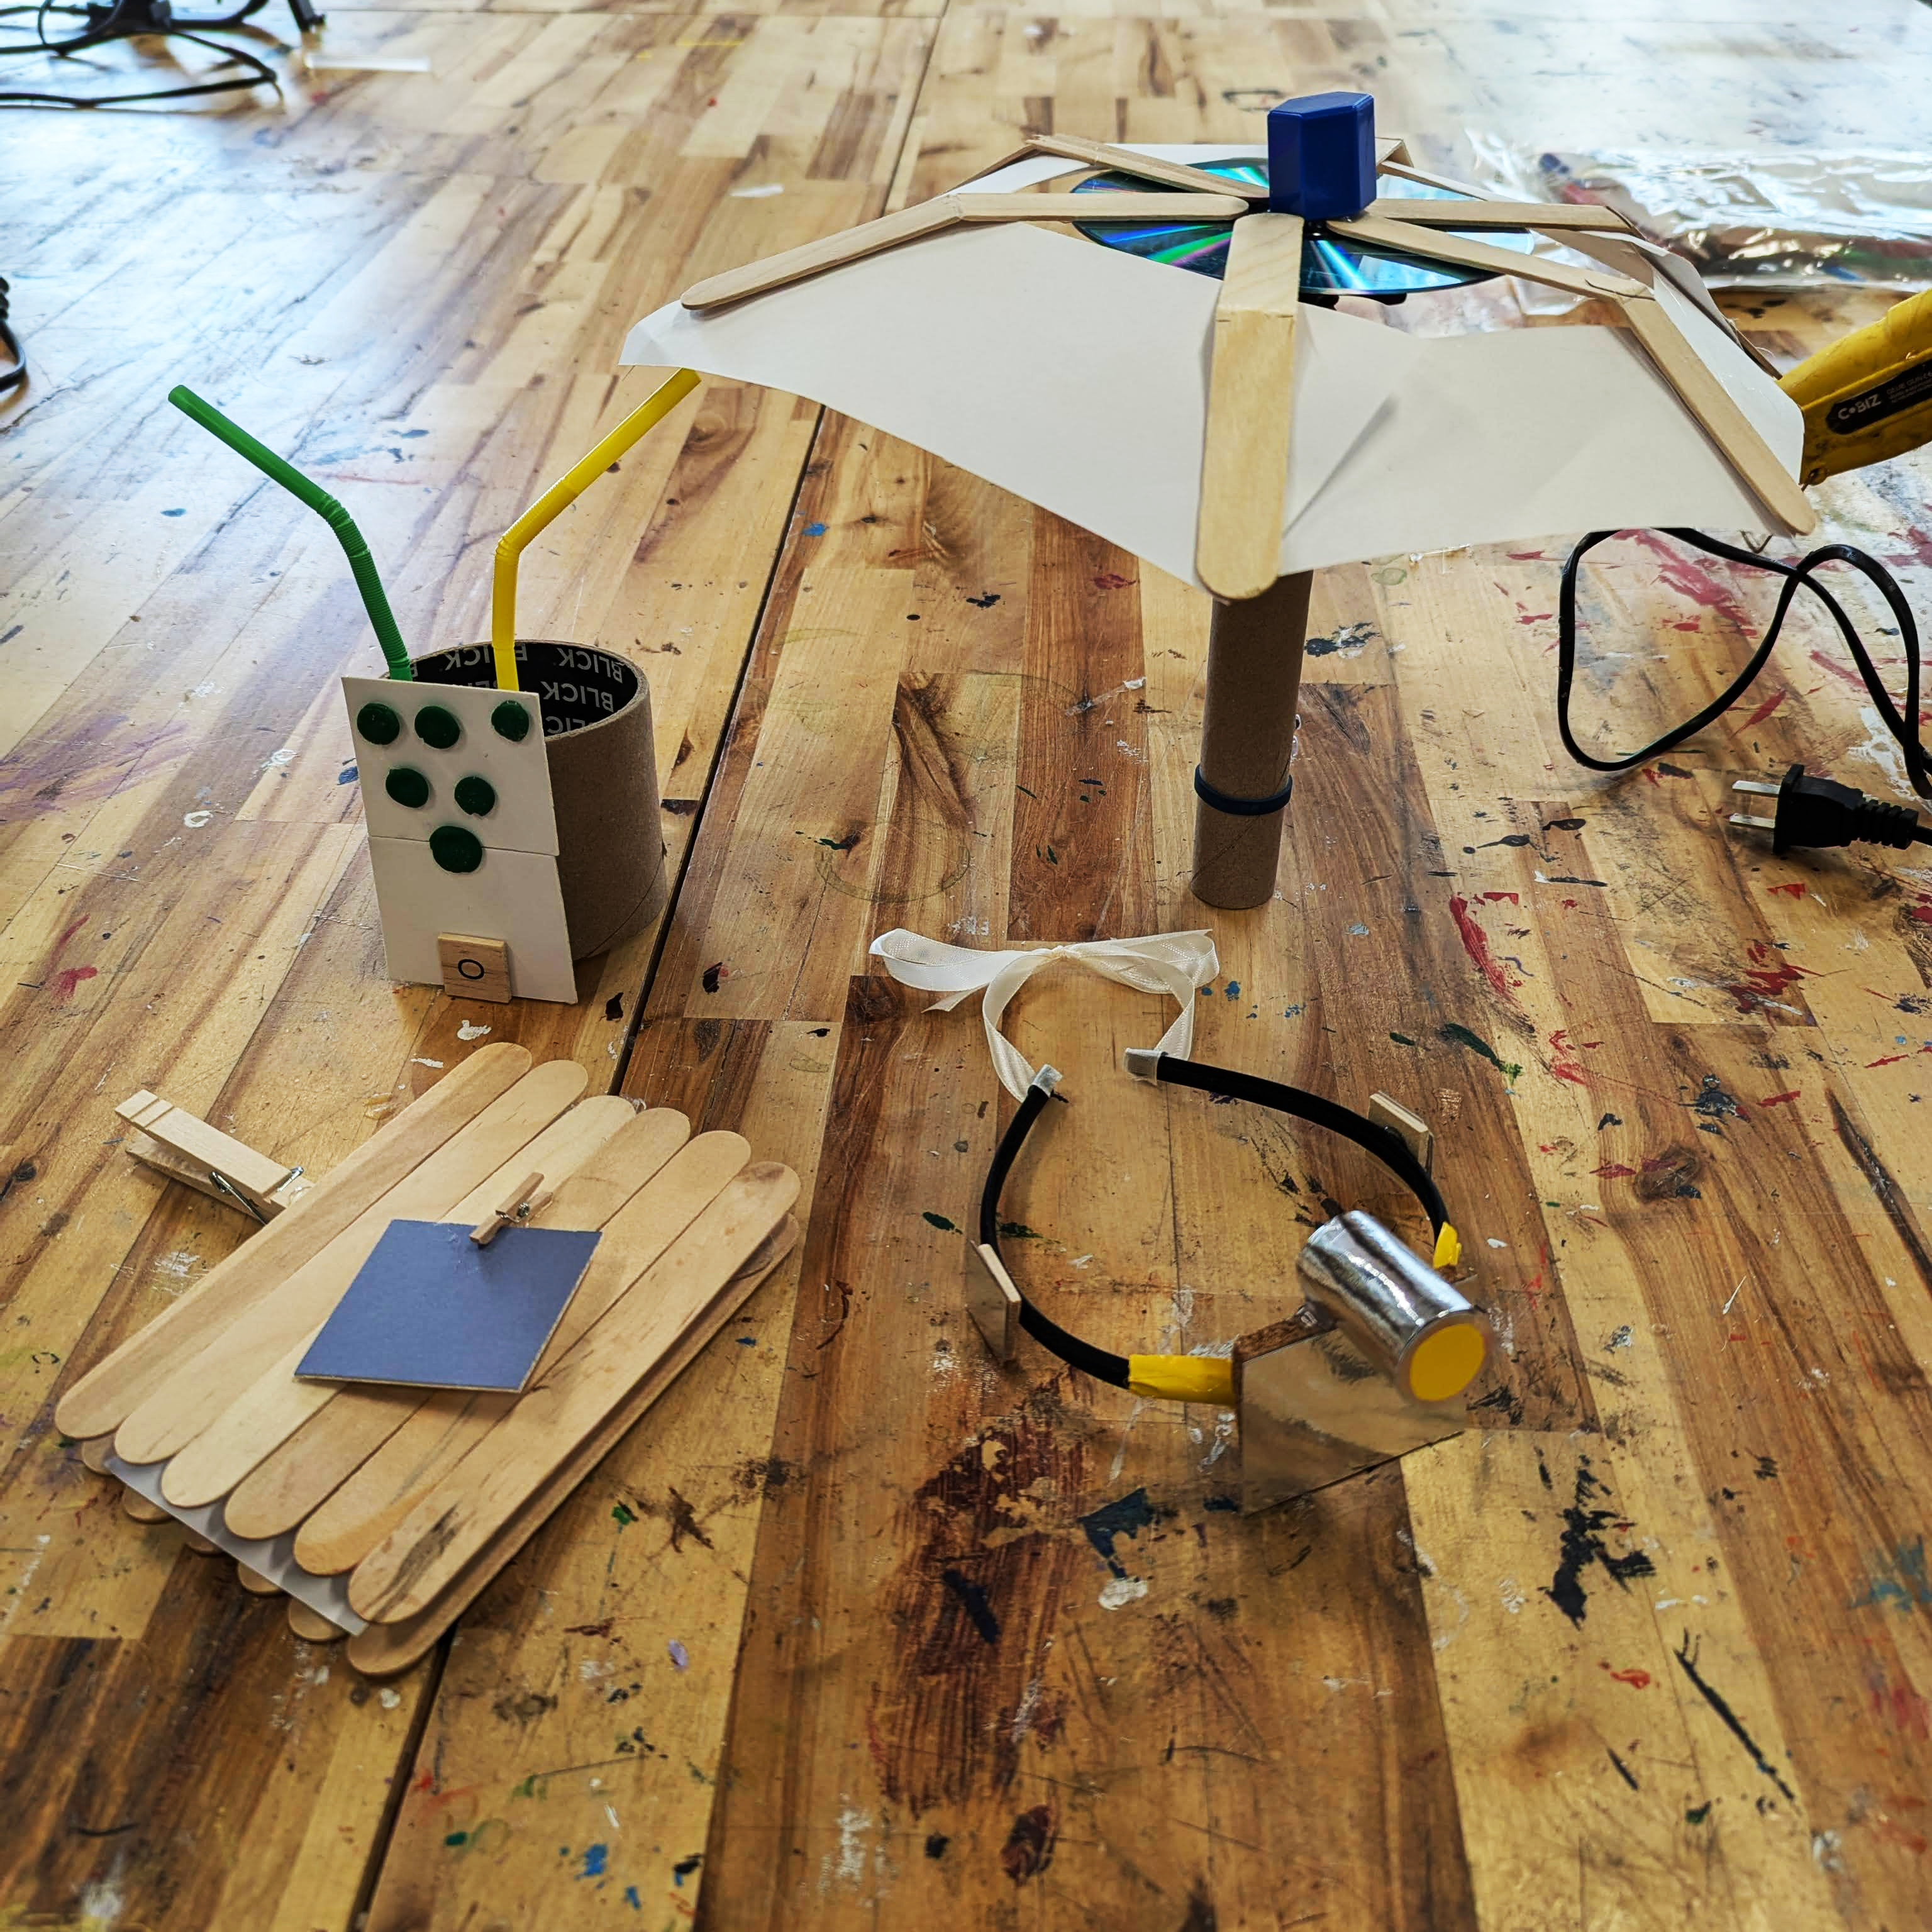
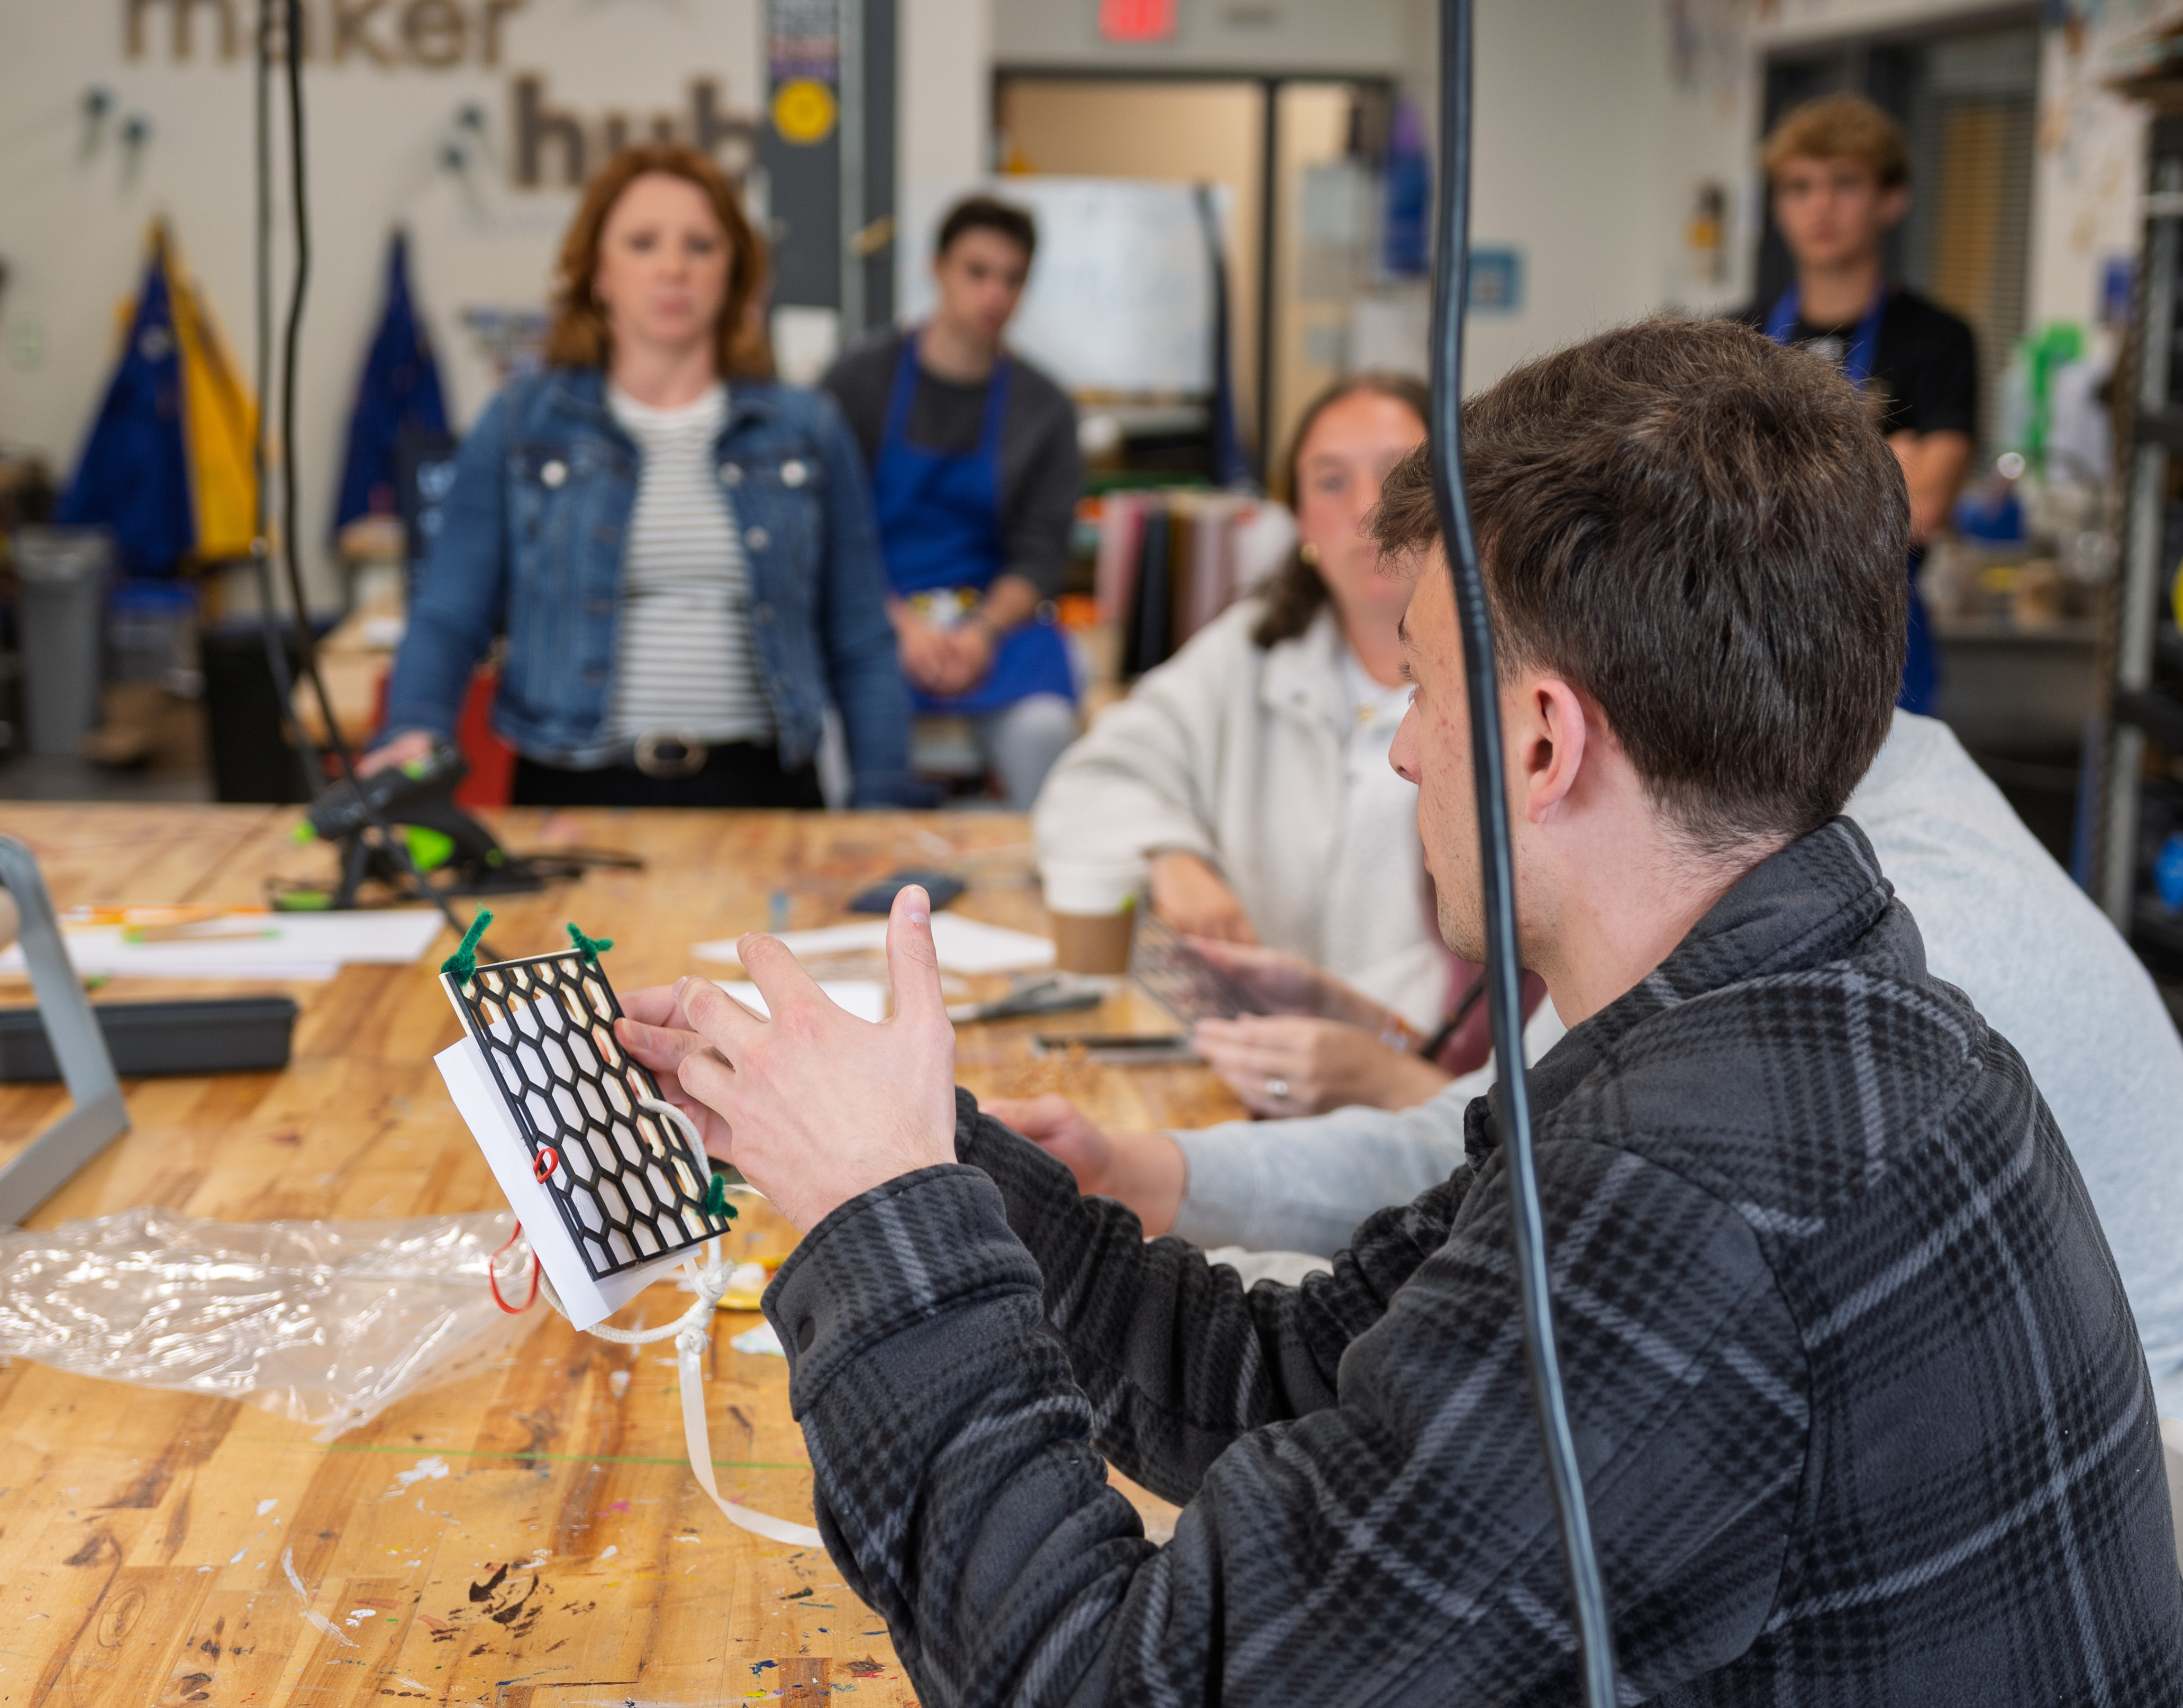
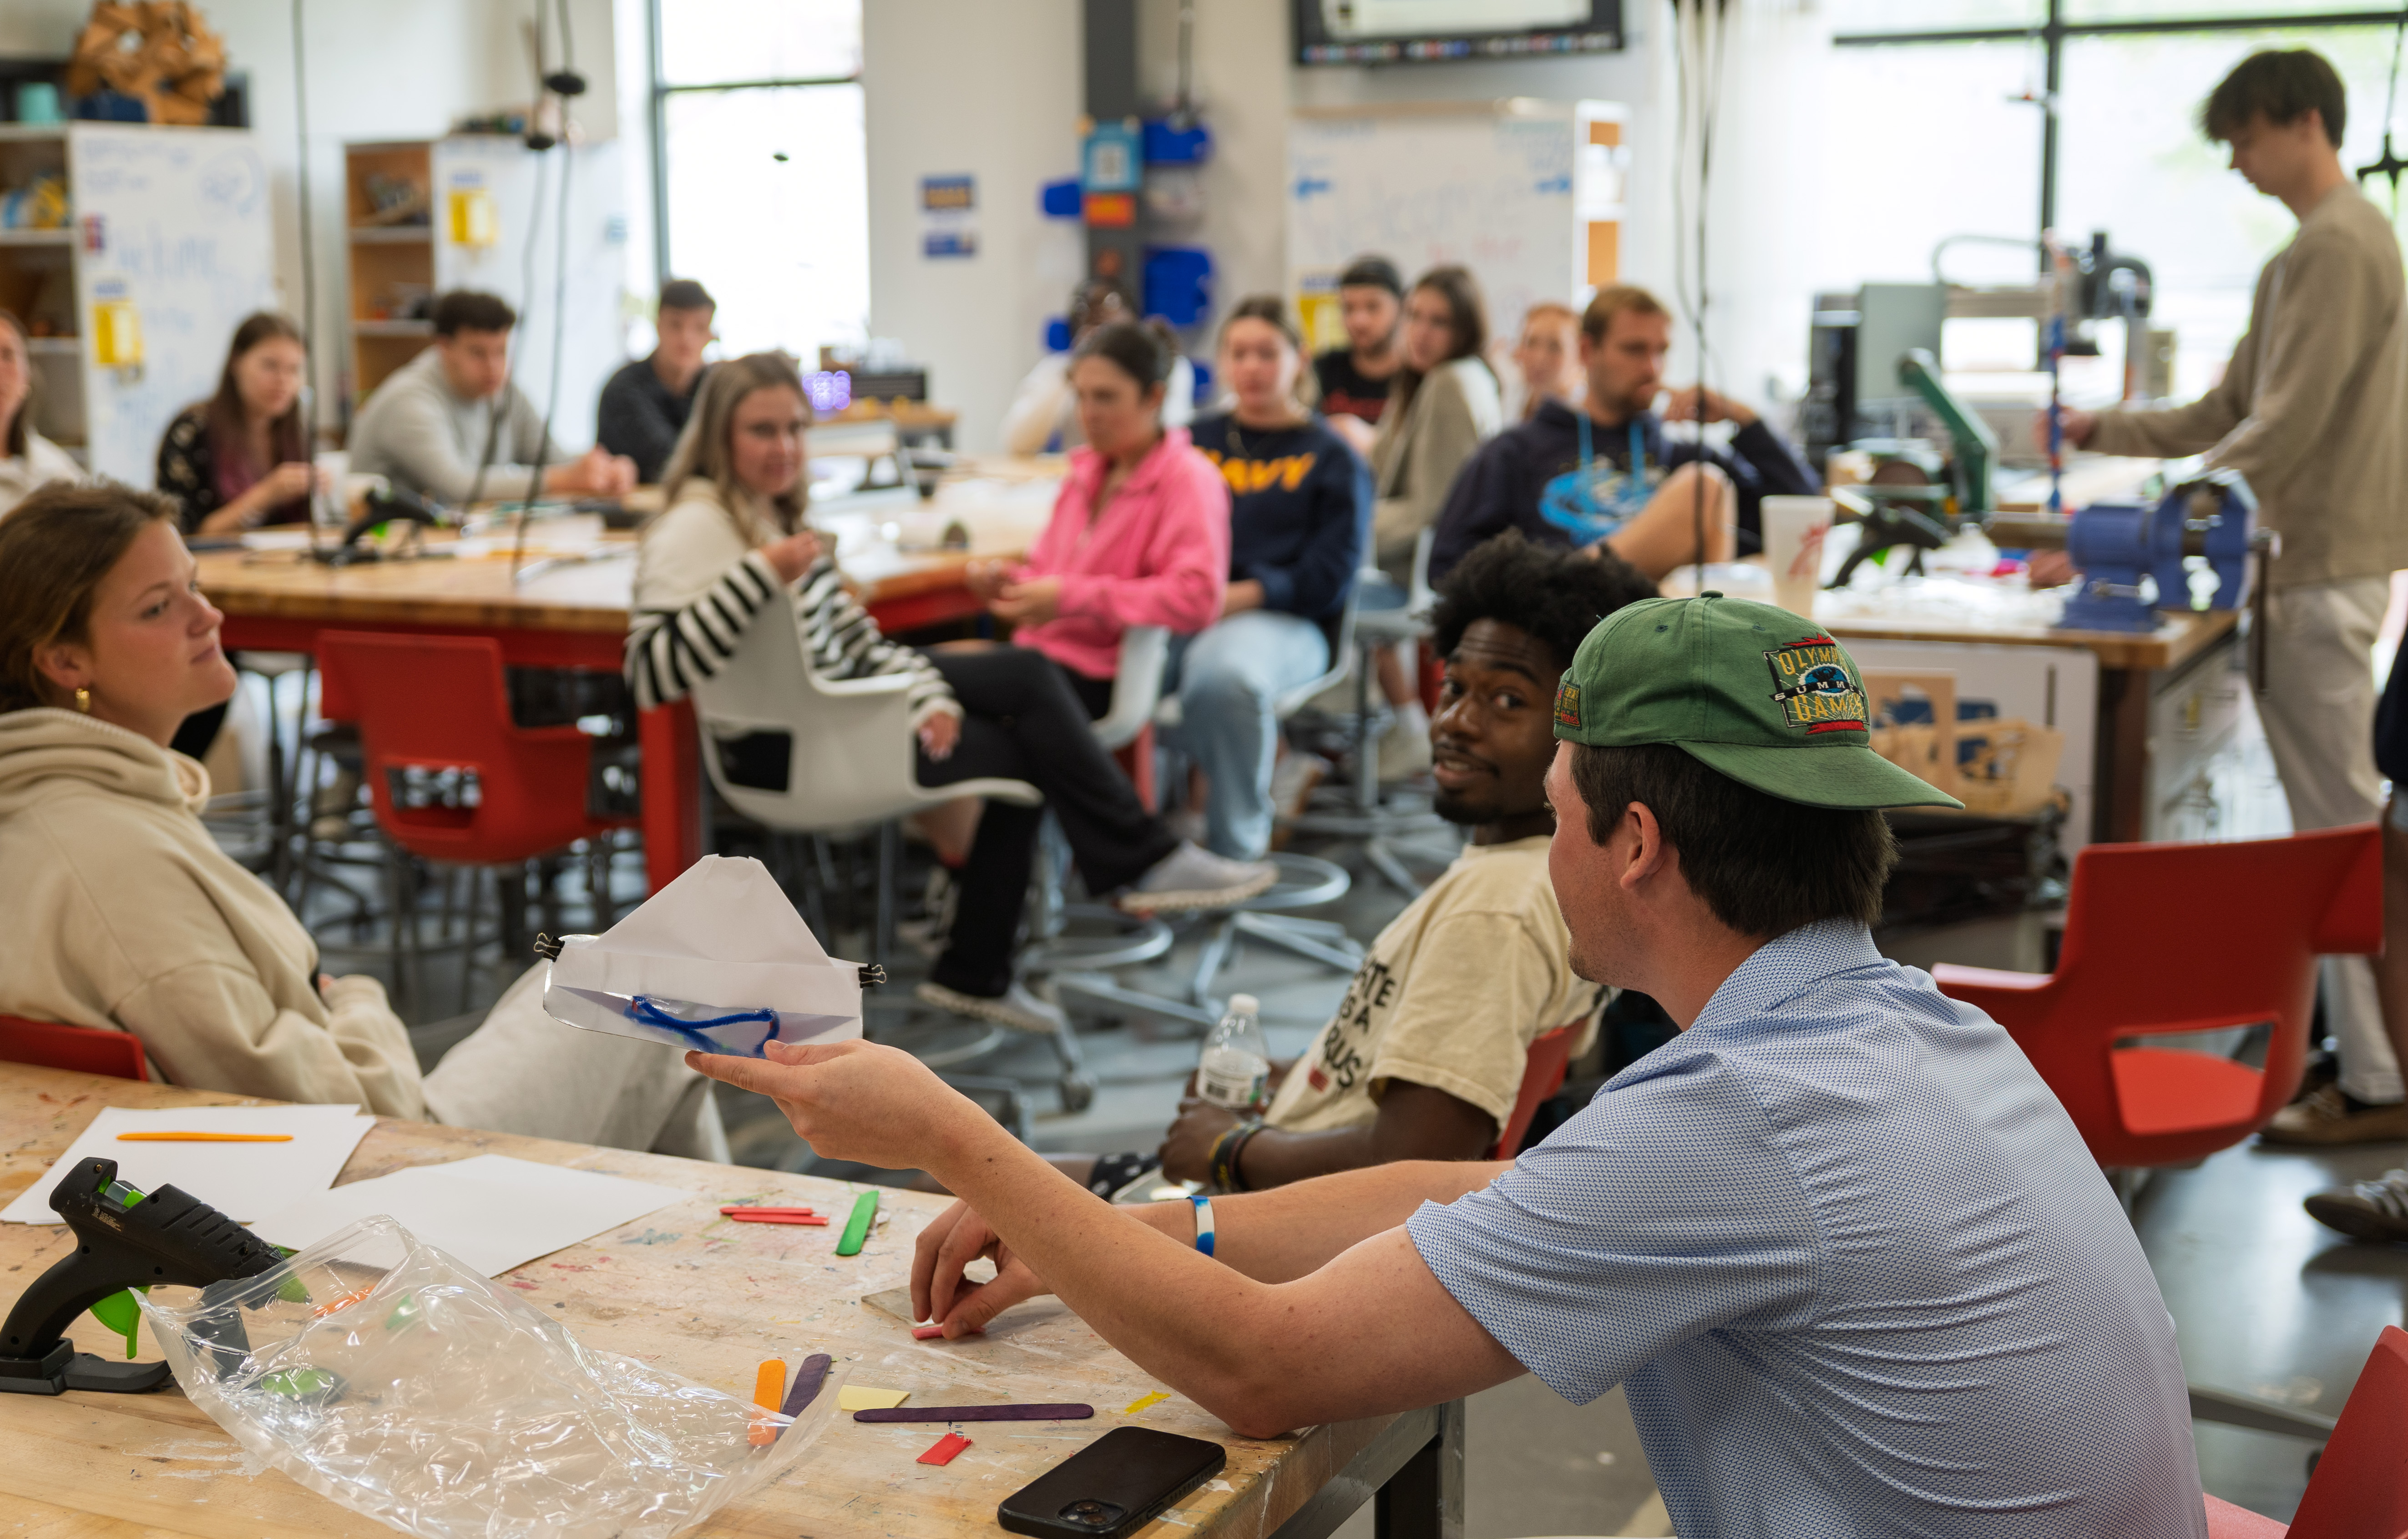
Design of Visual Images | CDE 3580
Instructor: Shannon Zenner
Assignment Objective
I incorporated the new AI Protobot Challenge into the course as a way to introduce students to both the Maker Hub and the possibilities of AI-assisted ideation. The goal was to help students think more expansively during the creative process by combining analog making with digital tools. The activity aligned well with our course themes around visual storytelling, iteration, and concept development. I hoped students would walk away with a deeper understanding of how to use AI as a creative partner rather than a shortcut, and they did!
Deliverable
Students worked in small teams to brainstorm and generate a protobot solution using a mix of AI tools and physical materials. They then had to quickly fabricate a prototype, name it, and pitch it. The challenge required them to synthesize ideas, use storytelling, and think critically about how and when AI is useful in the design process.
Why the Hub?
I chose the Maker Hub because it provided the perfect environment for hands-on experimentation. Many students had never been in the space before, so this was a great way to demystify it and show them that making can be fast, playful, and low-stakes. The blend of physical tools and digital tech helped reinforce our course conversations around hybrid creativity.
Success? Encore?
The activity was a huge success. Students were energized and engaged. It also helped with team building in the course. I’m already planning to do a version of it again next semester.
Advice to Other Faculty
Keep it loose and playful. Giving students permission to make “bad” ideas opens the door to great ones. Having even a short orientation to the Maker Hub ahead of time helps reduce hesitation and gives them confidence to dive in.
Tools
Hot glue guns and scissors
Materials
Random assortment of spare parts from the Maker Hub
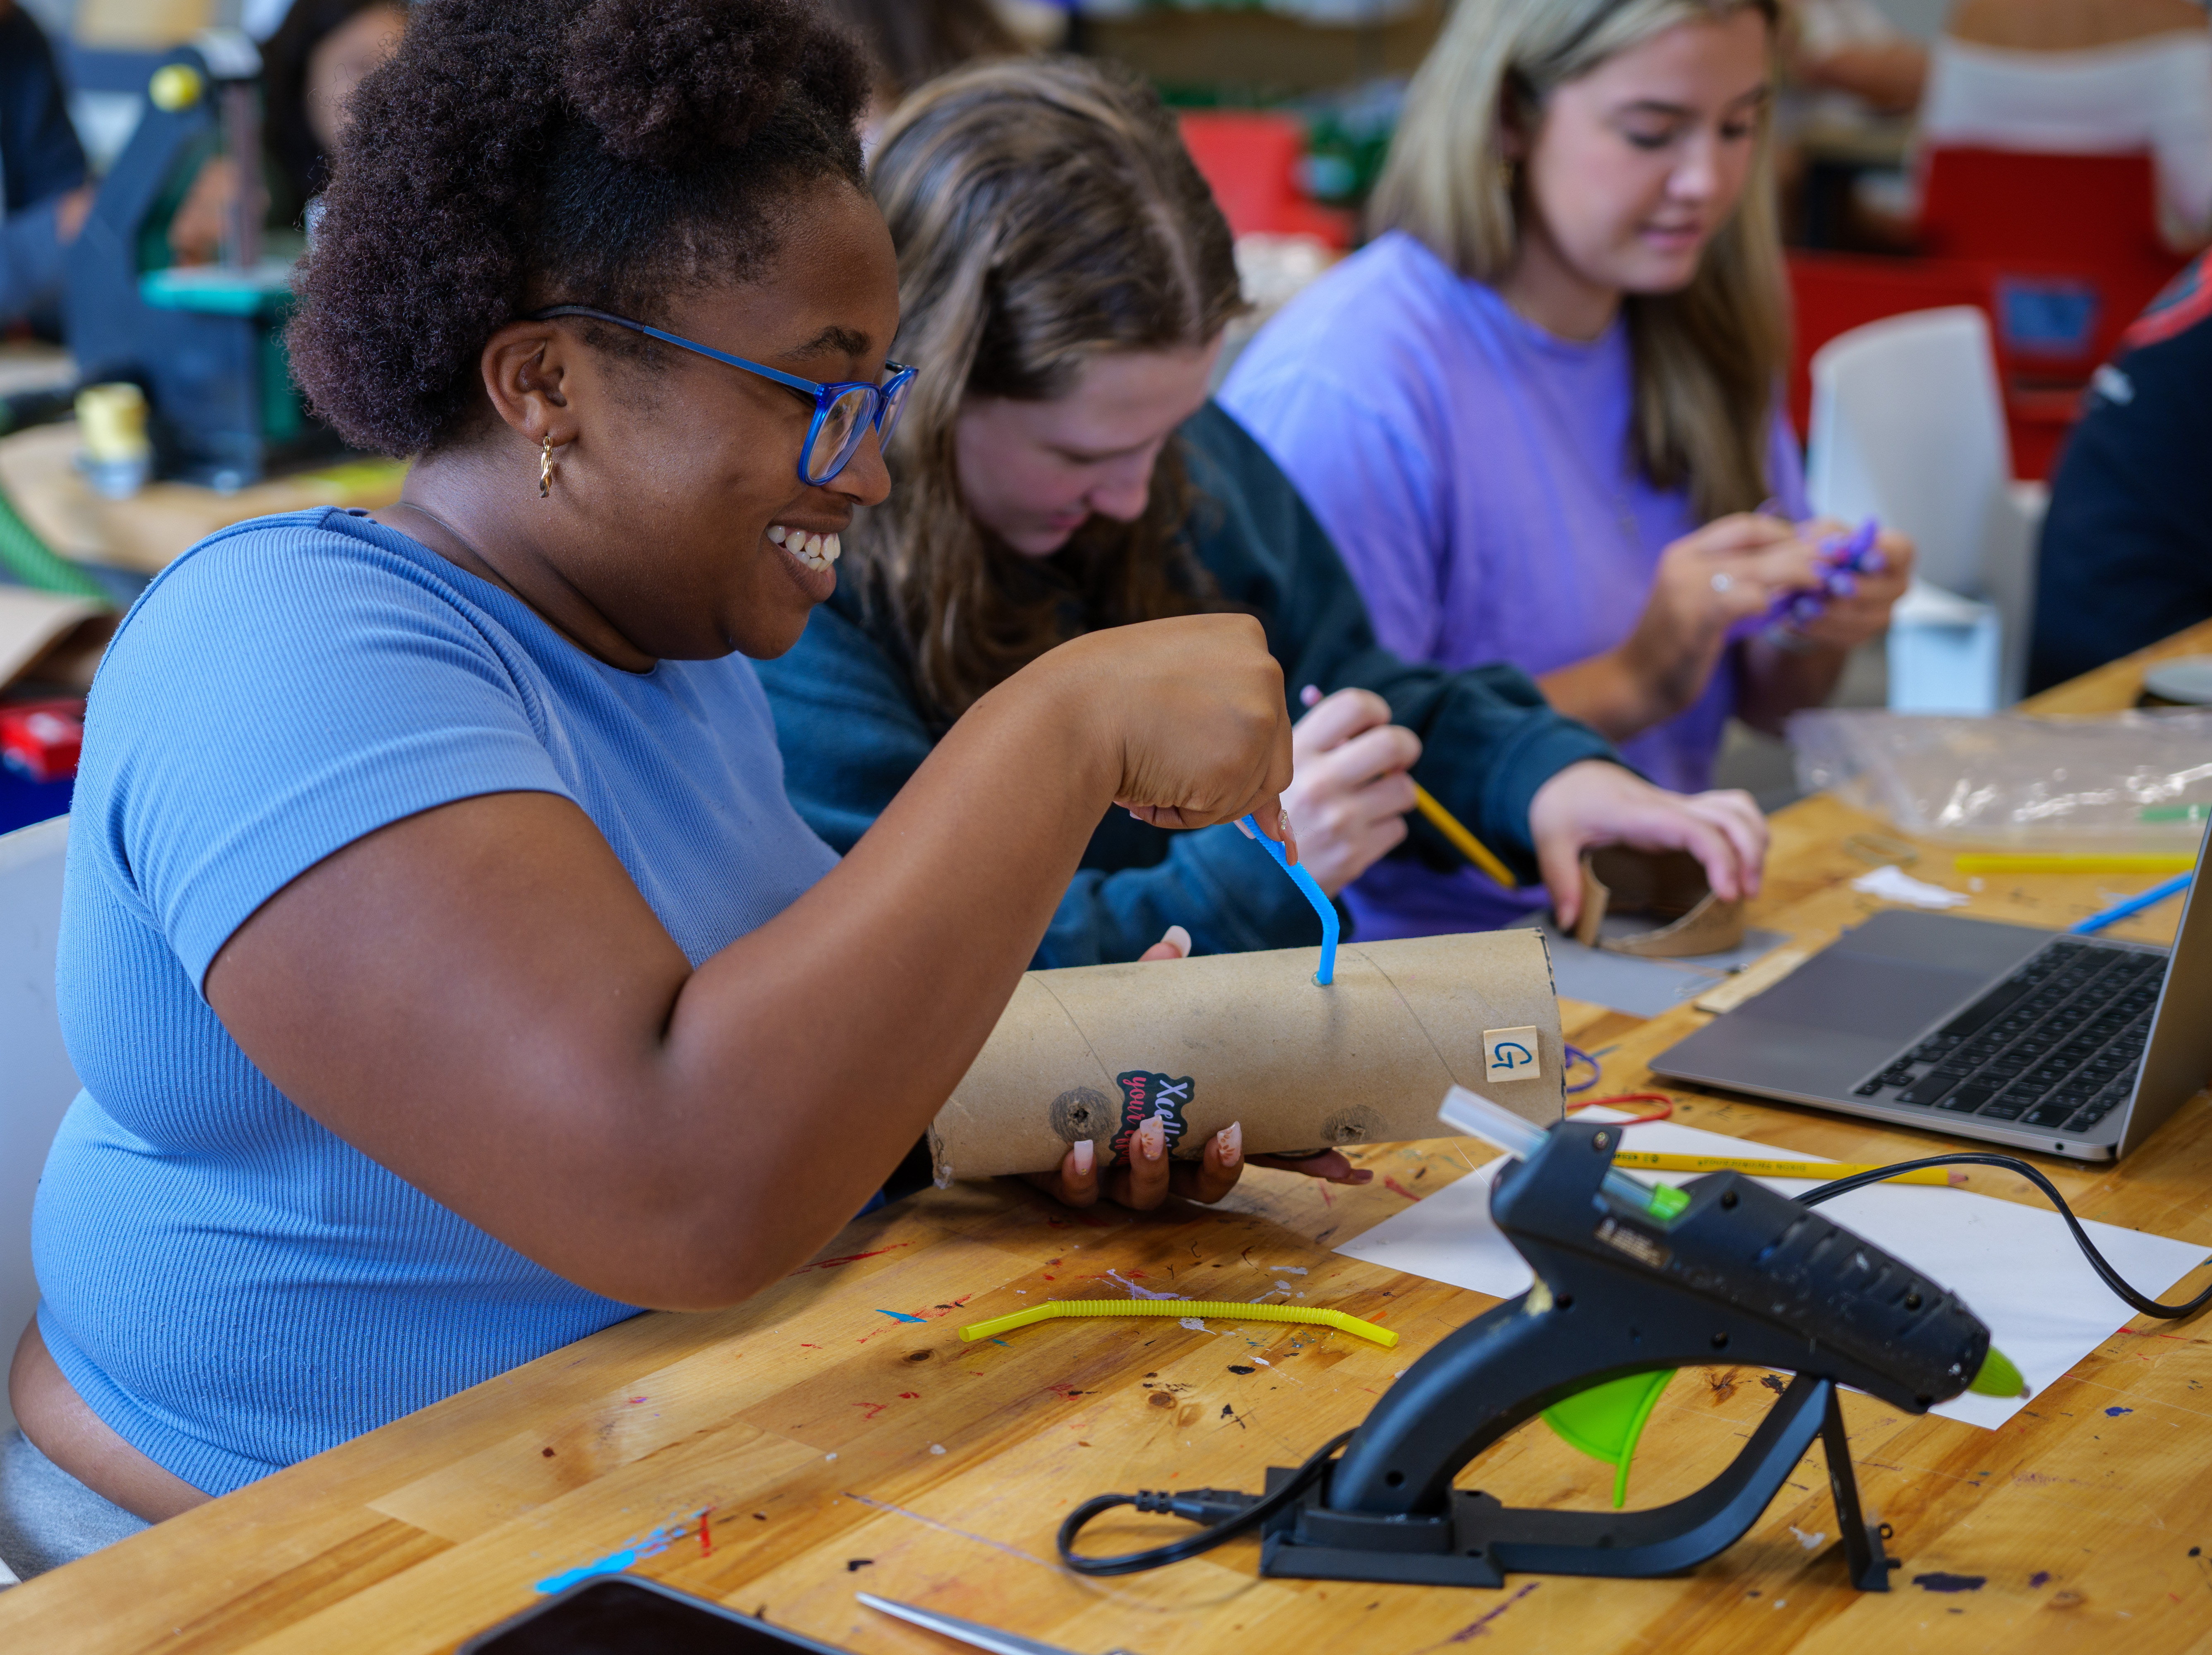
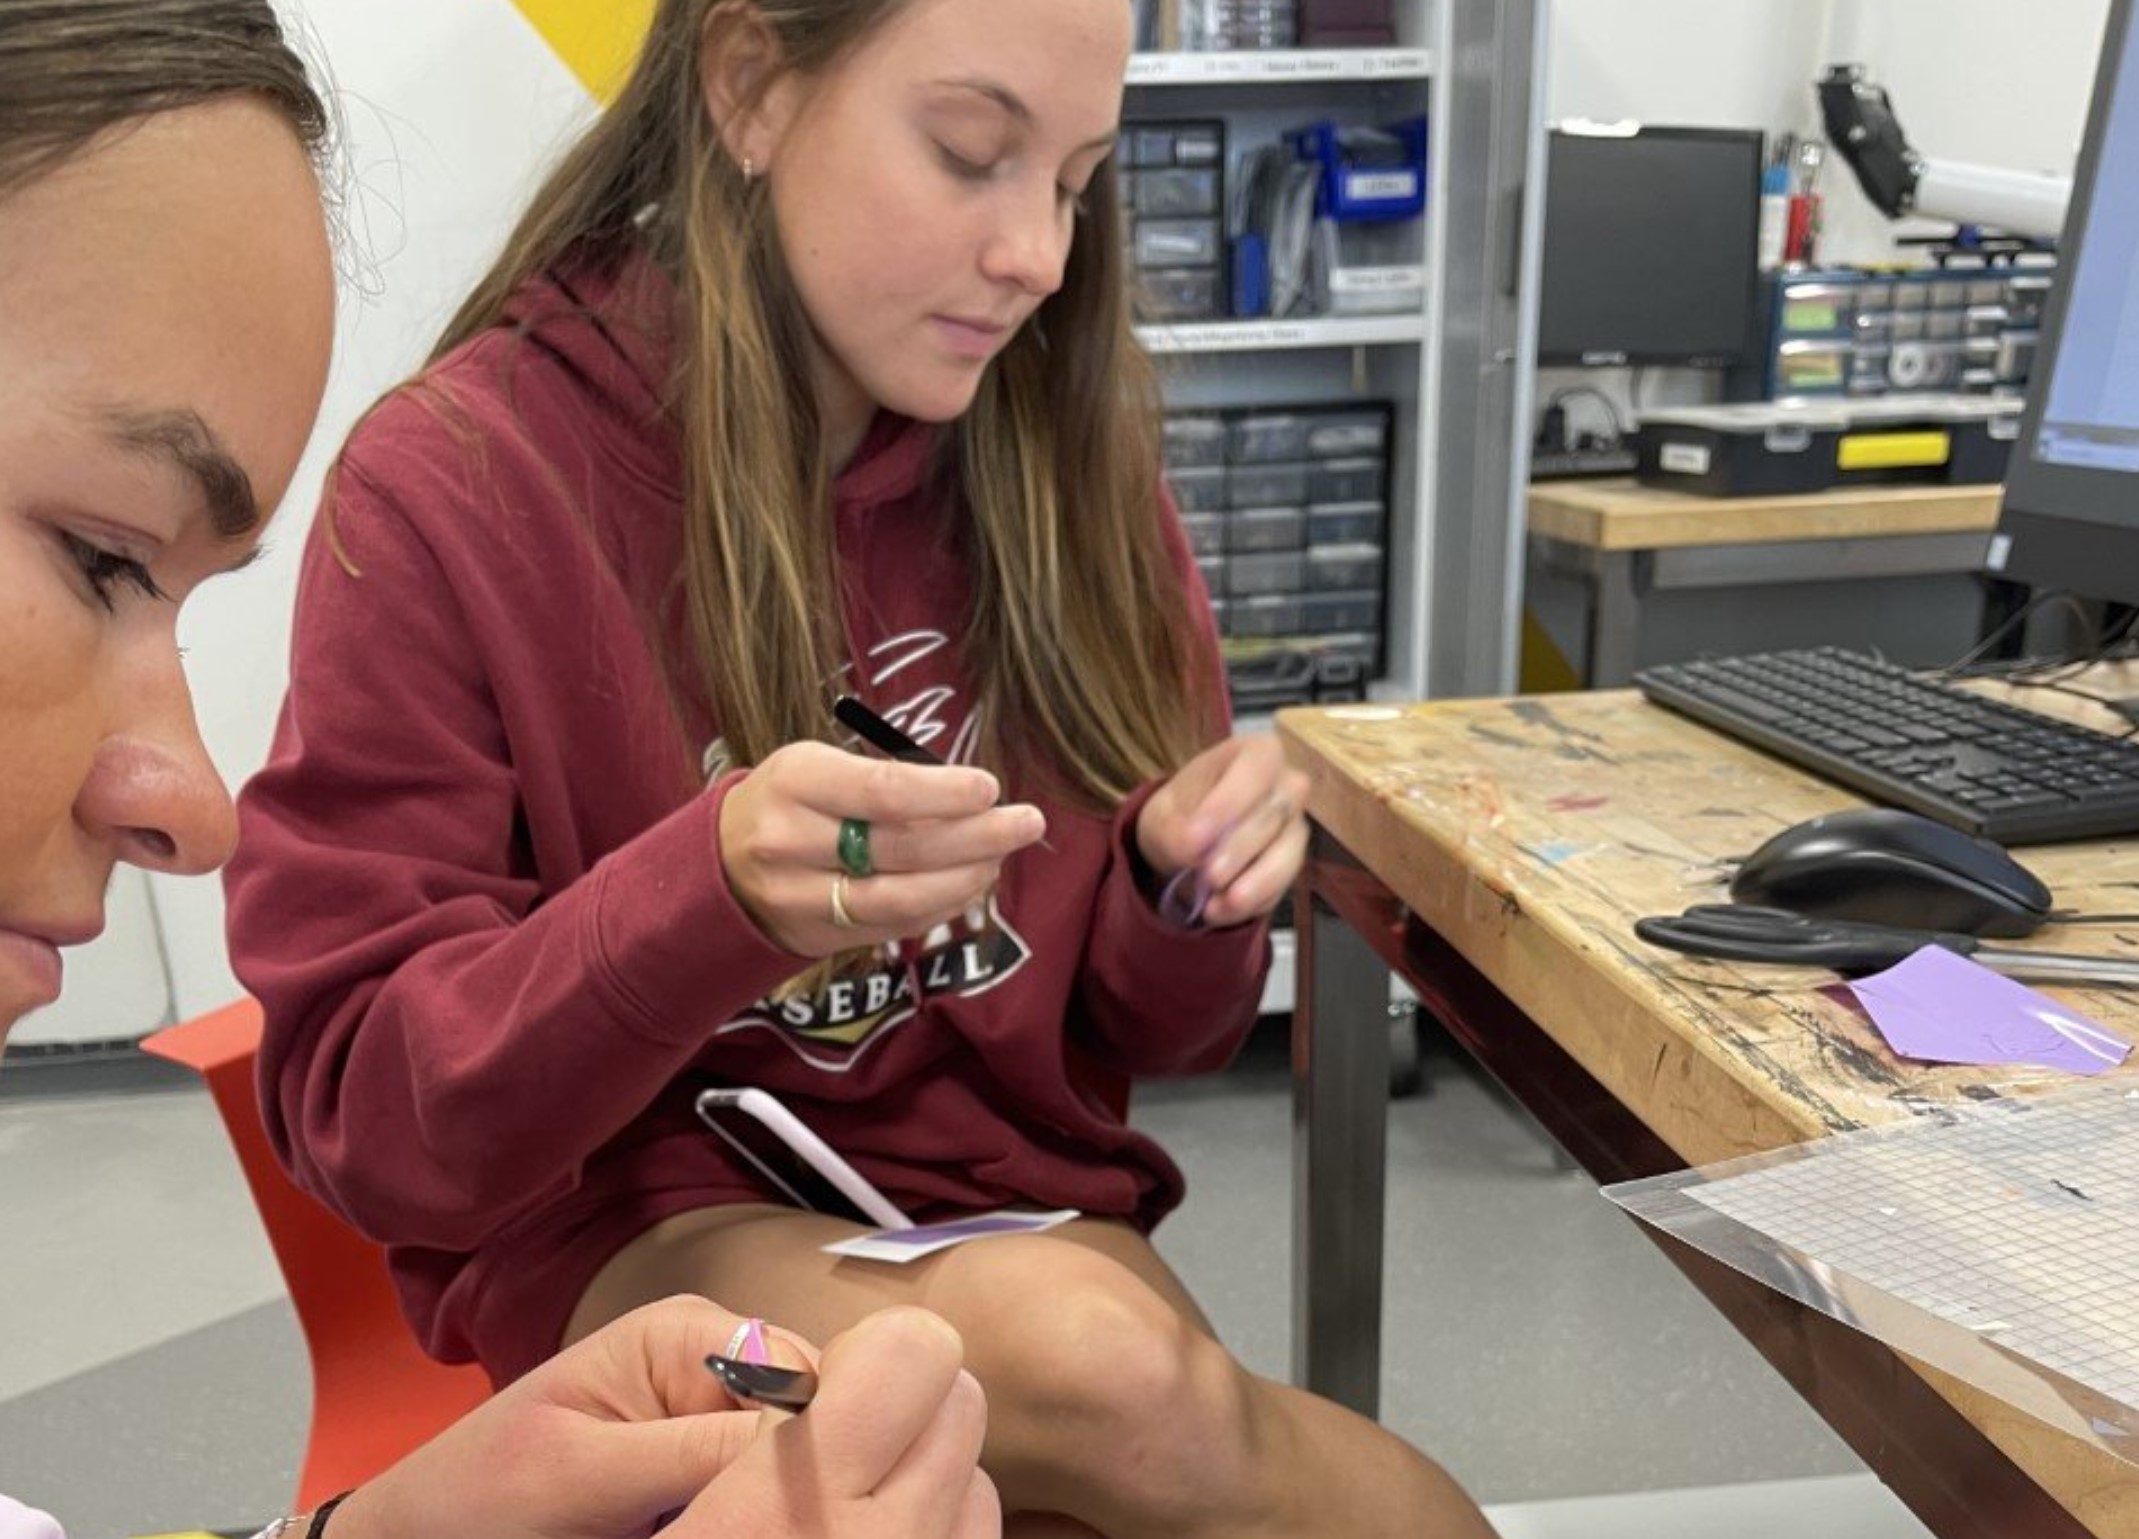
Writing for Visual Media | CDE3180
Instructor: Ruth Eckles
Assignment Objectives
My class is called “Writing for Visual Media,” and so the hands-on activities at the Maker Hub seemed like a fun and unique way for the students to practice visual writing skills.
The way I set up the assignment was to pair up the students – one would execute the activity, and the other would document the activity through notetaking and photos. They would then produce blog and social media posts about their experiences.
Deliverable
The student pairs worked on a variety of tactile activities that the Maker Hub staff provided for us ranging from stickers to bookends to cardboard lamps to sewing projects.
The point of engaging in these activities was to practice their multimedia storytelling skills. They produced a blog and social media posts integrating photos, video clips, and text to tell the story of their experience at the Maker Hub.
-

- Student cutting cardboard to make the hanging light
-

- Students weeding their vinyl stickers
-

- Students holding the projects they made in class
Why the Hub?
I think it’s important for students to learn outside of the classroom. I think it’s great that Elon provides opportunities to partner with other departments to learn in unique ways.
With so much time on phones and computers, I think students also need more opportunities to have hands-on, tactile learning – as well as to interact with people other than their instructors. I saw my students come to life being able to use their hands and brains at the same time. They had fun – also an under-utilized (yet scientifically proven) part of learning.
Success? Encore?
I think it went great! I would definitely do it again and highly recommend other professors/classes collaborate with the Hub in a way that’s aligned with course objectives. My students absolutely loved their experience at the Hub.
Student quotes from their blog posts:
- “Our group was able to bond through learning a new skill together and helping each member problem solve”
- “I learned a lot about myself from this experience in the Maker Hub.”
- “Activities like this at the Maker Hub are a great way to be creative, relieve stress, and try something new!”
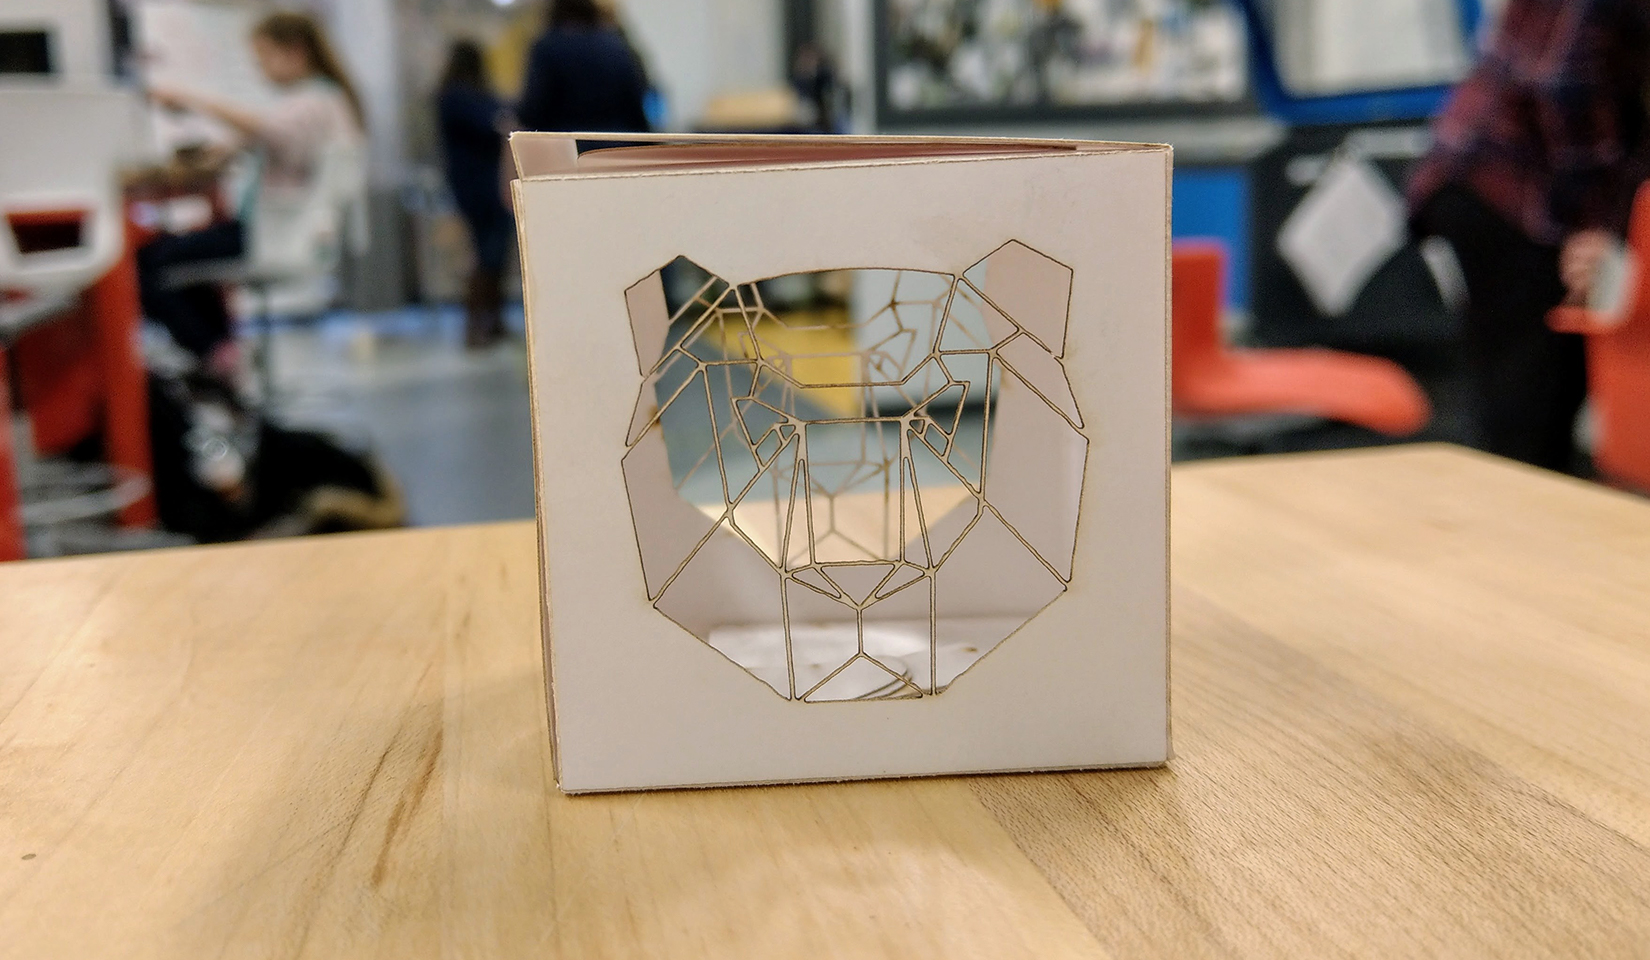
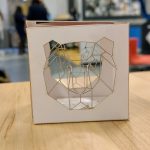
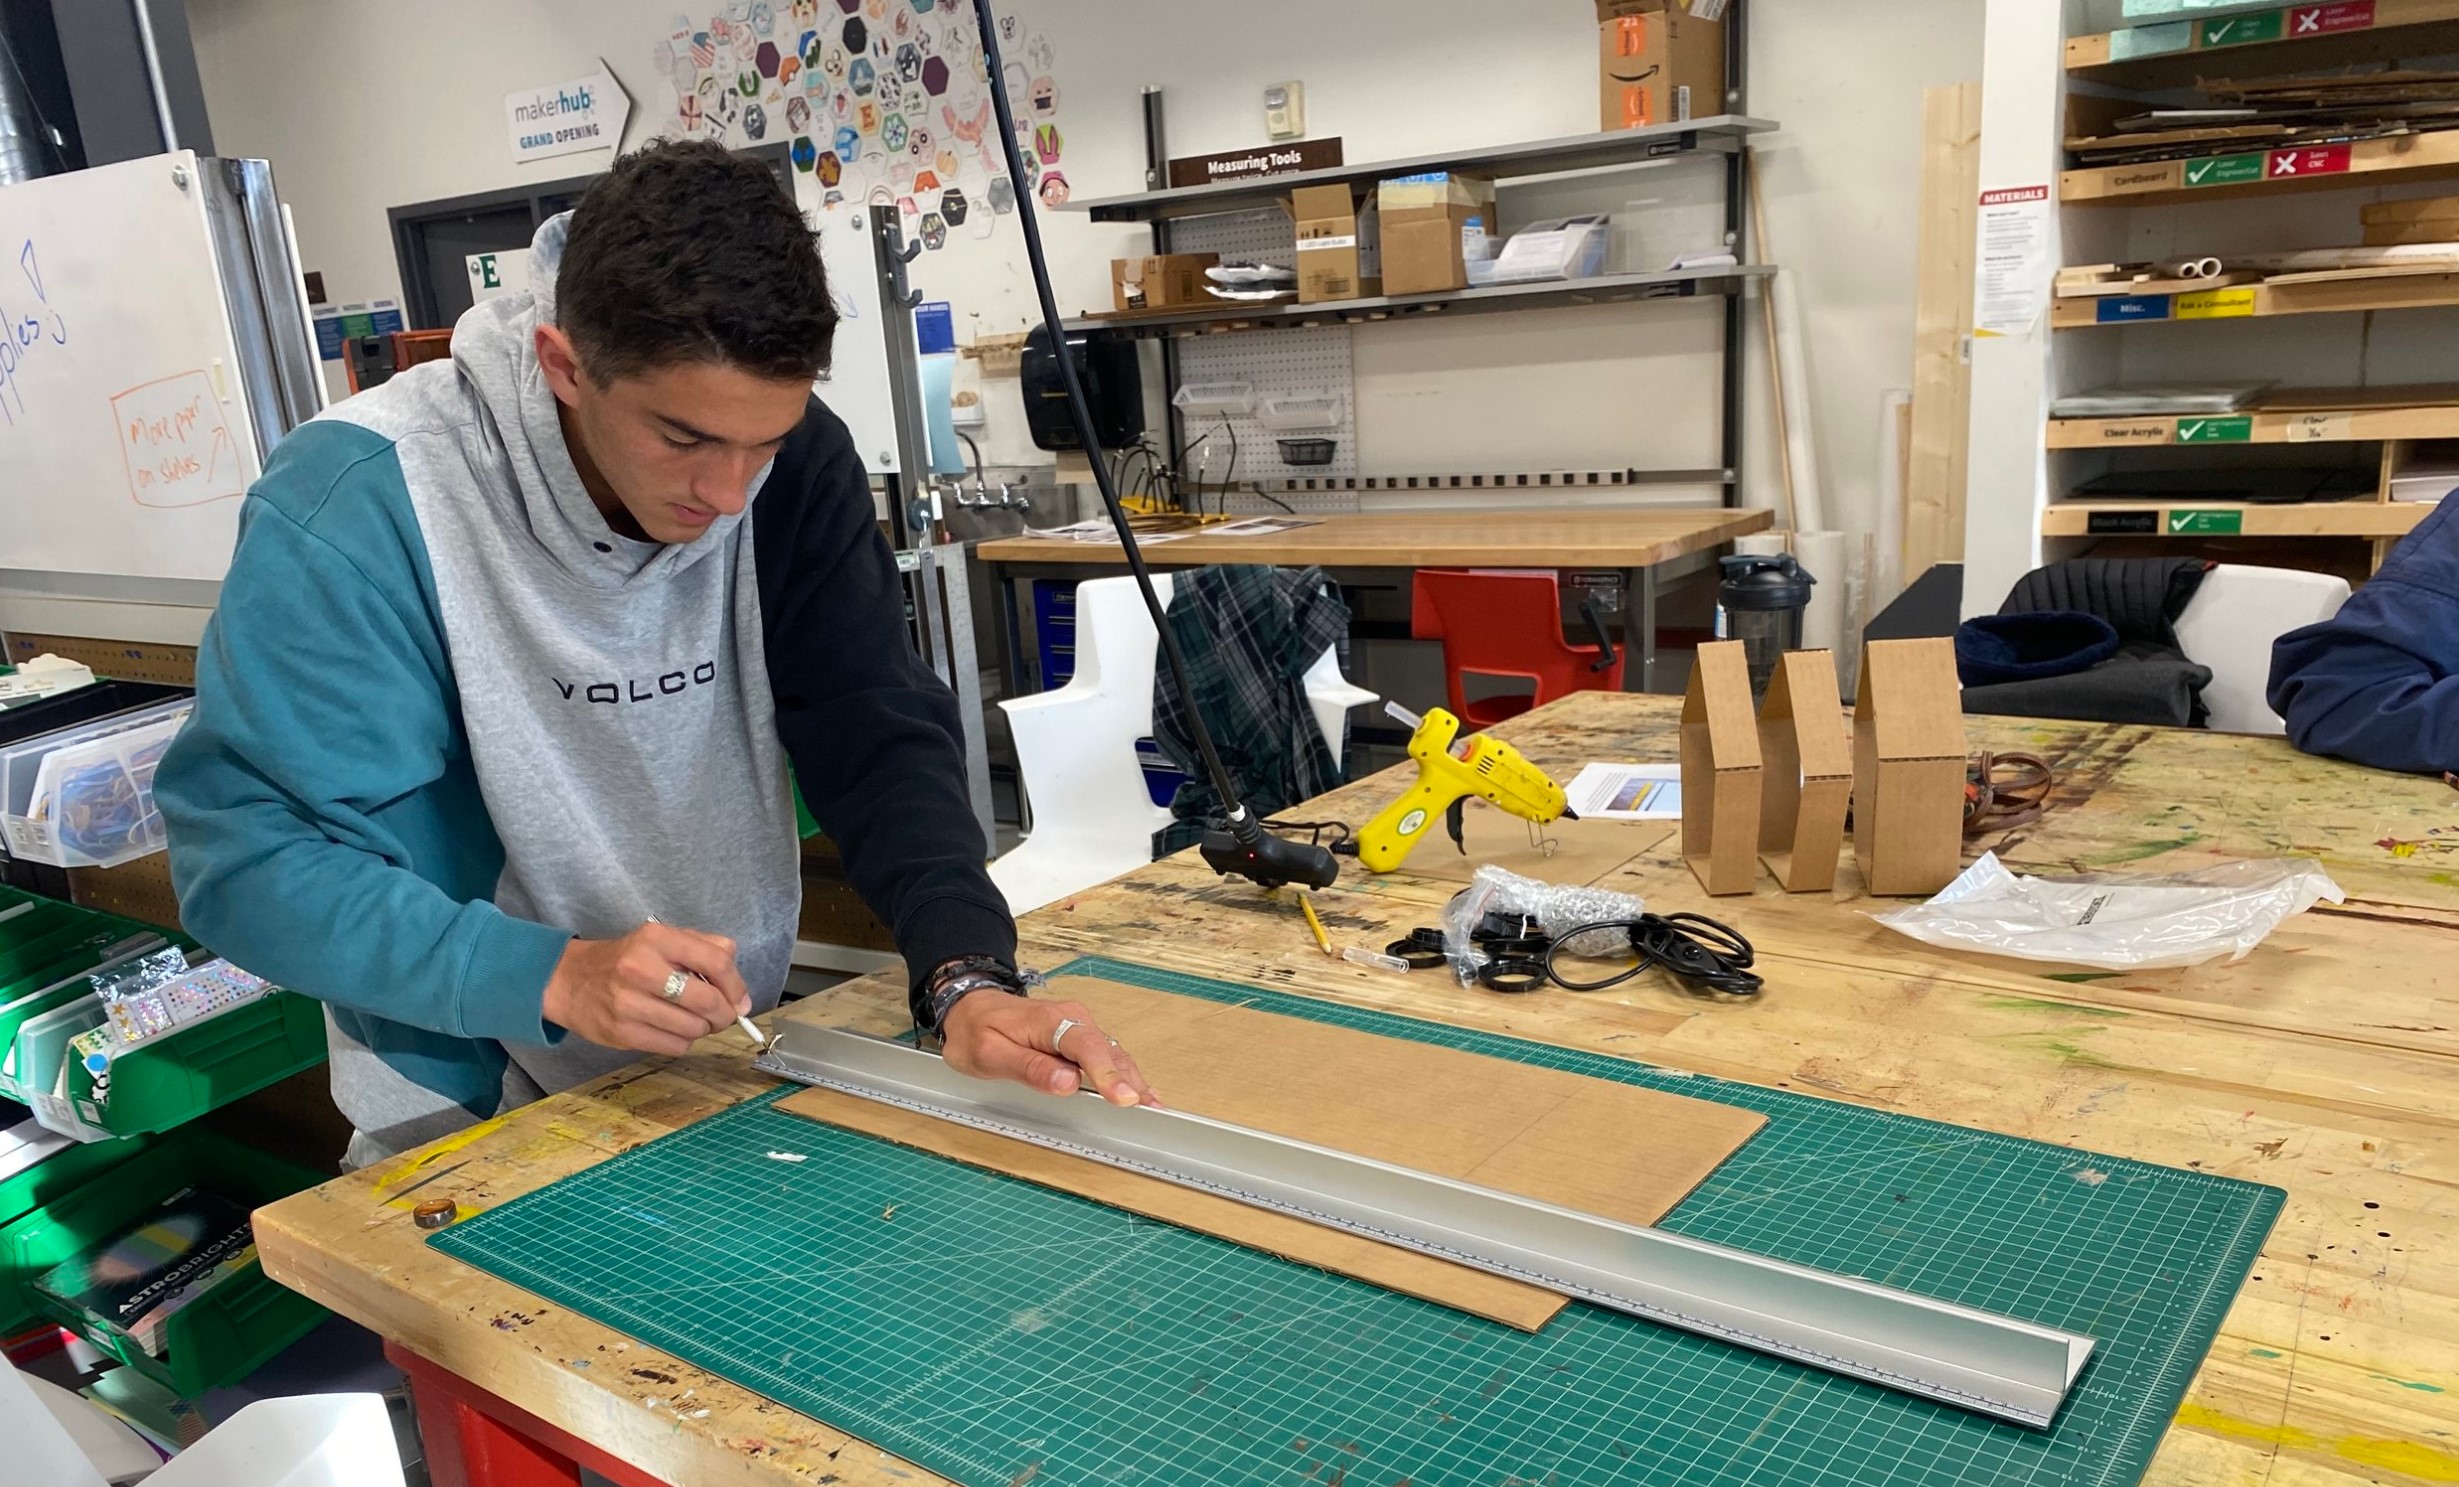
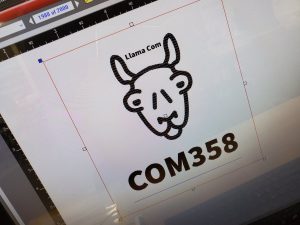
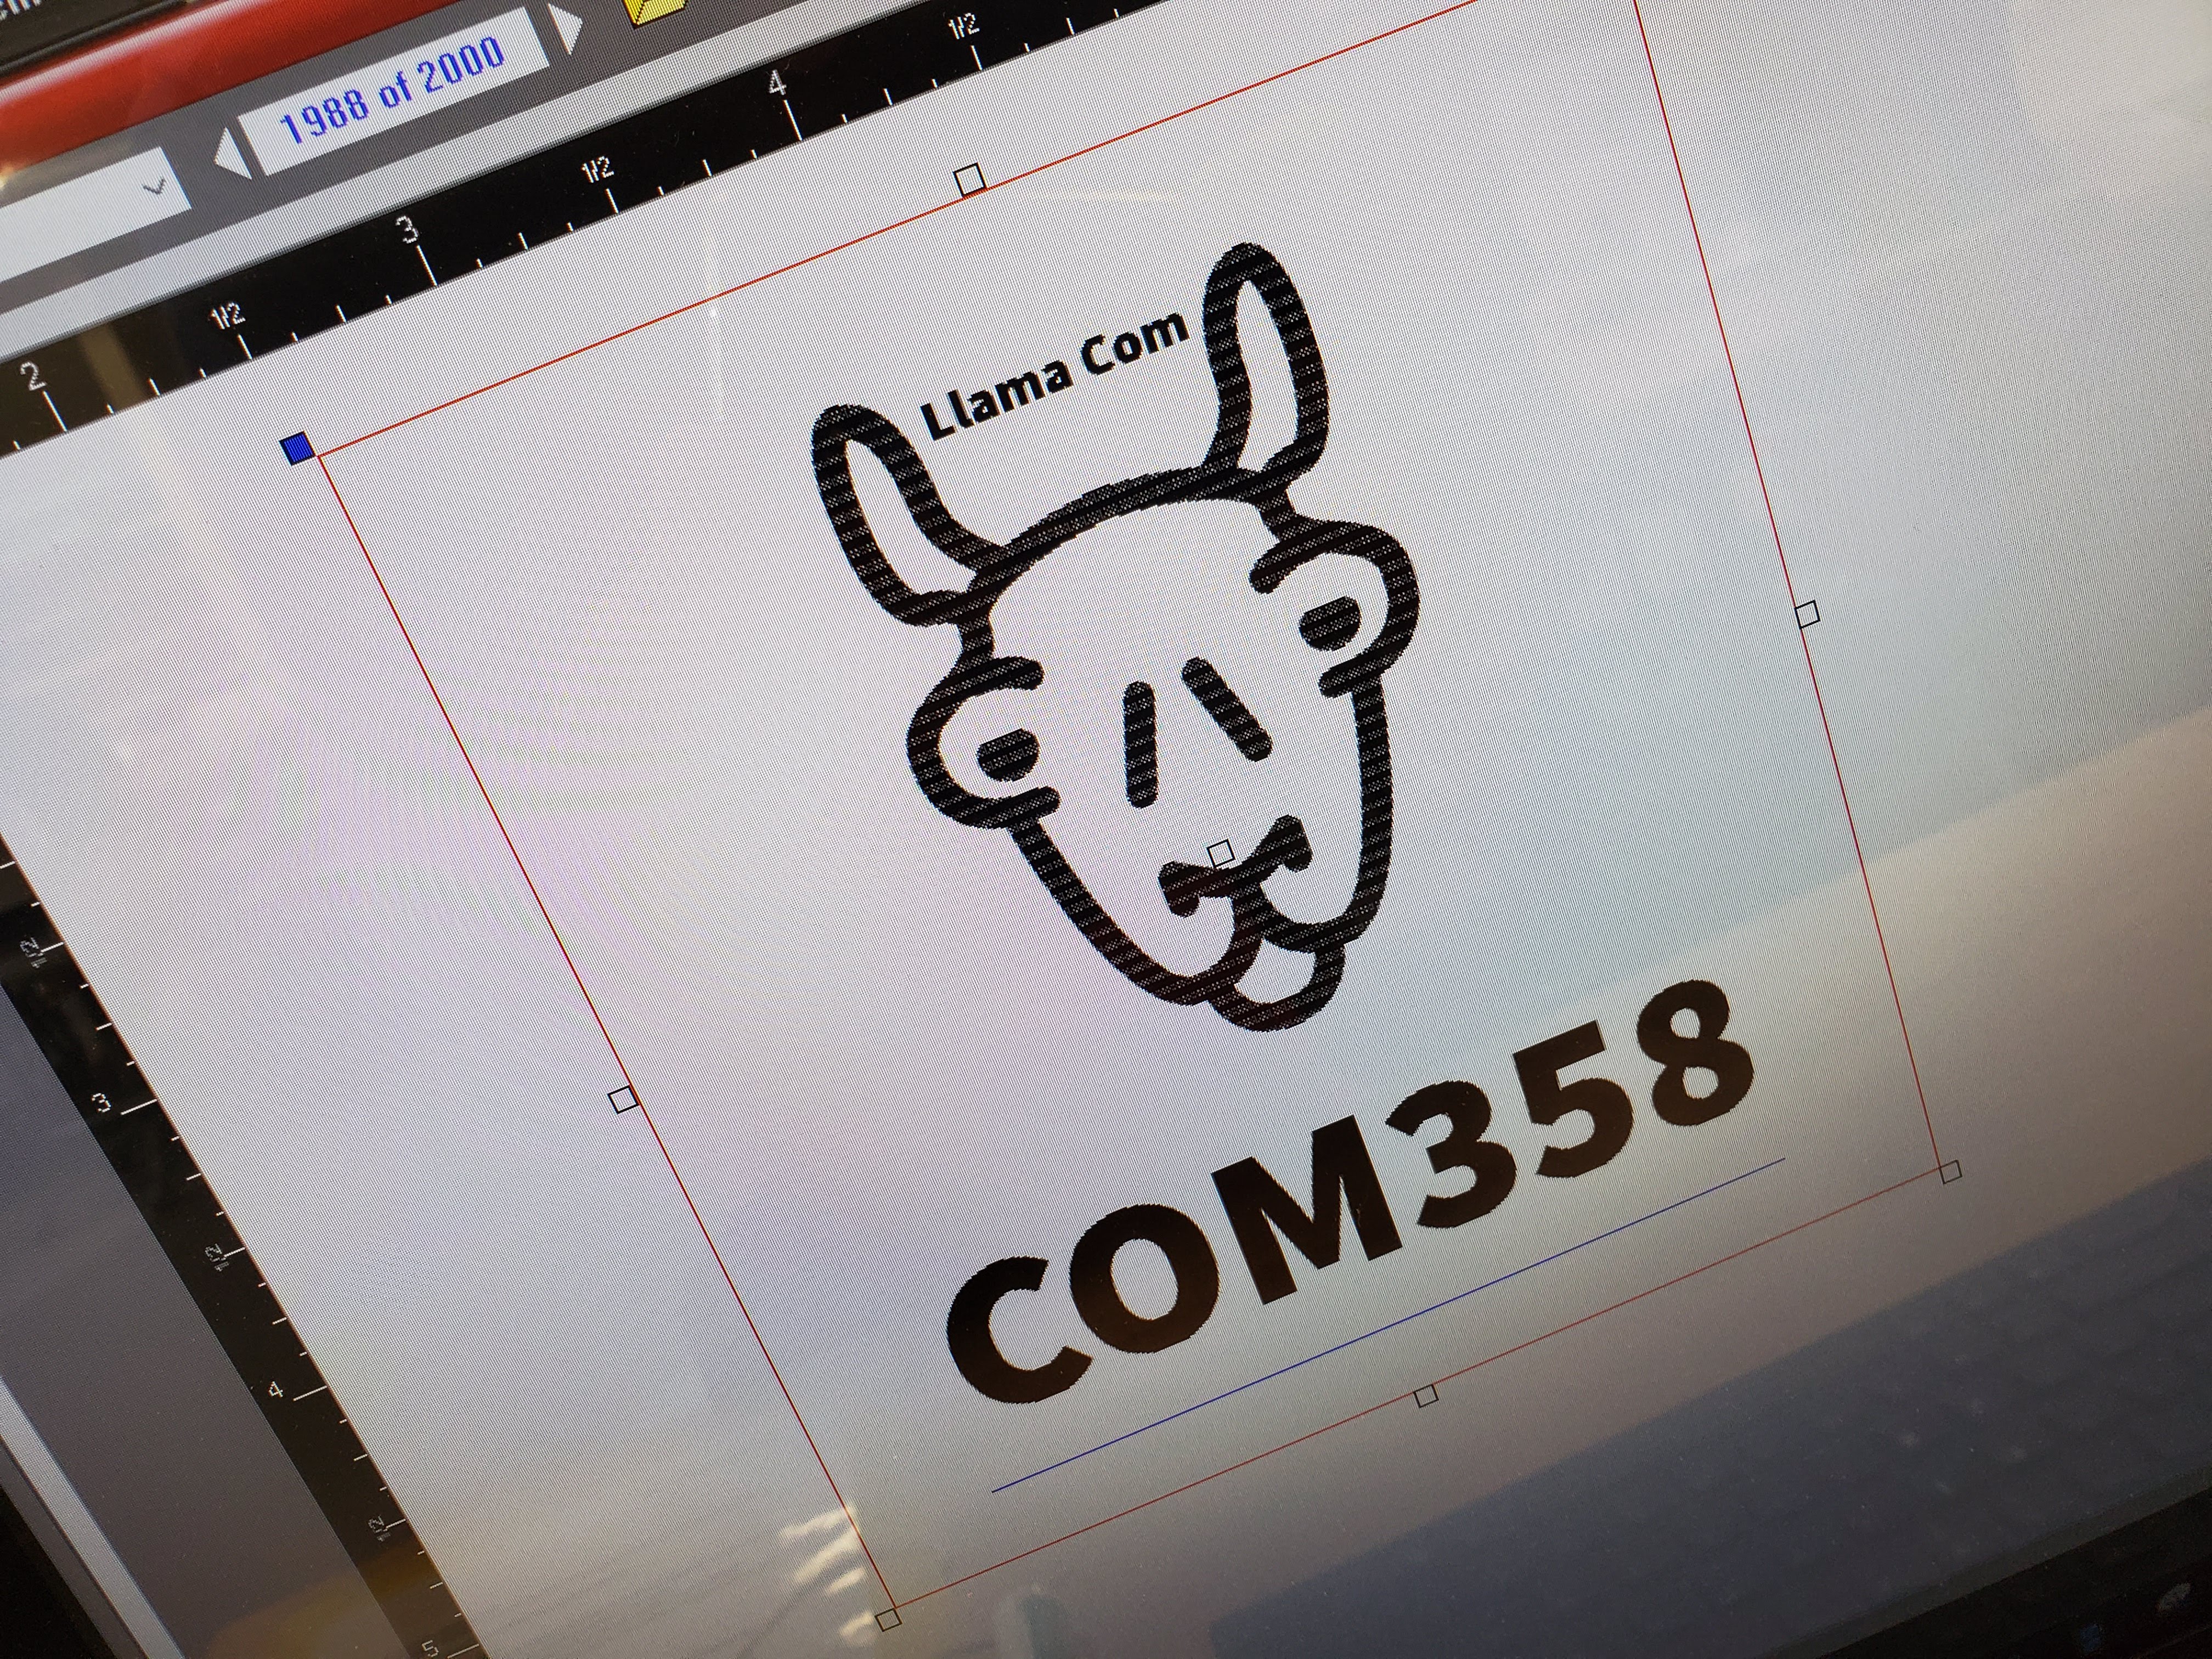
Design of Visual Images | CDE 358
Instructor: Ben Hannam
Assignment Objective
Learn about how collecting precedence and gathering research can help guide their decision-making process. It also gives students an opportunity to make models, test their ideas, and think about the viability of their concept. Students are given an Illustrator file of a flattened cube. The assignment is to alter the file so the assembled cube is a specific size. Students are also welcome to use the laser engraver later in the course when they are working on a package design.
-

- The class was trained on the laser class during one class session.

-
- A design the class made during the laser engraving training.
-
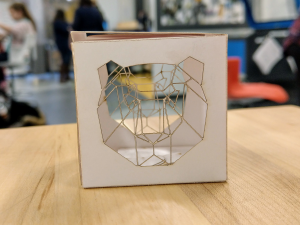
- Finished cube with a custom design.

Deliverable
A paper cube laser cut to a specific size.
Tools
Laser engraver, Adobe Illustrator
Materials
The cubes are cut on bristol paper.
Why the Hub?
The course is about design problems, and the Maker Hub allows objects to be designed and created.
Success? Encore?
I’ve done this project multiple times, and I’m likely to repeat this project again in future semesters because of the high level of student engagement.
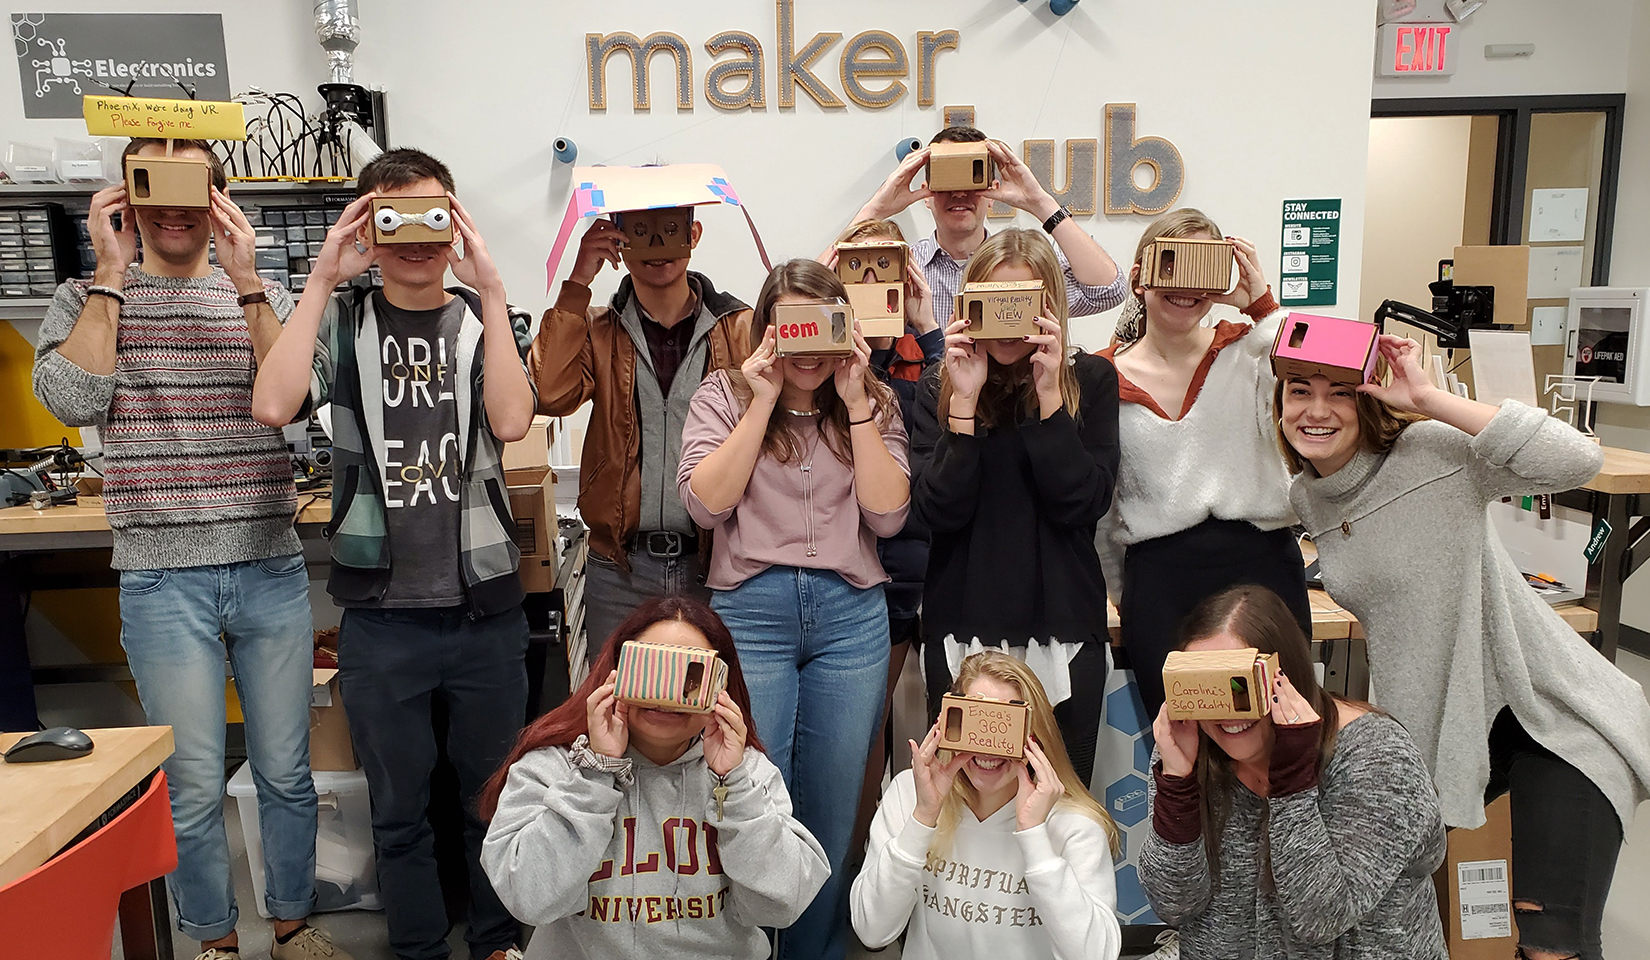
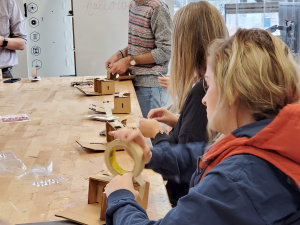
Multimedia Journalism | JOU450
Instructor: Kelly Furnas
Assignment Objective
Students built a cardboard virtual reality headset for a unit about storytelling in VR. The idea was to get students to understand that the medium is just as important as the message. Creating a virtual environment that users can explore is pretty easy technologically, but it’s important that students understand the limitations (or opportunities) that come with the tools users will have when consuming that media, the VR headset. For example, some students chose to create a strap that would allow users to enter the virtual environment hands-free. Others chose to paint the inside of their viewing device black to help with contrast.
Deliverable
Students were tasked with creating and decorating a Google Cardboard virtual reality device.
-
- Students assembling their VR headset

-
- Students working together to assemble their VR headset

-
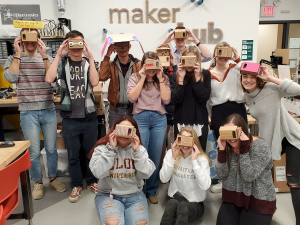
- Group photo of students holding the VR headset

Tools
We used the laser cutter to create the initial cardboard cutouts, then students used any supplies found in the Maker Hub to decorate or enhance them.
Materials
Students used a myriad of materials, such as rubber bands, paints, markers, construction paper, glue, stickers, and more.
Why the Hub?
Sort of a three-fold answer:
- It was the absolute best venue to complete the objective listed above
- I wanted students to be exposed to the Maker Hub and to realize resources are there to help them think critically about how they can present content not just in my class but others.
- It gets them outside the classroom. It’s a great way to pivot away from lecture- or computer lab-style instruction when possible, and the Maker Hub is an easy, accessible, relevant opportunity to do that.
Success? Encore?
Definitely a success. I’d definitely employ it again when I teach the course again.